What is the “Paleo/Primal Diet”(note that I use the term Paleo and Primal interchangeably throughout this post)? Is it a caveman diet encouraging people to eat copious amounts of red meat? Or is it a diet in which people are forced to eat dry chicken and steamed broccoli, while fantasizing about never ending pasta bowls, or bread rolls slathered in butter? Are you thinking about flaky biscuits right now, because I may be 😉
There are many differing views on how to describe/define Paleo, like whether people should eat diary, whether potatoes are Paleo, or whether people should be eating low-carb vs. high-carb diets. I’m not going to go over all of the different issues, since they are covered more extensively in blog posts of great Paleo bloggers that I’ll mention later on in this post. However, for an overall view of the Paleo lifestyle, I think popular Paleo blogger Liz Wolf does a pretty good job of getting to the heart of Paleo and healthy eating with her take on what constitutes good nutrition:
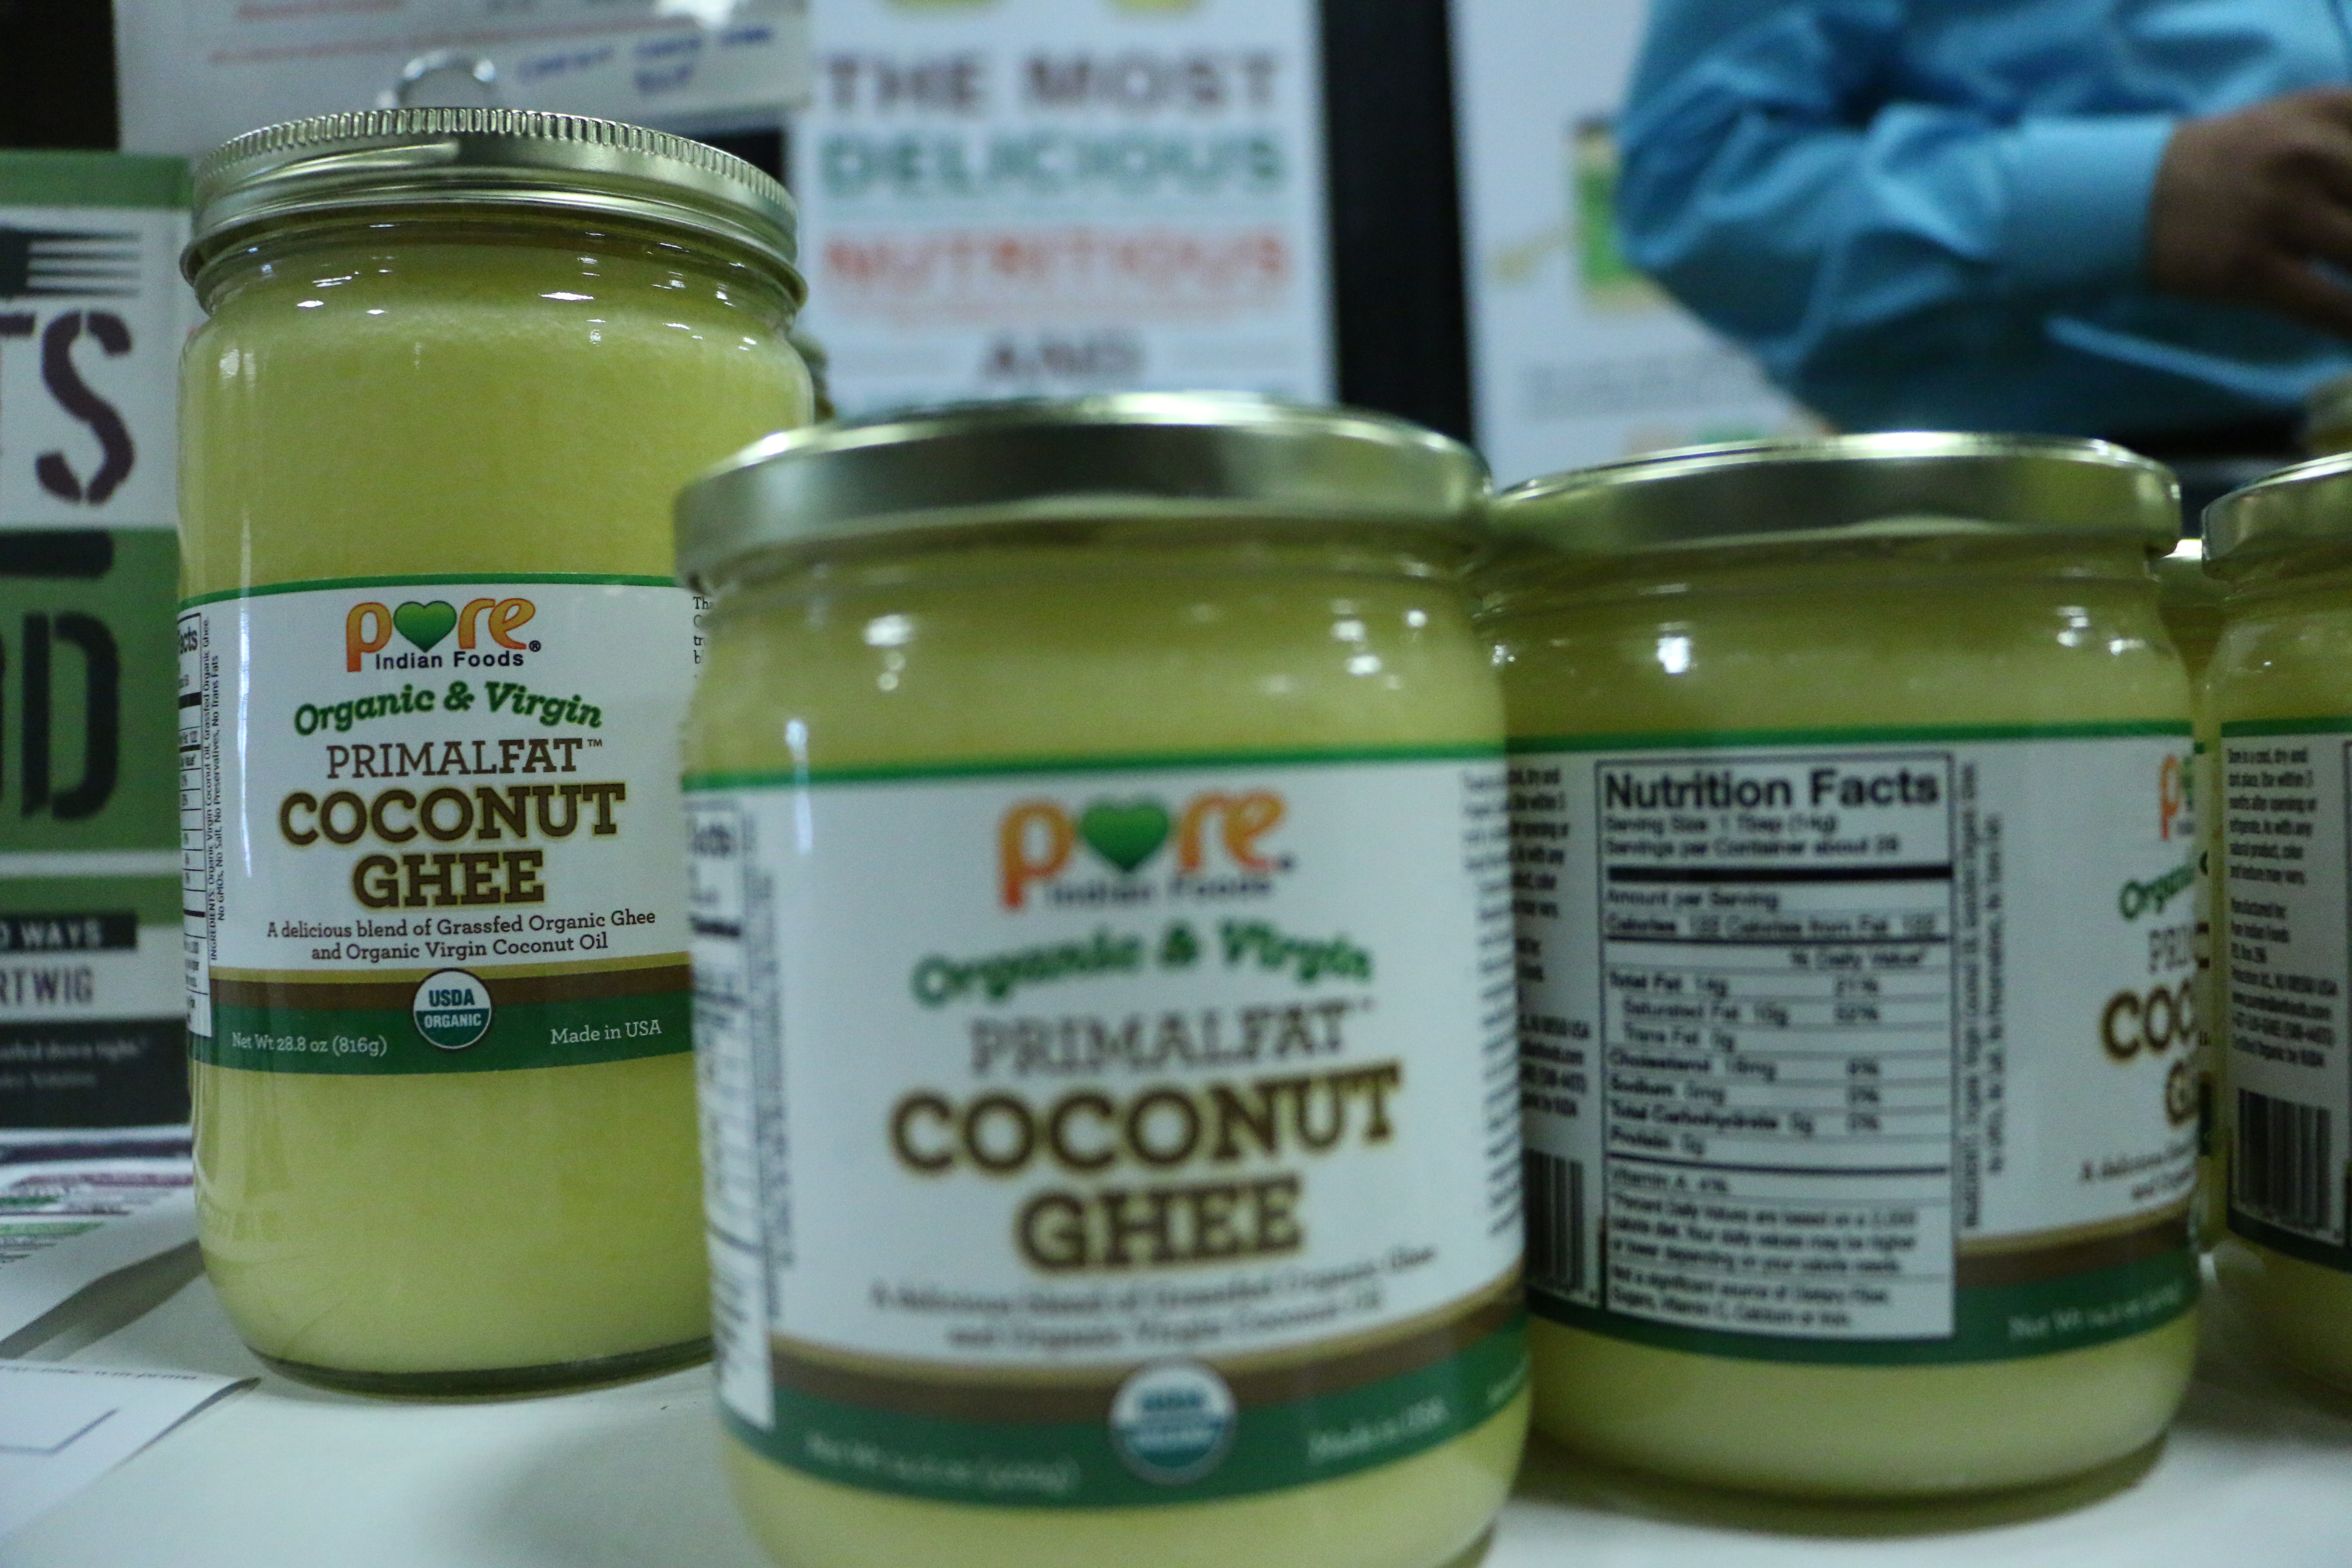
“Seek real, nutrient-filled food, as close to its natural state as possible: whole, unprocessed, unmodified, and unrefined. Pretend the modern supermarket doesn’t exist. Choose foods that could be hunted or gathered-food that has ALWAYS been food; not factory-made products. Support local, responsible producers. Eat animals, eggs, seafood, vegetables, fruits and traditional foods. Eat fats from pastured animals, seafood, coconut, avocado, olives, and cold-pressed oils. Drink water. Incorporate super-foods: fermented vegetables and beverages, homemade bone broth, and organ meats (if you dare). Above all, ditch obsessive behavior and “diets.” Question conventional wisdom. Fuel with Real Food.” Liz Wolf, Good Nutrition (in 100 words)
If you are just starting, and want to learn about the basics of Paleo, I would encourage you to start with Robb Wolf and Mark Sisson, two leaders in Paleo/Primal community.
Mark Sisson is the author of several books, including “The Primal Blueprint” and “The Primal Blueprint 21 Day Transformation: A Step-by-Step Guide Gene Reprogramming Action Plan.” Mark Sisson has an amazing website called Mark’s Daily Apple. The website has a wealth of helpful information including lots of charts, graphics, and Q&A blog posts, in which Mark Sisson answers many common questions people have about living a Primal lifestyle. When I first learned about Paleo, I spent hours read through his articles. The website archives blog posts by topic, so if you have a specific question on a particular issue, you can jump straight to those blog posts instead of having to click thorough years of posts. Mark Sisson also recently started a podcast called the “Primal Blueprint Podcast” which you can download on itunes. It has lots of information for beginners, and expands upon the information presented in his website.
Robb Wolf is the author of “The Paleo Solution: The Original Human Diet.” Robb’s website is Robb Wolf, where Robb shares lots of tips, tricks and real world advice for transitioning to Paleo. He also has a great podcast called the “Paleo Solution Podcast” that you can download on itunes with tons of helpful information. His podcast is nice if you like to get into the geeky science stuff behind why the Paleo diets promotes certain foods (warning, he does sometimes use explicit language during his podcasts).
There are several other leaders in the Paleo/Primal movement providing information on living a healthier lifestyle. My go to people for information and helpful guides are as follows:
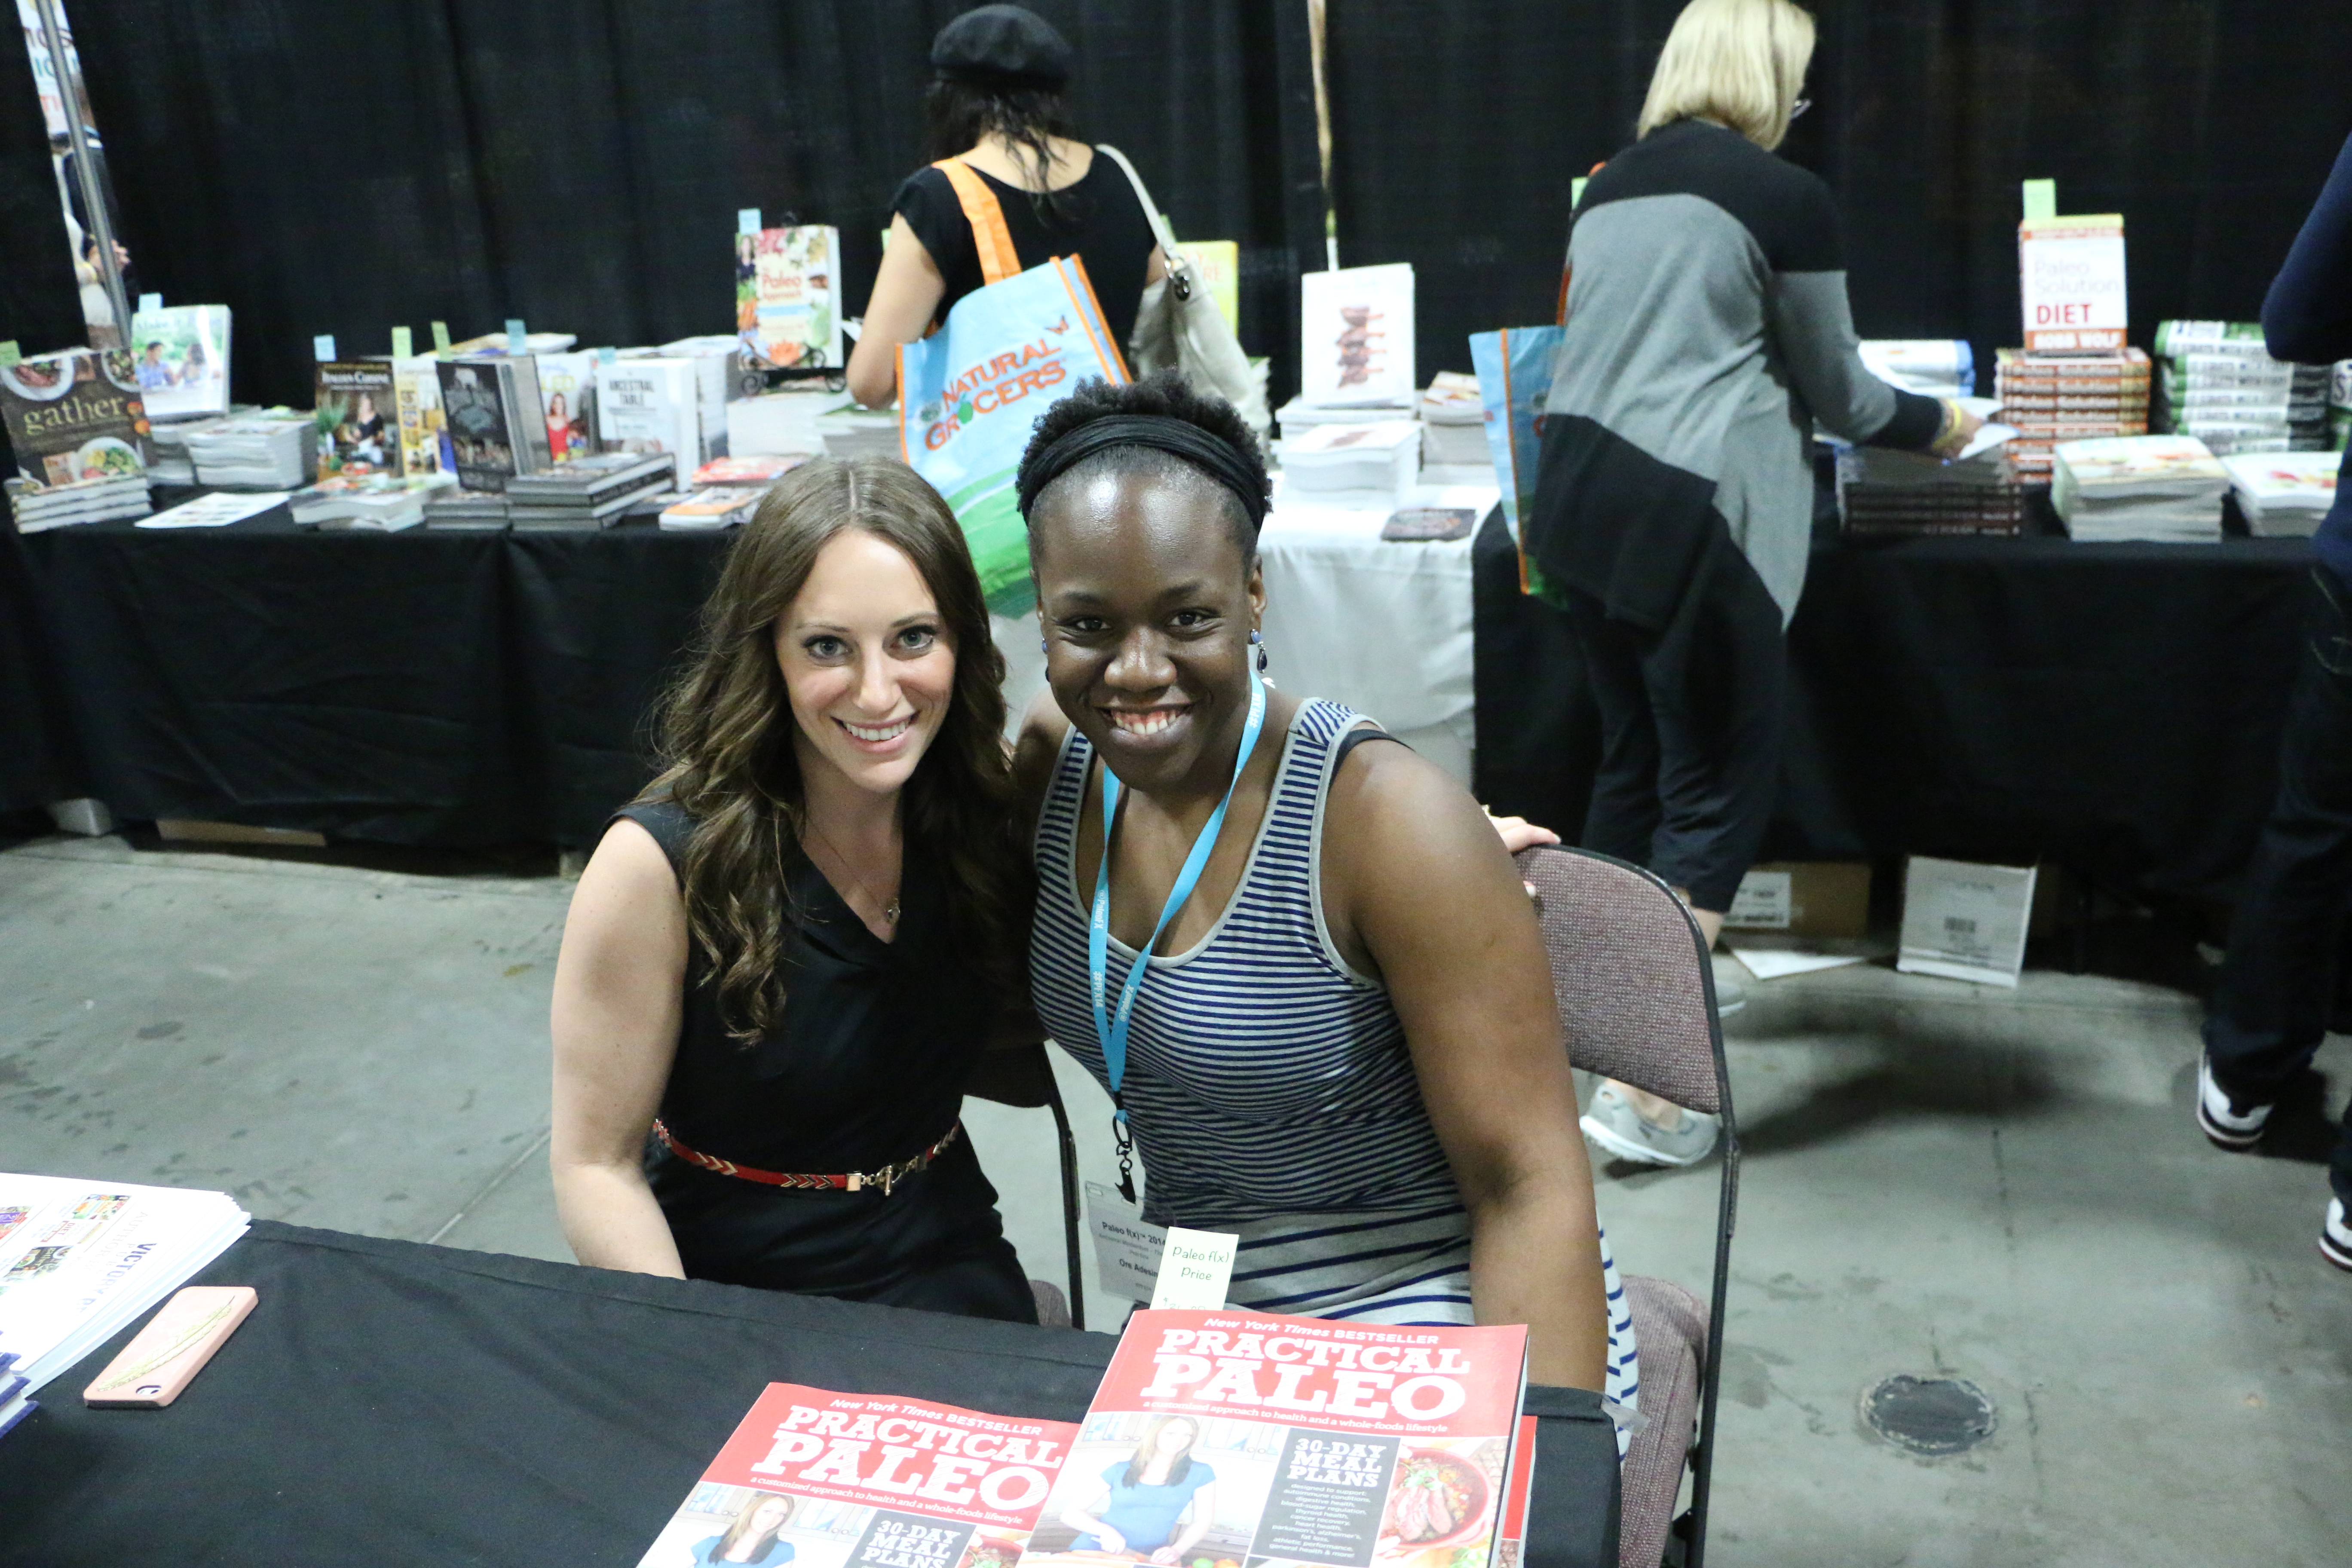
Diane Sanfilippo, author of the book the New York Times Best Seller “Practical Paleo”, “The 21 Day Sugar Detox”, and “The 21 Day Sugar Detox Cookbook.” Her website is Balanced Bites.
Chris Kresser, author of the book “Your Personal Paleo Code.” His website is Chris Kresser.
Dallas & Melissa Hartwig, authors of the New York Times Best Seller book, “It Starts with Food. There website is Whole 9 Life.
Sarah Ballantyne, author of the book “The Paleo Approach: Reverse Autoimmune Disease and Heal Your Body”, and the upcoming companion book, “The Paleo Approach Cookbook: A Detailed Guide to Heal Your Body and Nourish Your soul.” Her website is The Paleo Mom.
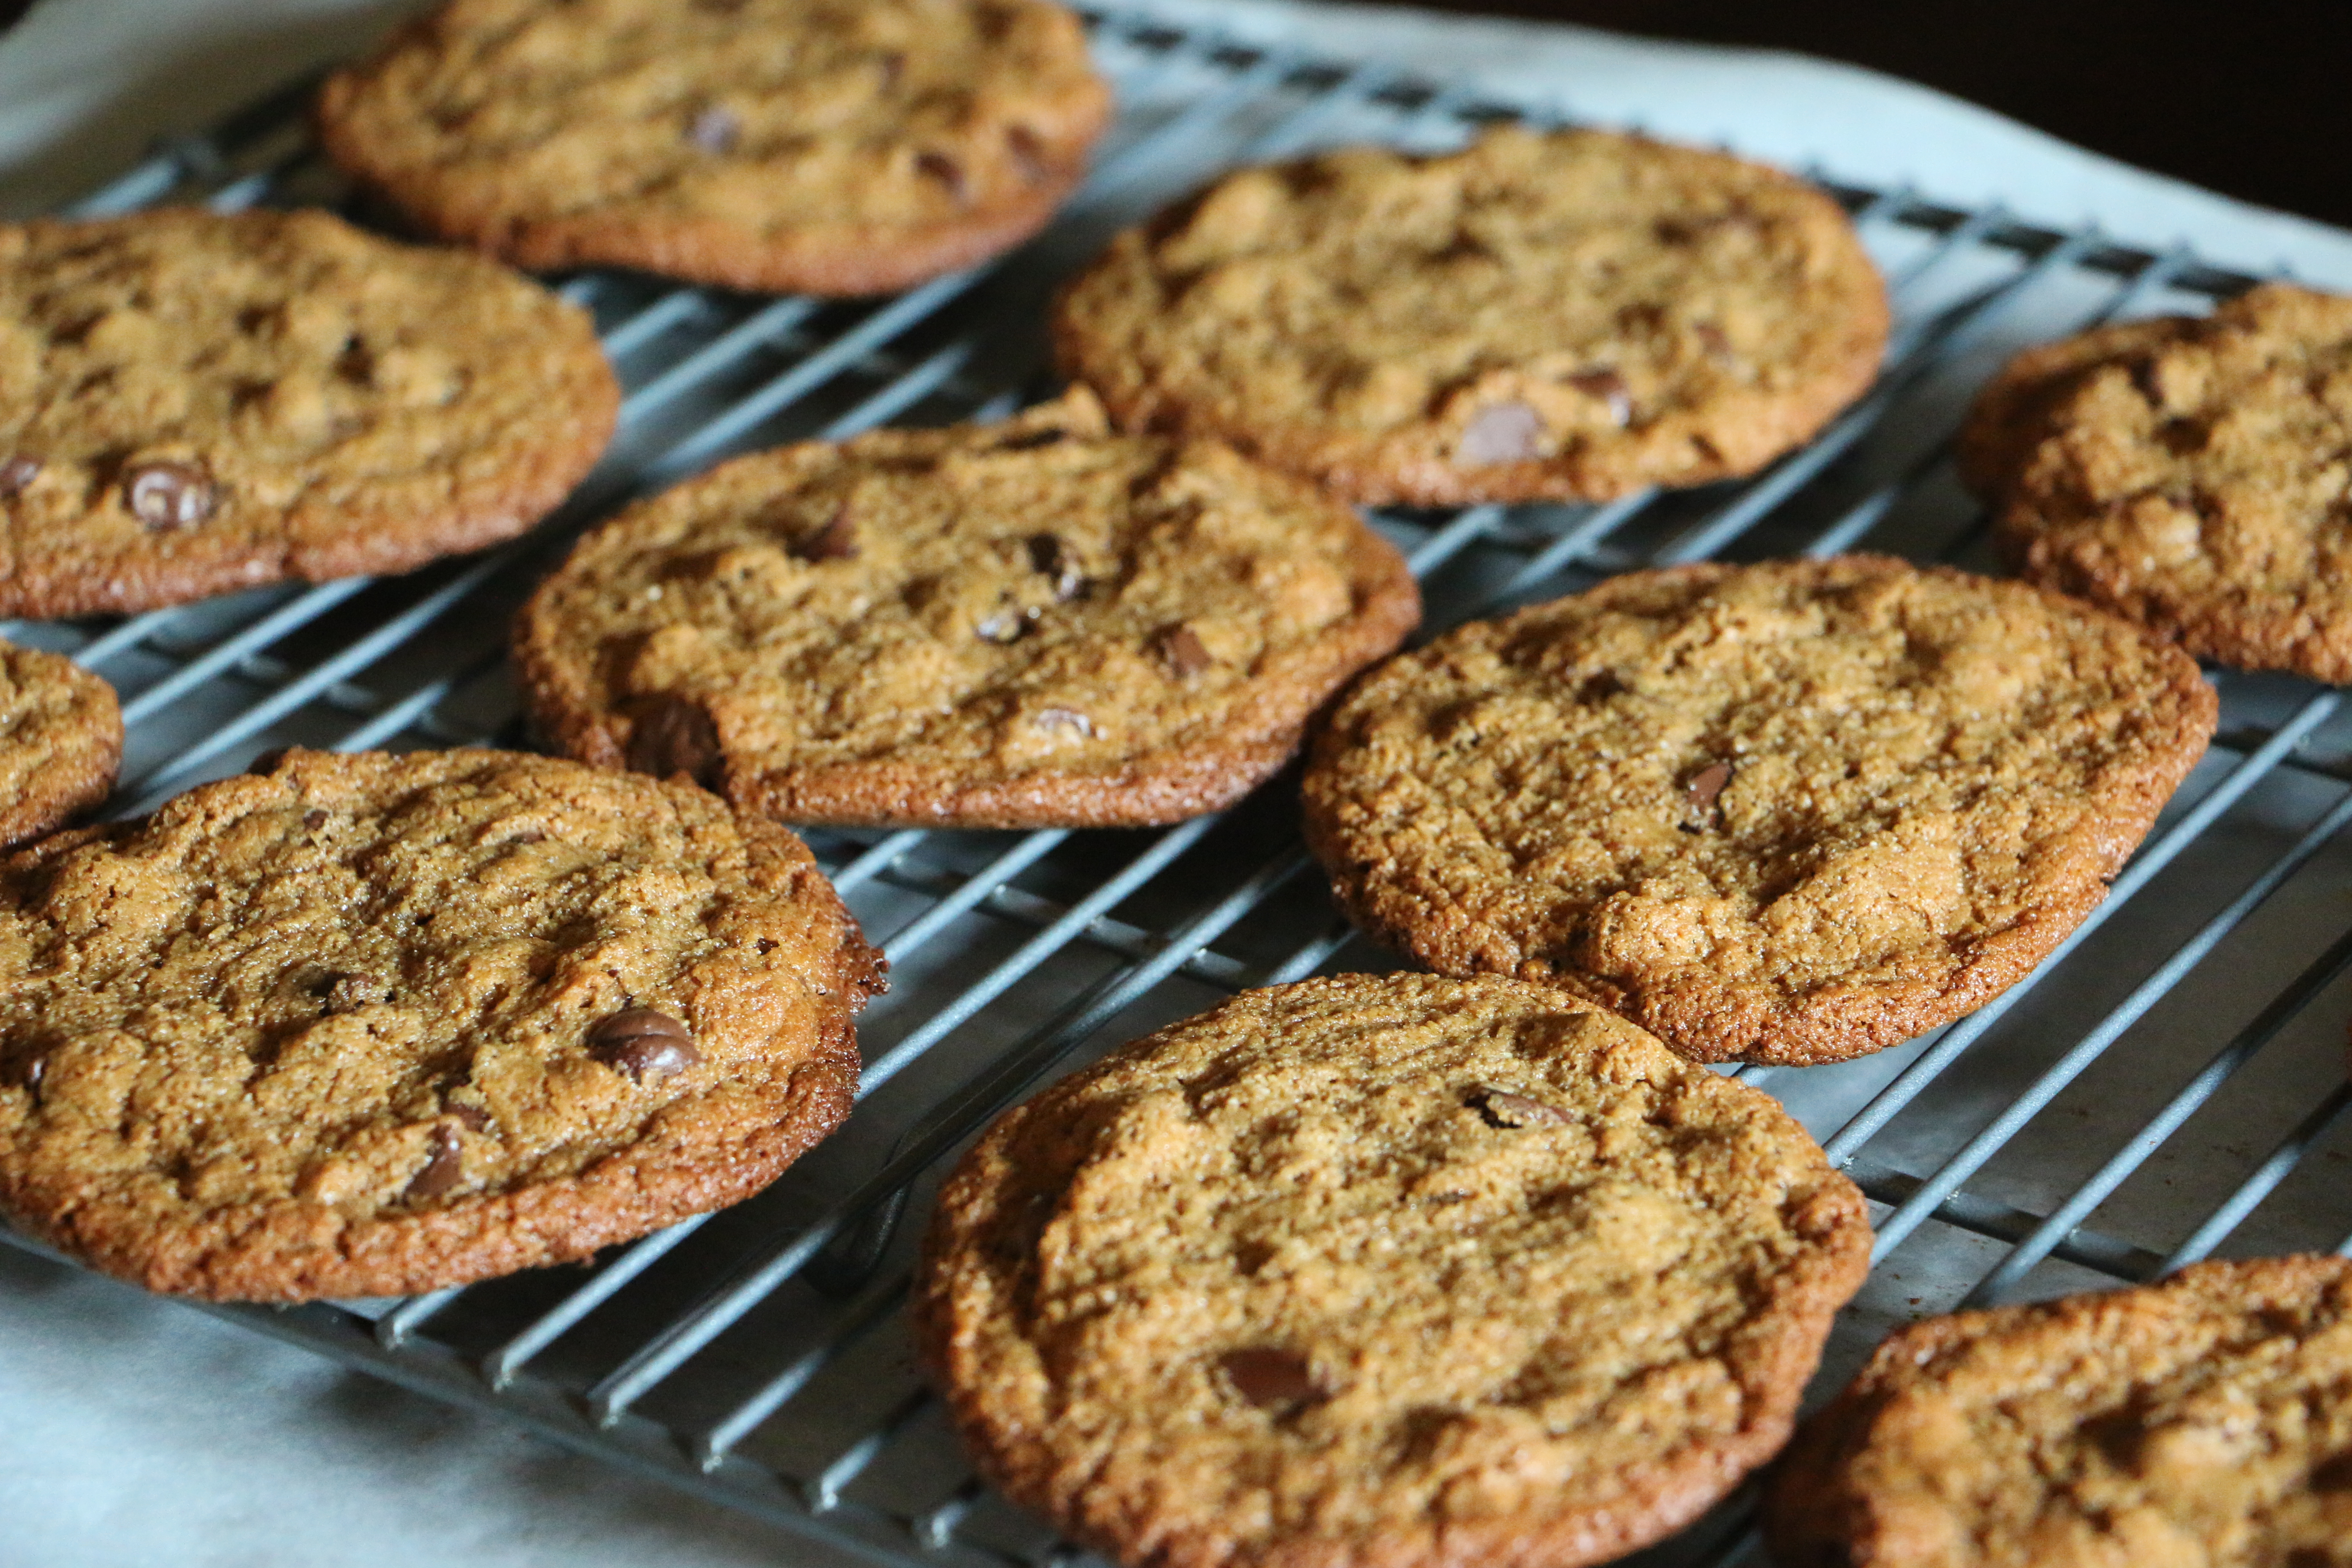
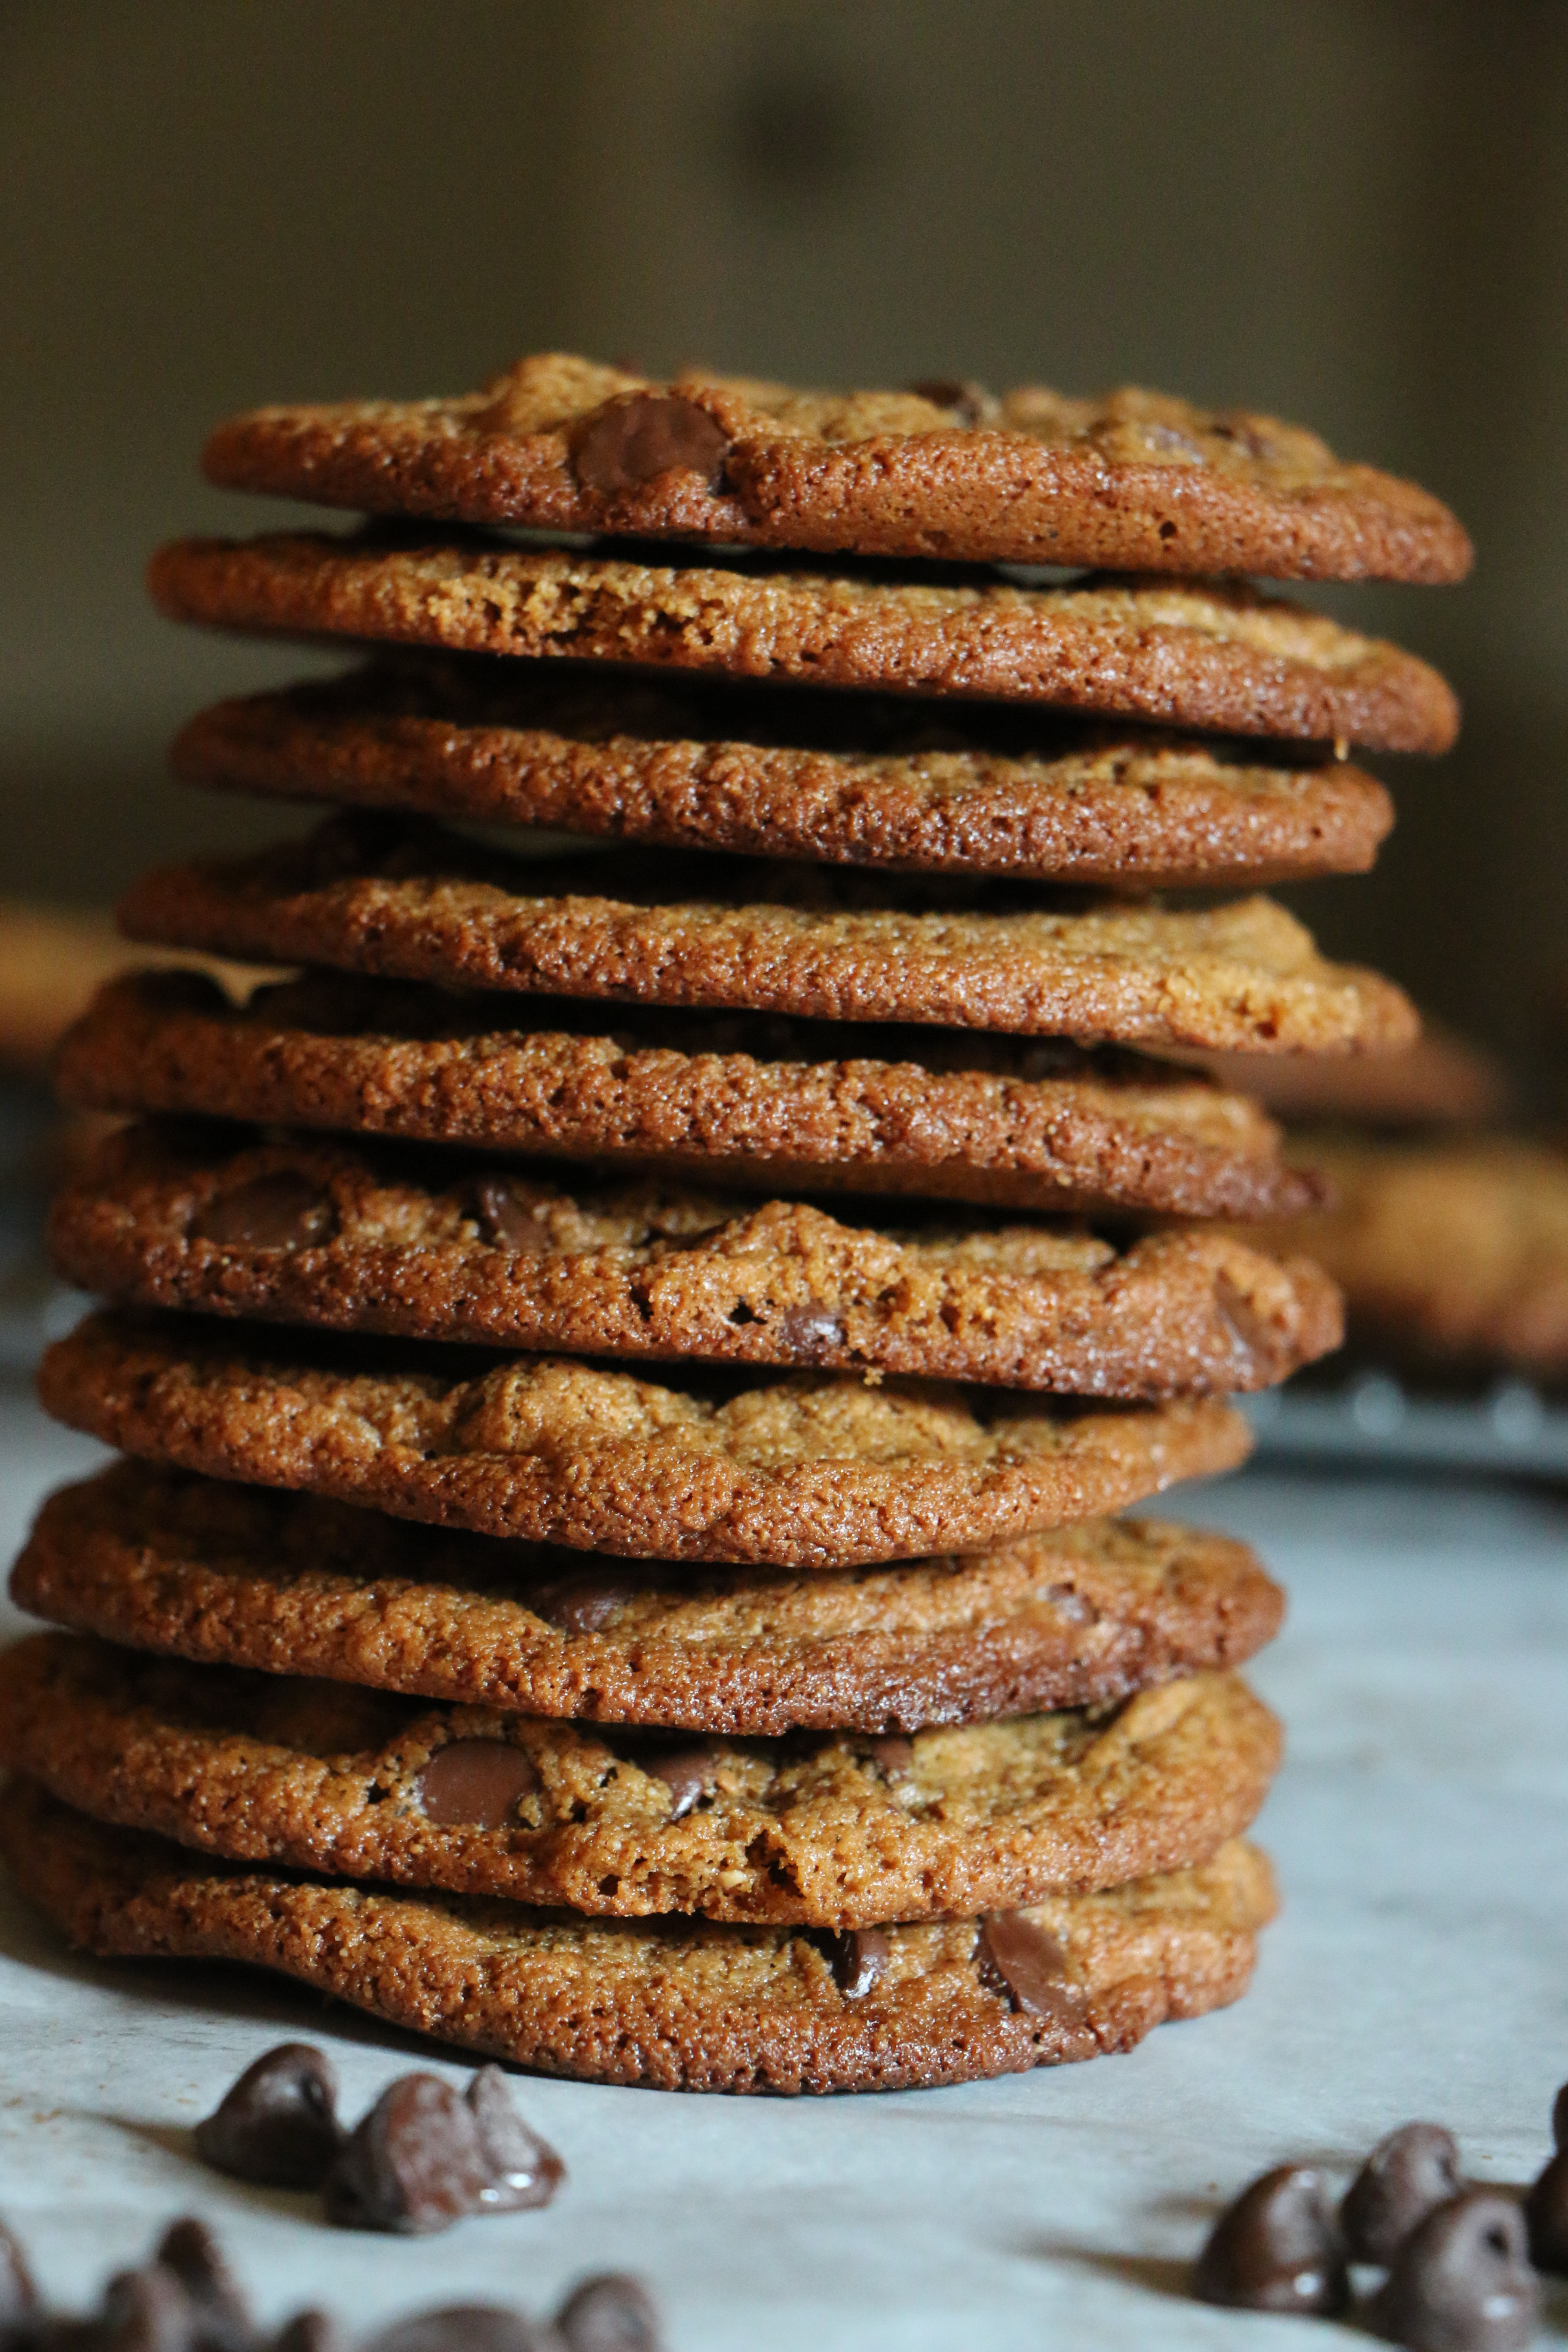
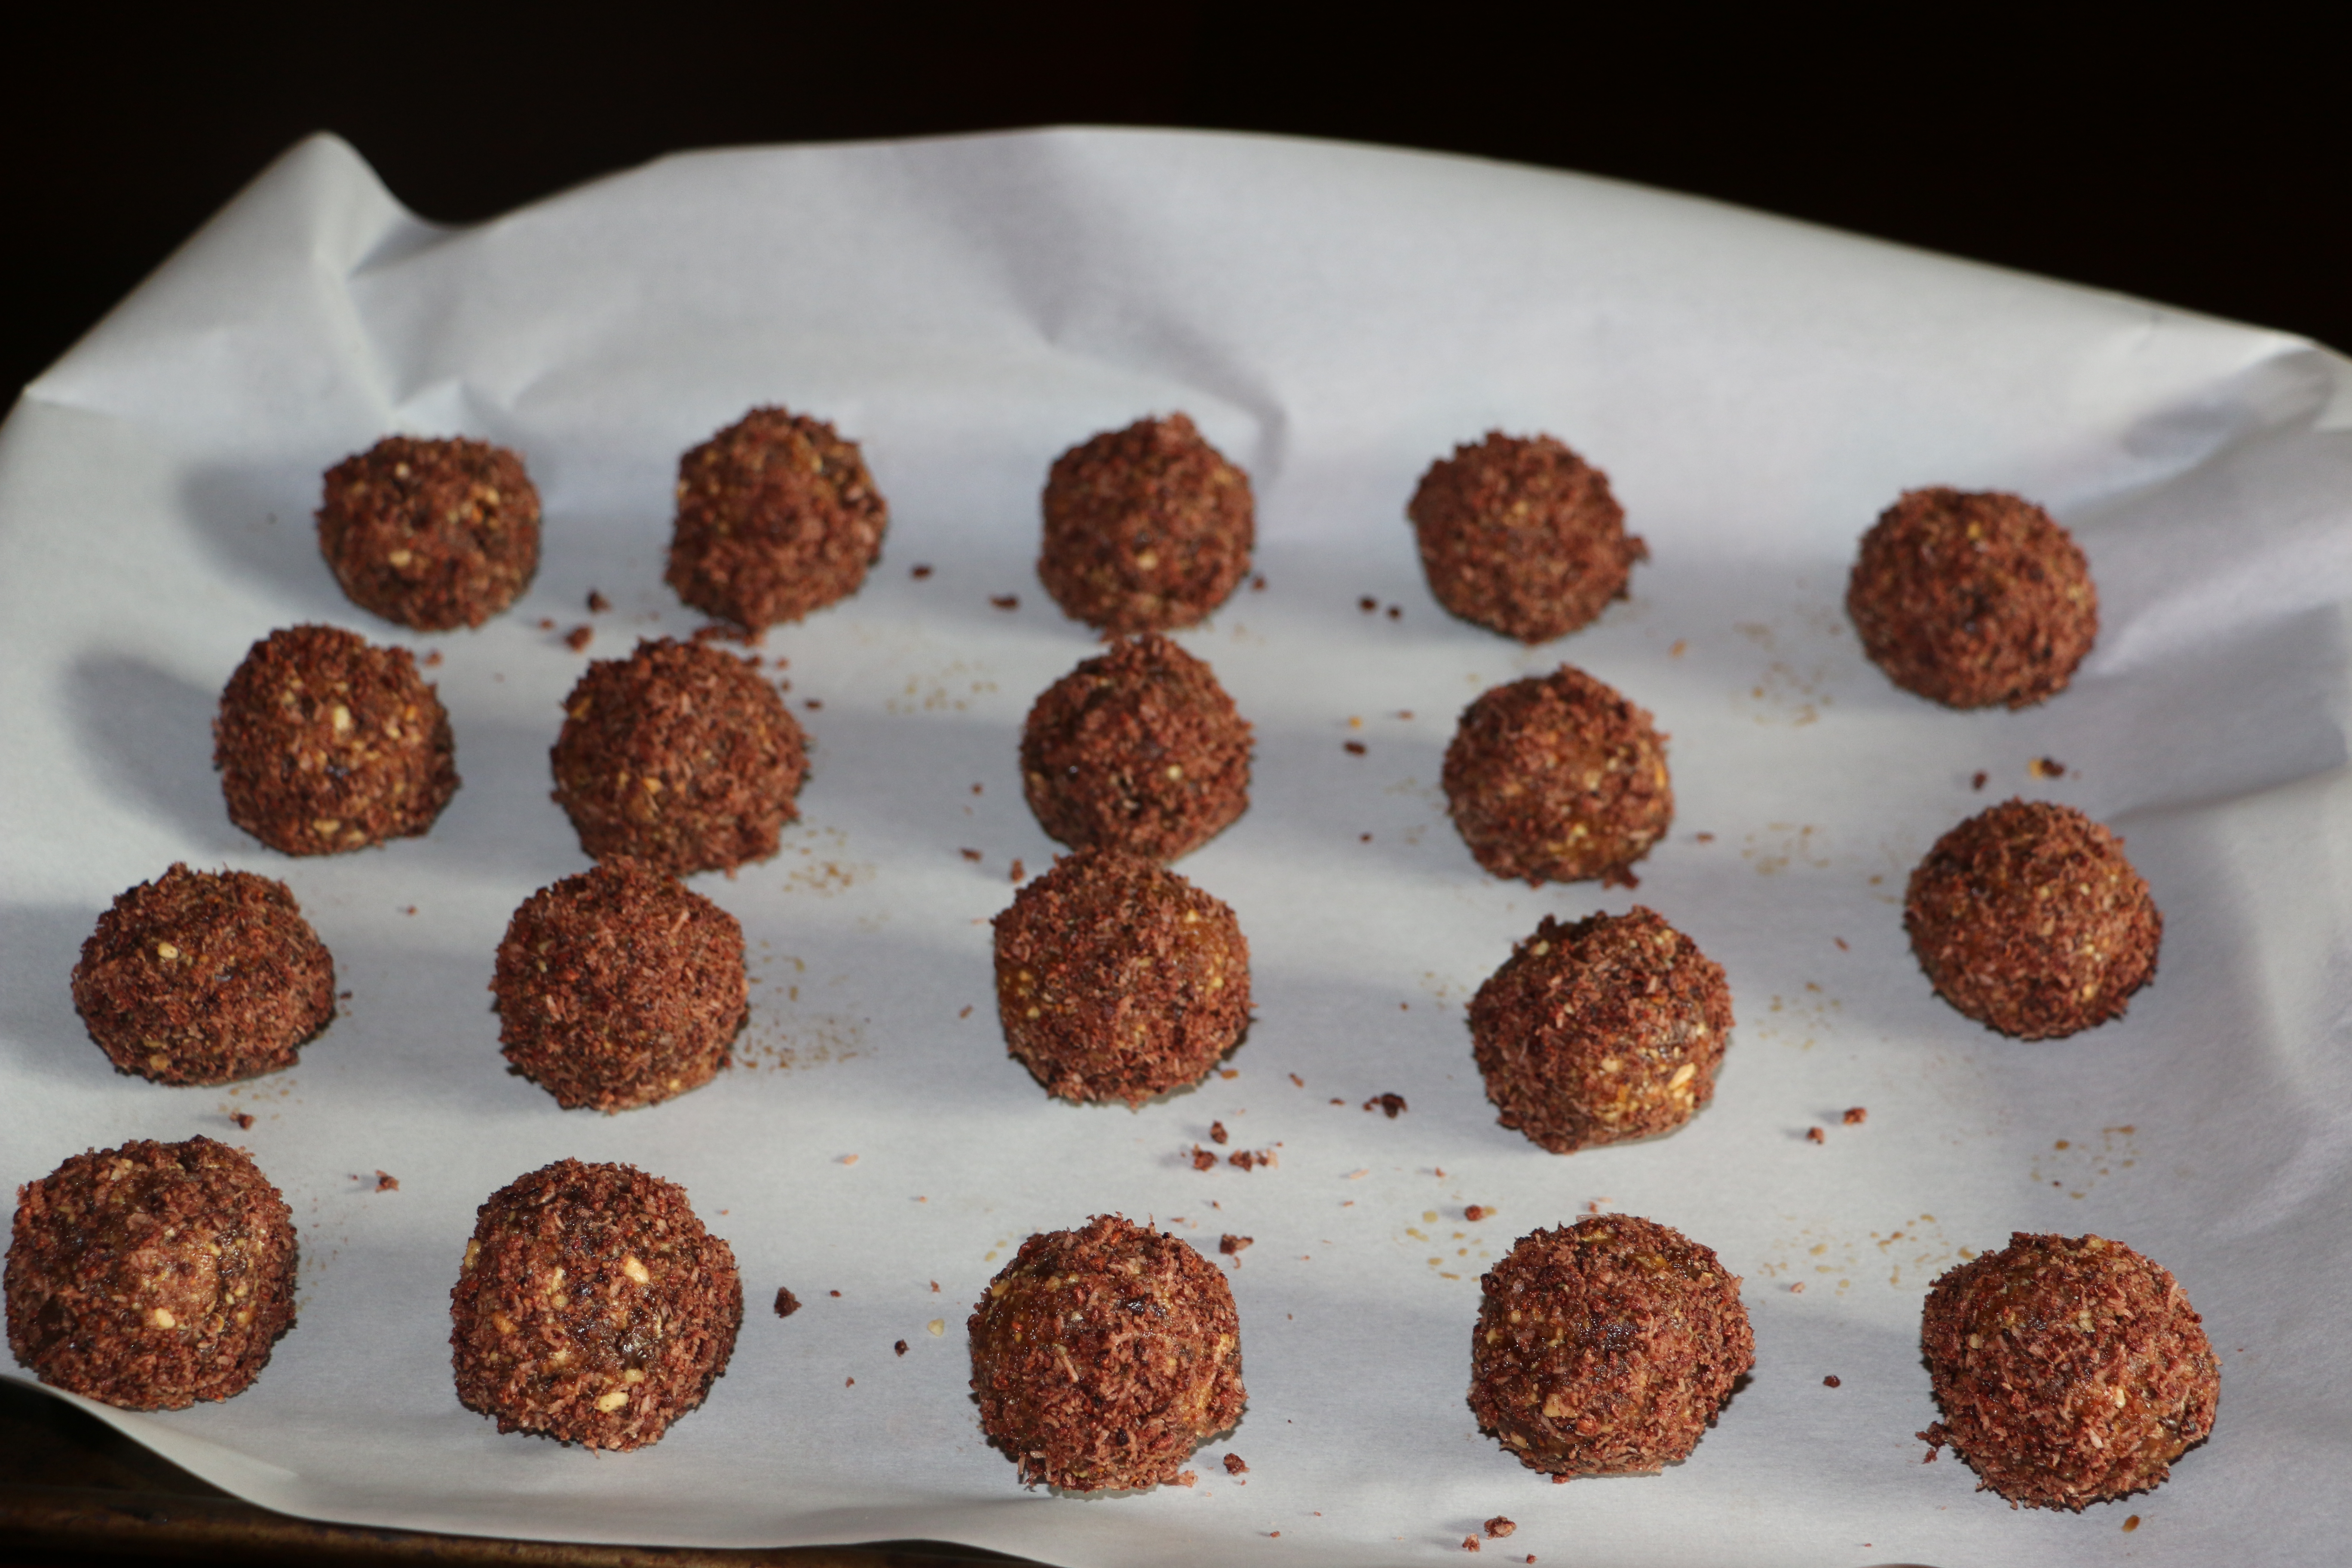
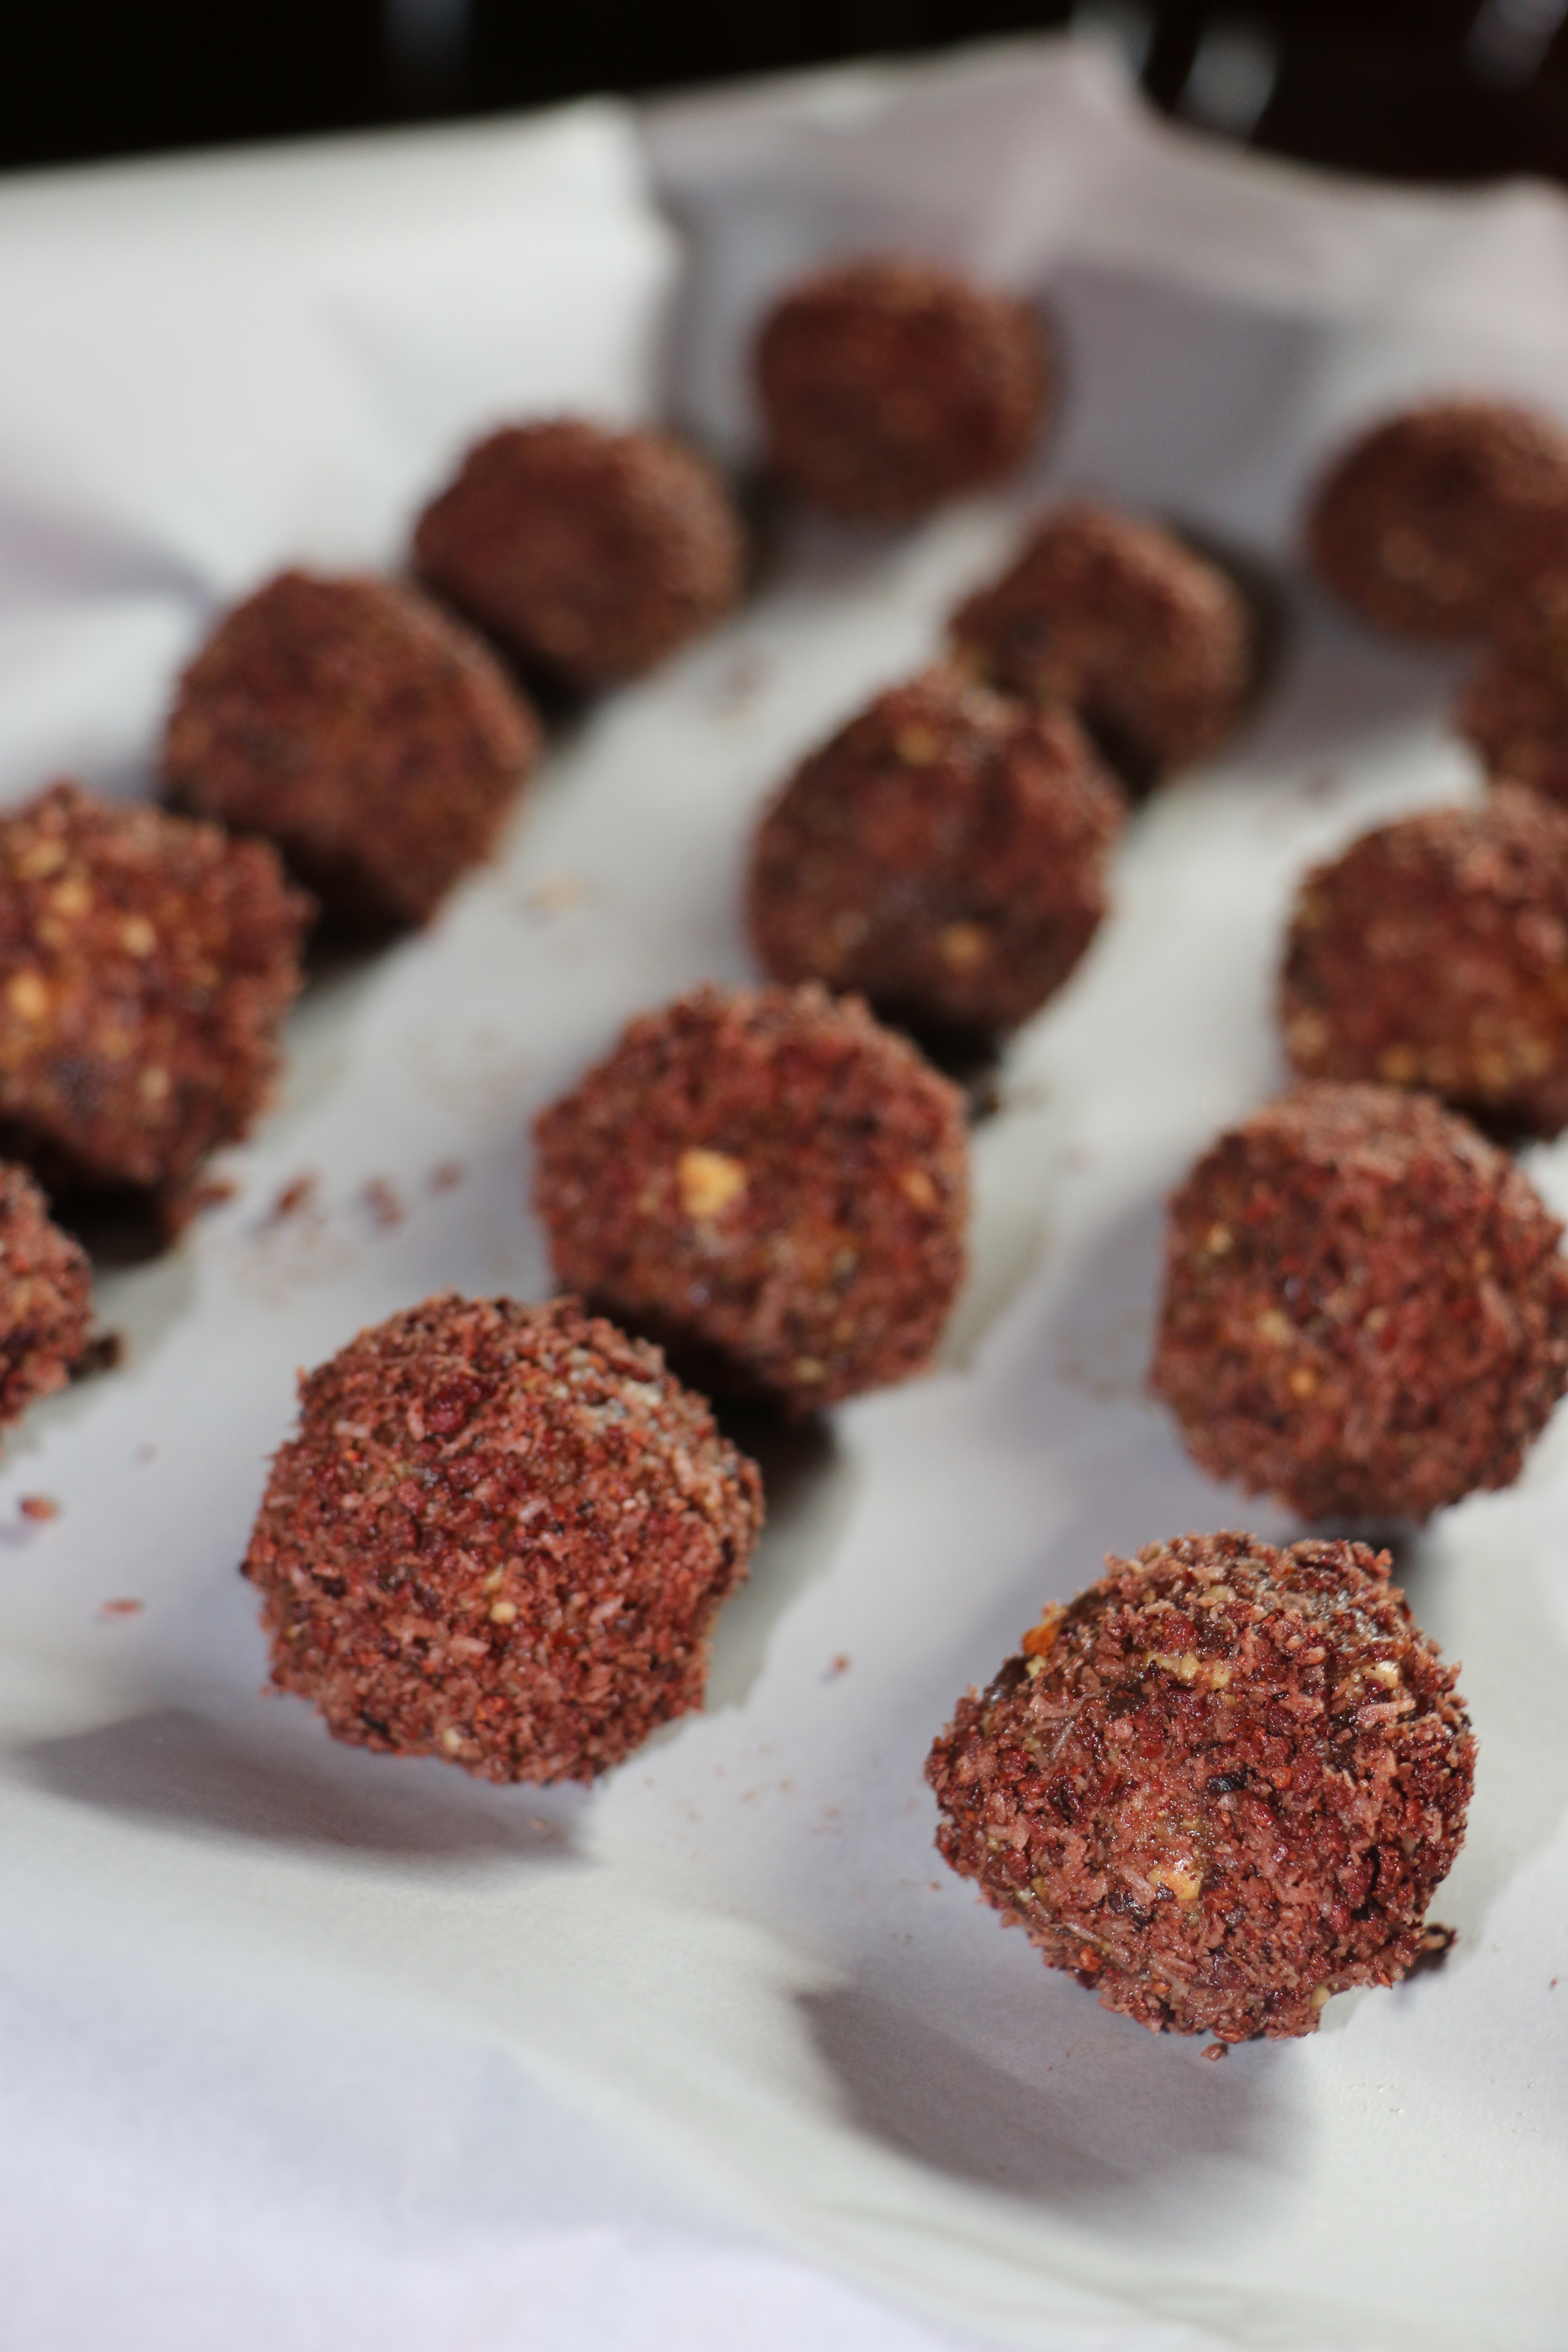
Okay, that’s all well an good you say. But the real question you may be asking is, “WHAT CAN I EAT?” The thought of reducing the amount of processed foods you may normally eat might be freaking you out. However, once you realize all of the foods you get to eat (bacon, anyone?), you’ll be amazed at some of the awe-inspiring recipes you’ll whip up that will rock you (and your family’s) taste buds. There are hundreds, if not thousands of amazing Paleo blogs and websites that provide lots of mouth-watering recipes. I’ve spent several years researching and reading through these blogs, and want to share with you some of my favorites.
Here are several blogs/websites that will help you get started:

Bill Staley and Hayley Mason
Primal Palate – Bill Staley and Hayley Mason are a husband and wife team that run their website, and they are also the authors of several cookbooks, including “Make it Paleo”, “The 30 Day Guide to Paleo Cooking”, and “Gather.” A big plus on their website is a feature that allows you to make grocery lists from the recipes posted to their website, and you can also filter recipes to avoid specific ingredients (which can be very helpful, depending on what food sensitivities you may have).
Civilized Caveman Cooking – George Bryant runs this successful Paleo Blog. His recipes are delicious, and his photograph skills are so good, they make me want to reach into the screen and take a bite (too bad this isn’t a reality yet). In addition to providing a food blog, he also sends weekly meal plan for subscribers of his newsletters (signing up is free). In addition, George has co-authored a cookbook with Juli Bauer of Paleoomg, the New York Times Best Selling cookbook “The Paleo Kitchen.”

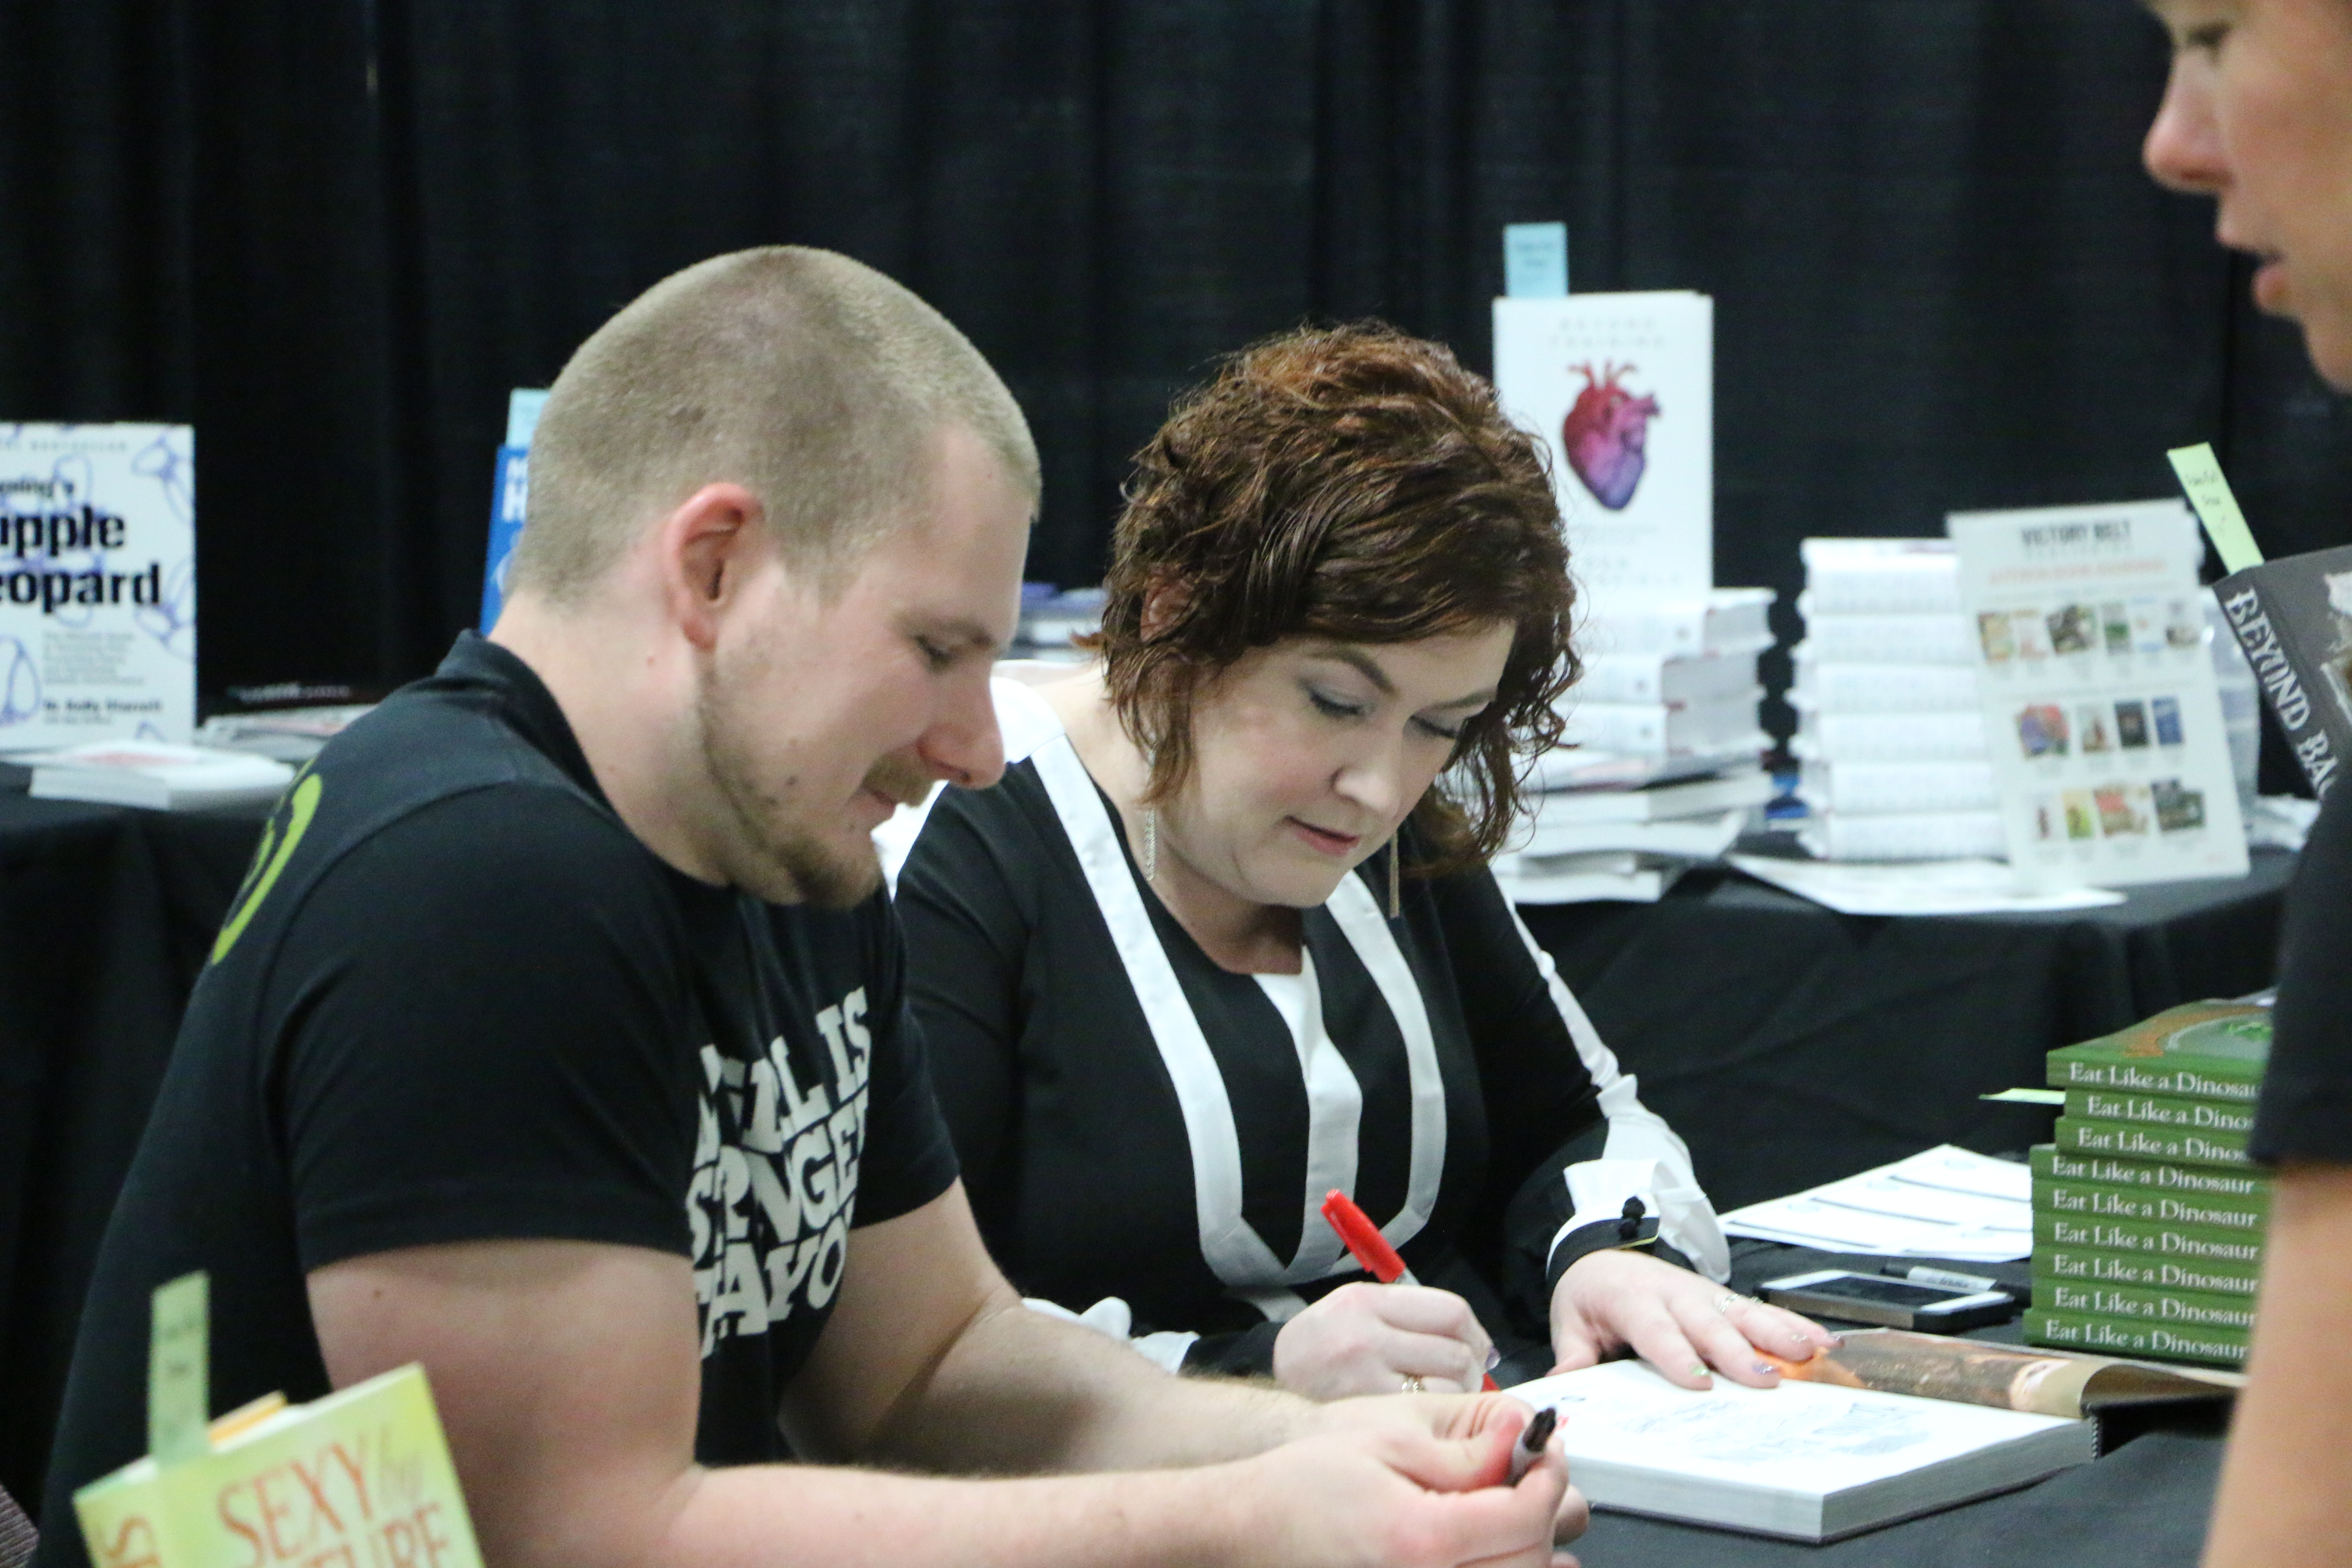
Stacy Toth and Matthew McCarry
Paleo Parents – Stacy Toth and Matthew McCarry are the husband and wife team behind this website. Their website provides lots of yummy recipes, and is also a great resource for families with small children who want help transitioning their family to Paleo. They are the authors of “Eat Like a Dinosaur”, “Beyond Bacon”, the ebook “3 Phase Paleo”, and the soon to be released “Real Life Paleo.”

Michelle Tam
Nom Nom Paleo – Michelle Tam is the author behind this blog, and makes great mouthwatering recipes that adhere to stricter version of Paleo (helpful for those who are participating in elimination diets). She is the author of the New York Times Best Selling cookbook “Nom Nom Paleo: Food for Humans.”

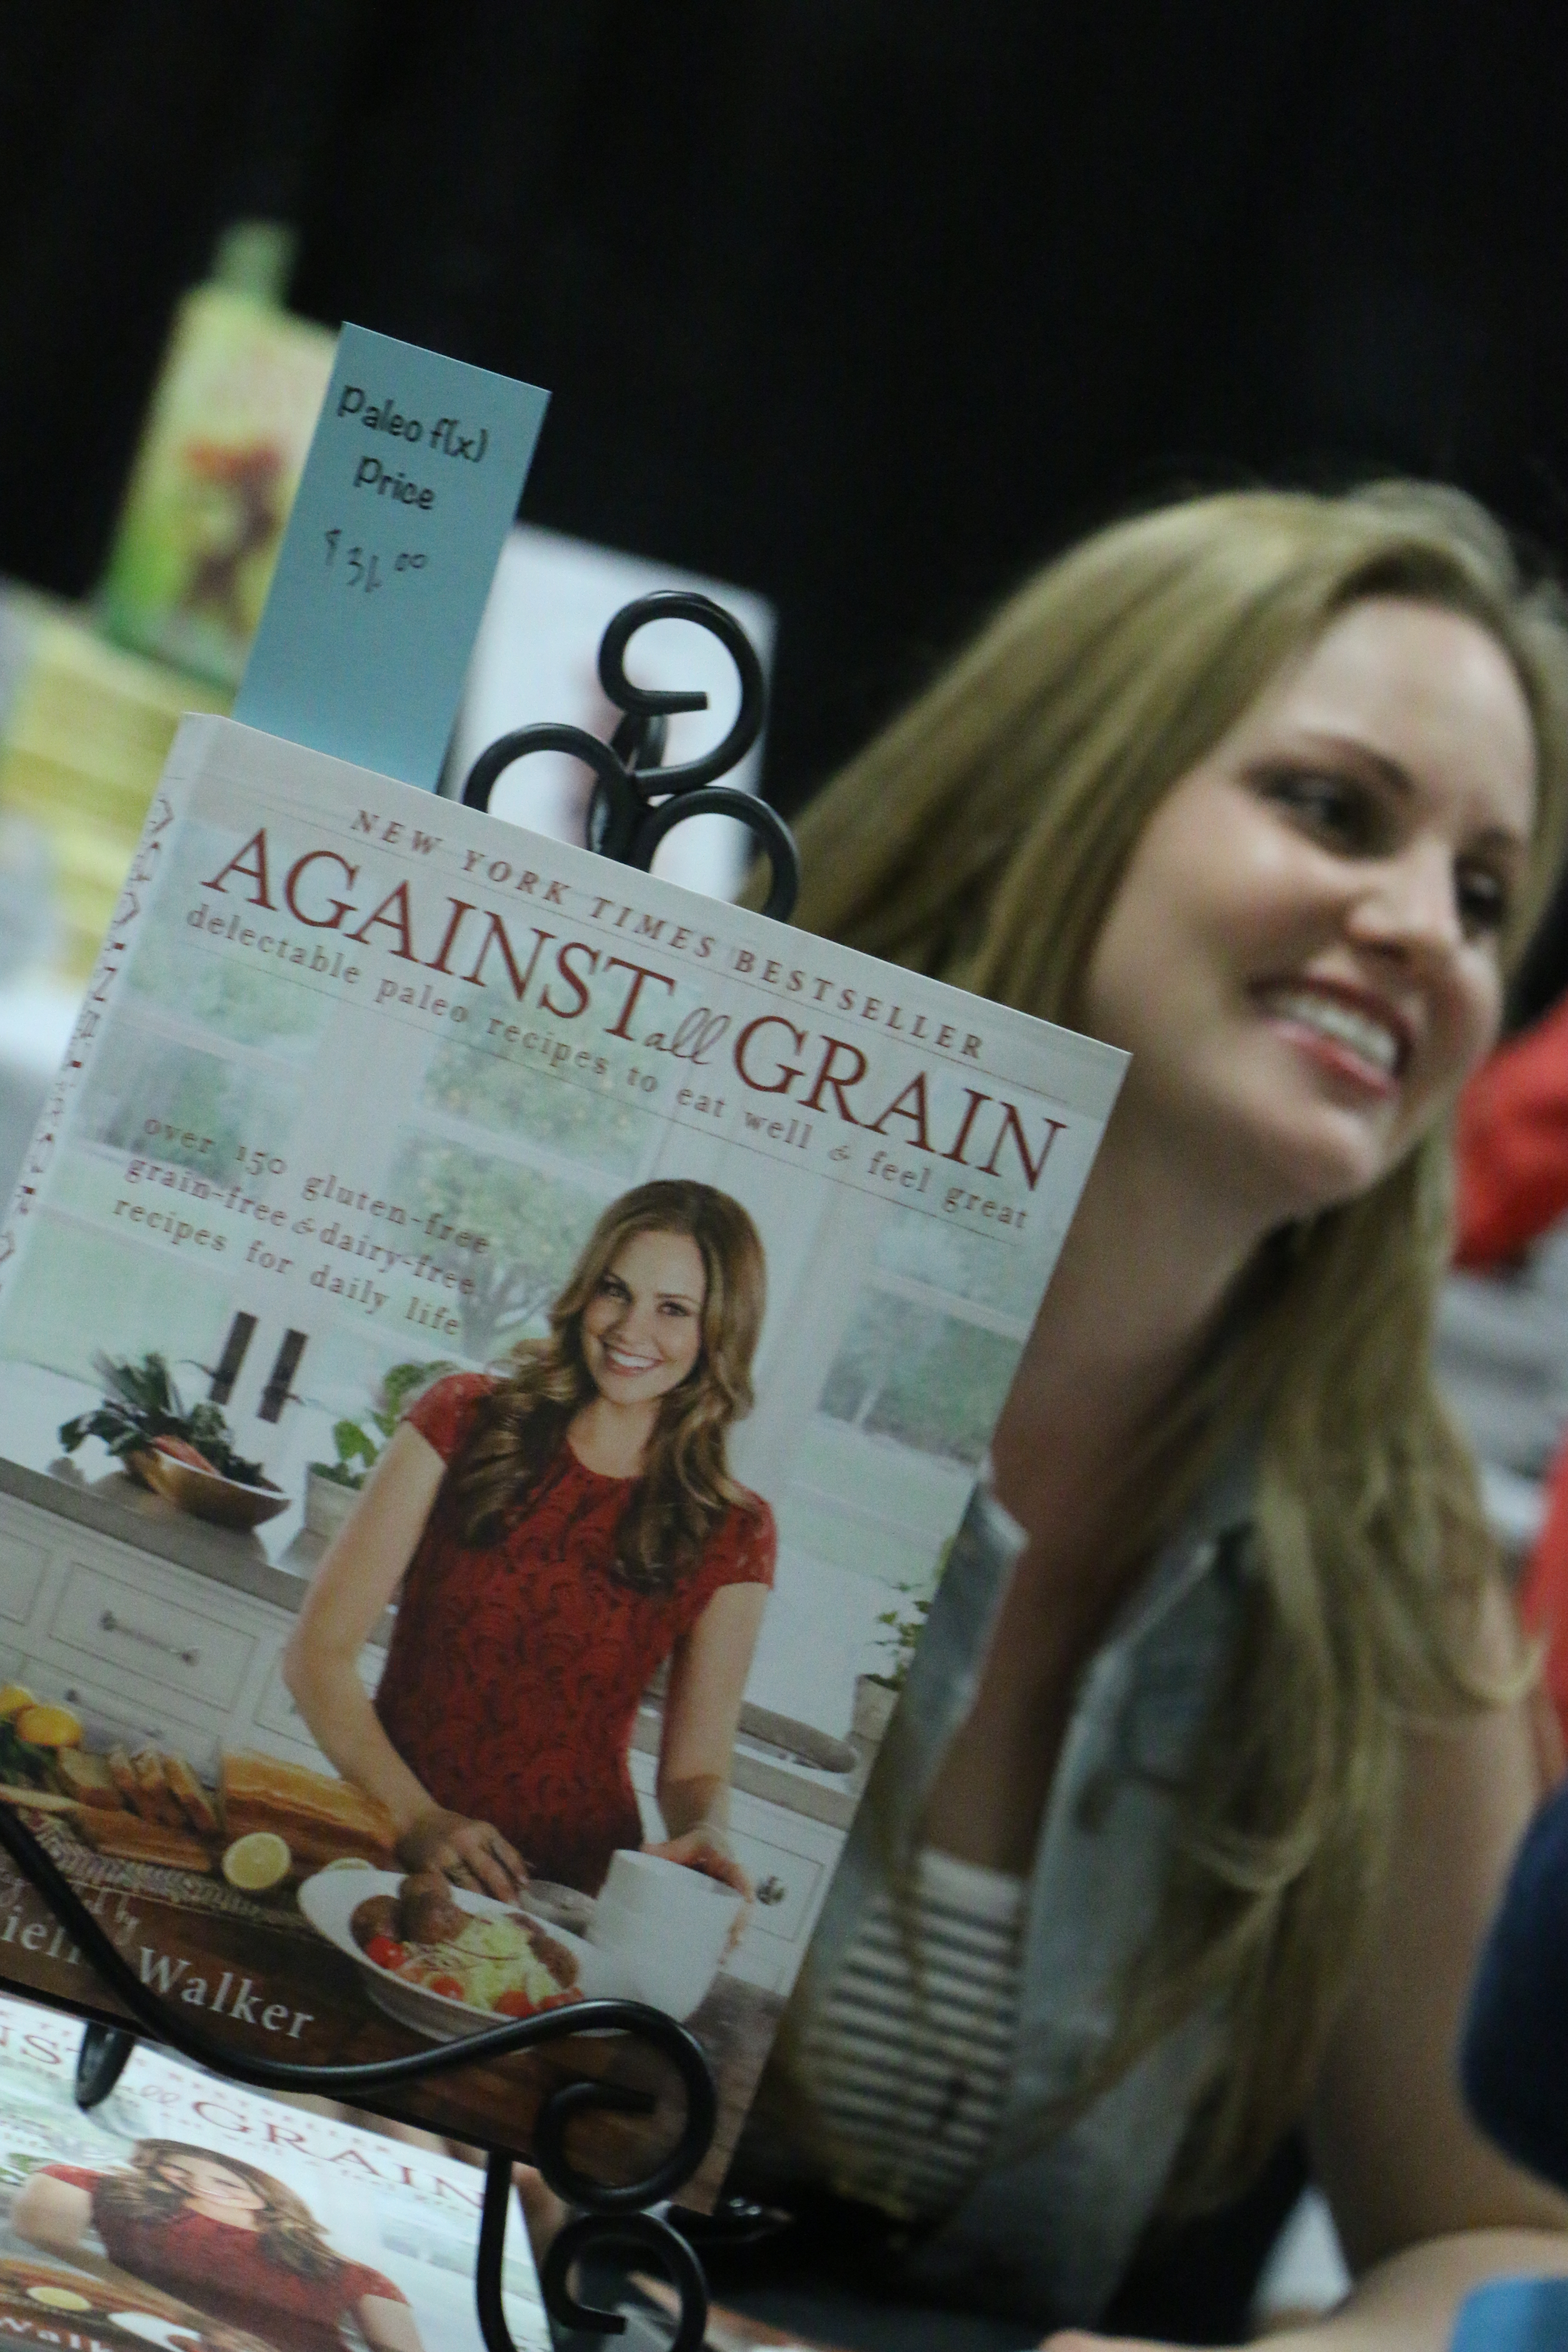
Danielle Walker
Against All Grain – Danielle Walker is the blogger behind this blog, and creates recipes that are hands down some of the best Paleo recipes I have ever had. It’s hard to go wrong making a recipe from her website. Danielle is the author of the New York Times Best Selling cookbook “Against All Grain: Delectable Paleo Recipes to Eat Well & Feel Great”, and will be releasing a new book in September titled “Against All Grain: Meals Made Simple.”
Stupid Easy Paleo – Stephanie Gaudreau provides great recipes, along with tips and advise on Paleo living. She is especially helpful for athletes who want to stick to a Paleo diet, but have issues with getting enough carbs from good food sources. She has even written a book an ebook on this topic, “The Performance Paleo Cookbook: Recipes for Eating Better, Training Harder & Getting Stronger.”
For even more blogs with mouthwatering recipes, check out these Paleo blogs:
Paleomg
Paleo Cupboard
Urban Poser
The Healthy Foodie
Slim Palate
Zen Belly Blog
Paleo Newbie
The Clothes Make the Girl
Everyday Paleo
Brittany Angell
Taylor Made it Paleo
Multiply Delicious
There are lots of great health blogs/websites that are not strictly Paleo, but provide a lot of nutritious and delicious recipes, along with helpful tips and advise on leading a healthy lifestyle. I refer to these types of websites as “JERF” (Just Eat Real Food). Some of my favorites are:
The Domestic Man
Healthy Living How To
I Breathe I’m Hungry
The Iron You
Deliciously Organic
Inspiralized
As I mentioned earlier, the blogs and websites I have referenced are in no way an exhaustive list of all of the great Paleo blogs out there, and I am discovering amazing new Paleo/healthy food blogs all the time.
Here are several tips if you are interested in looking up even more Paleo/Primal recipes:
1. Many vegetarian and vegan blogs have recipes that are very Paleo friendly, so don’t feel you have to limit yourself to Paleo/Primal websites.
2. Go to Food Gawker, which is a website that brings together amazing recipes from all over the internet. You can type in “paleo”, “primal”, “gluten free”, “vegetarian”, “vegan” or any other combination into the search function to find great recipes that suit your dietary preferences.
3. There are several websites similar to Foodgawker which cater to the Paleo community:
Stalkerville
The Foodee
5. Finally, I have several pinterest boards you can follow to get even more recipe ideas:
Paleo/Primal Recipes
Whole 30 Recipes (an elimination diet)
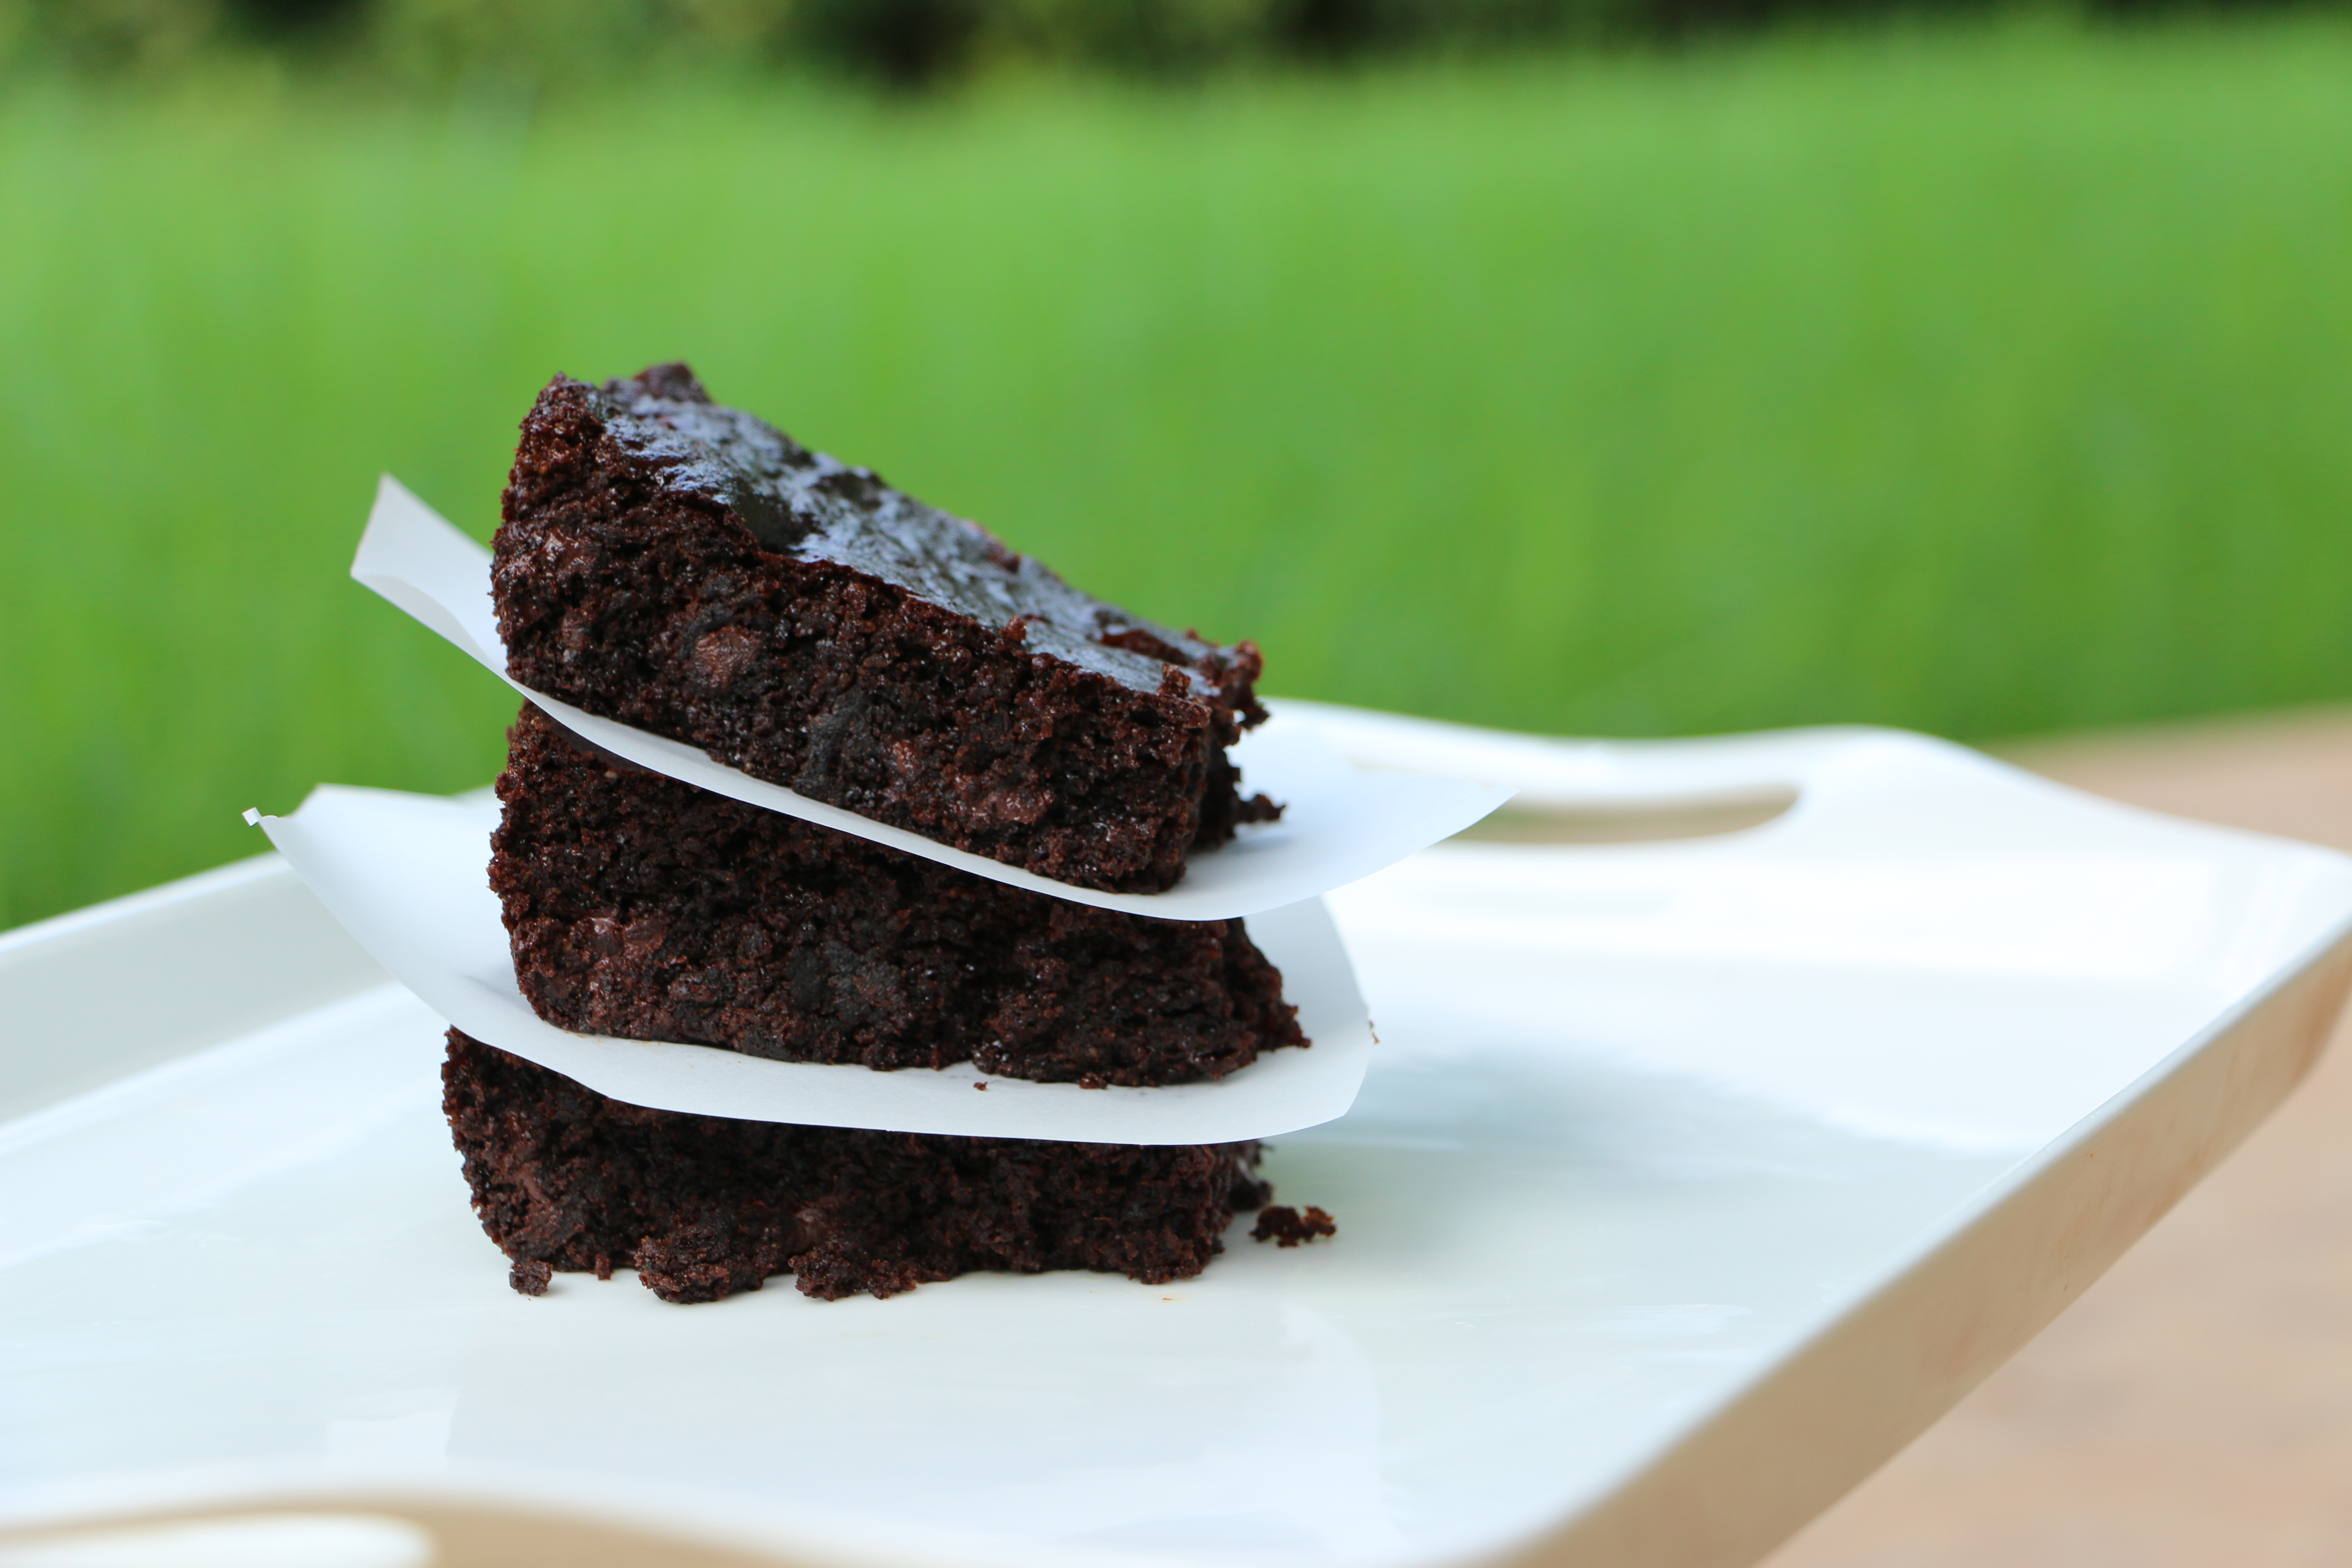
Gluten-Free and Grain-Free Desserts and Baked Goods
Paleo Drink Ideas
I hope this post leads you to great recipes that will become family favorites. With meals like Paleo Pad Thai, Pizza Spaghetti Pie, Chicken Sausage Sweet Potato Hash, and Mixed Seafood Paella, there is sure to be something that you and your family can enjoy. If you have a favorite blog you read and would like to recommend, please feel free to share in the comments below!