I created this recipe for White Chocolate, Lemon and Coconut Date Balls out of a strong desire to eat body lotion. WAIT WHAT????????
Okay, let me back track a little bit, I don’t want you to think I’ve gone completely mad. One of my co-workers is very passionate about using skincare products that are effective, natural, safe and made with minimal to no chemicals or other harmful toxins. So passionate in fact, that she supplies high quality soap and hand lotion for employees at my job. The most recent jar of hand lotion she provided was scented with coconut and lemon. I really love its light and airy scent.
One day, I was feeling the munchies pretty bad (it was clearly time for a high protein snack, but I digress). After using the lotion and smelling it on my hands, I thought to myself, this smells good enough to eat! Thankfully I resisted the urge to consume the body lotion. I also immediately started brainstorming ways to combine the flavors of coconut and lemon into a tempting treat.
This recipe is an adaptation of my orange and dark chocolate energy balls. The link to that recipe can be found here.

For those of you who love coconut, this recipe uses several different kinds of coconut products; shredded coconut, coconut oil and coconut butter, adding several layers of texture to the overall coconut flavor in the date balls.
The white chocolate and dates add sweetness, and the lemon extract and lemon zest give the date balls a burst of lemony freshness and zing.

These date balls are perfect to bring to a party. Your friends will be very happy if you make these to share. Enjoy!
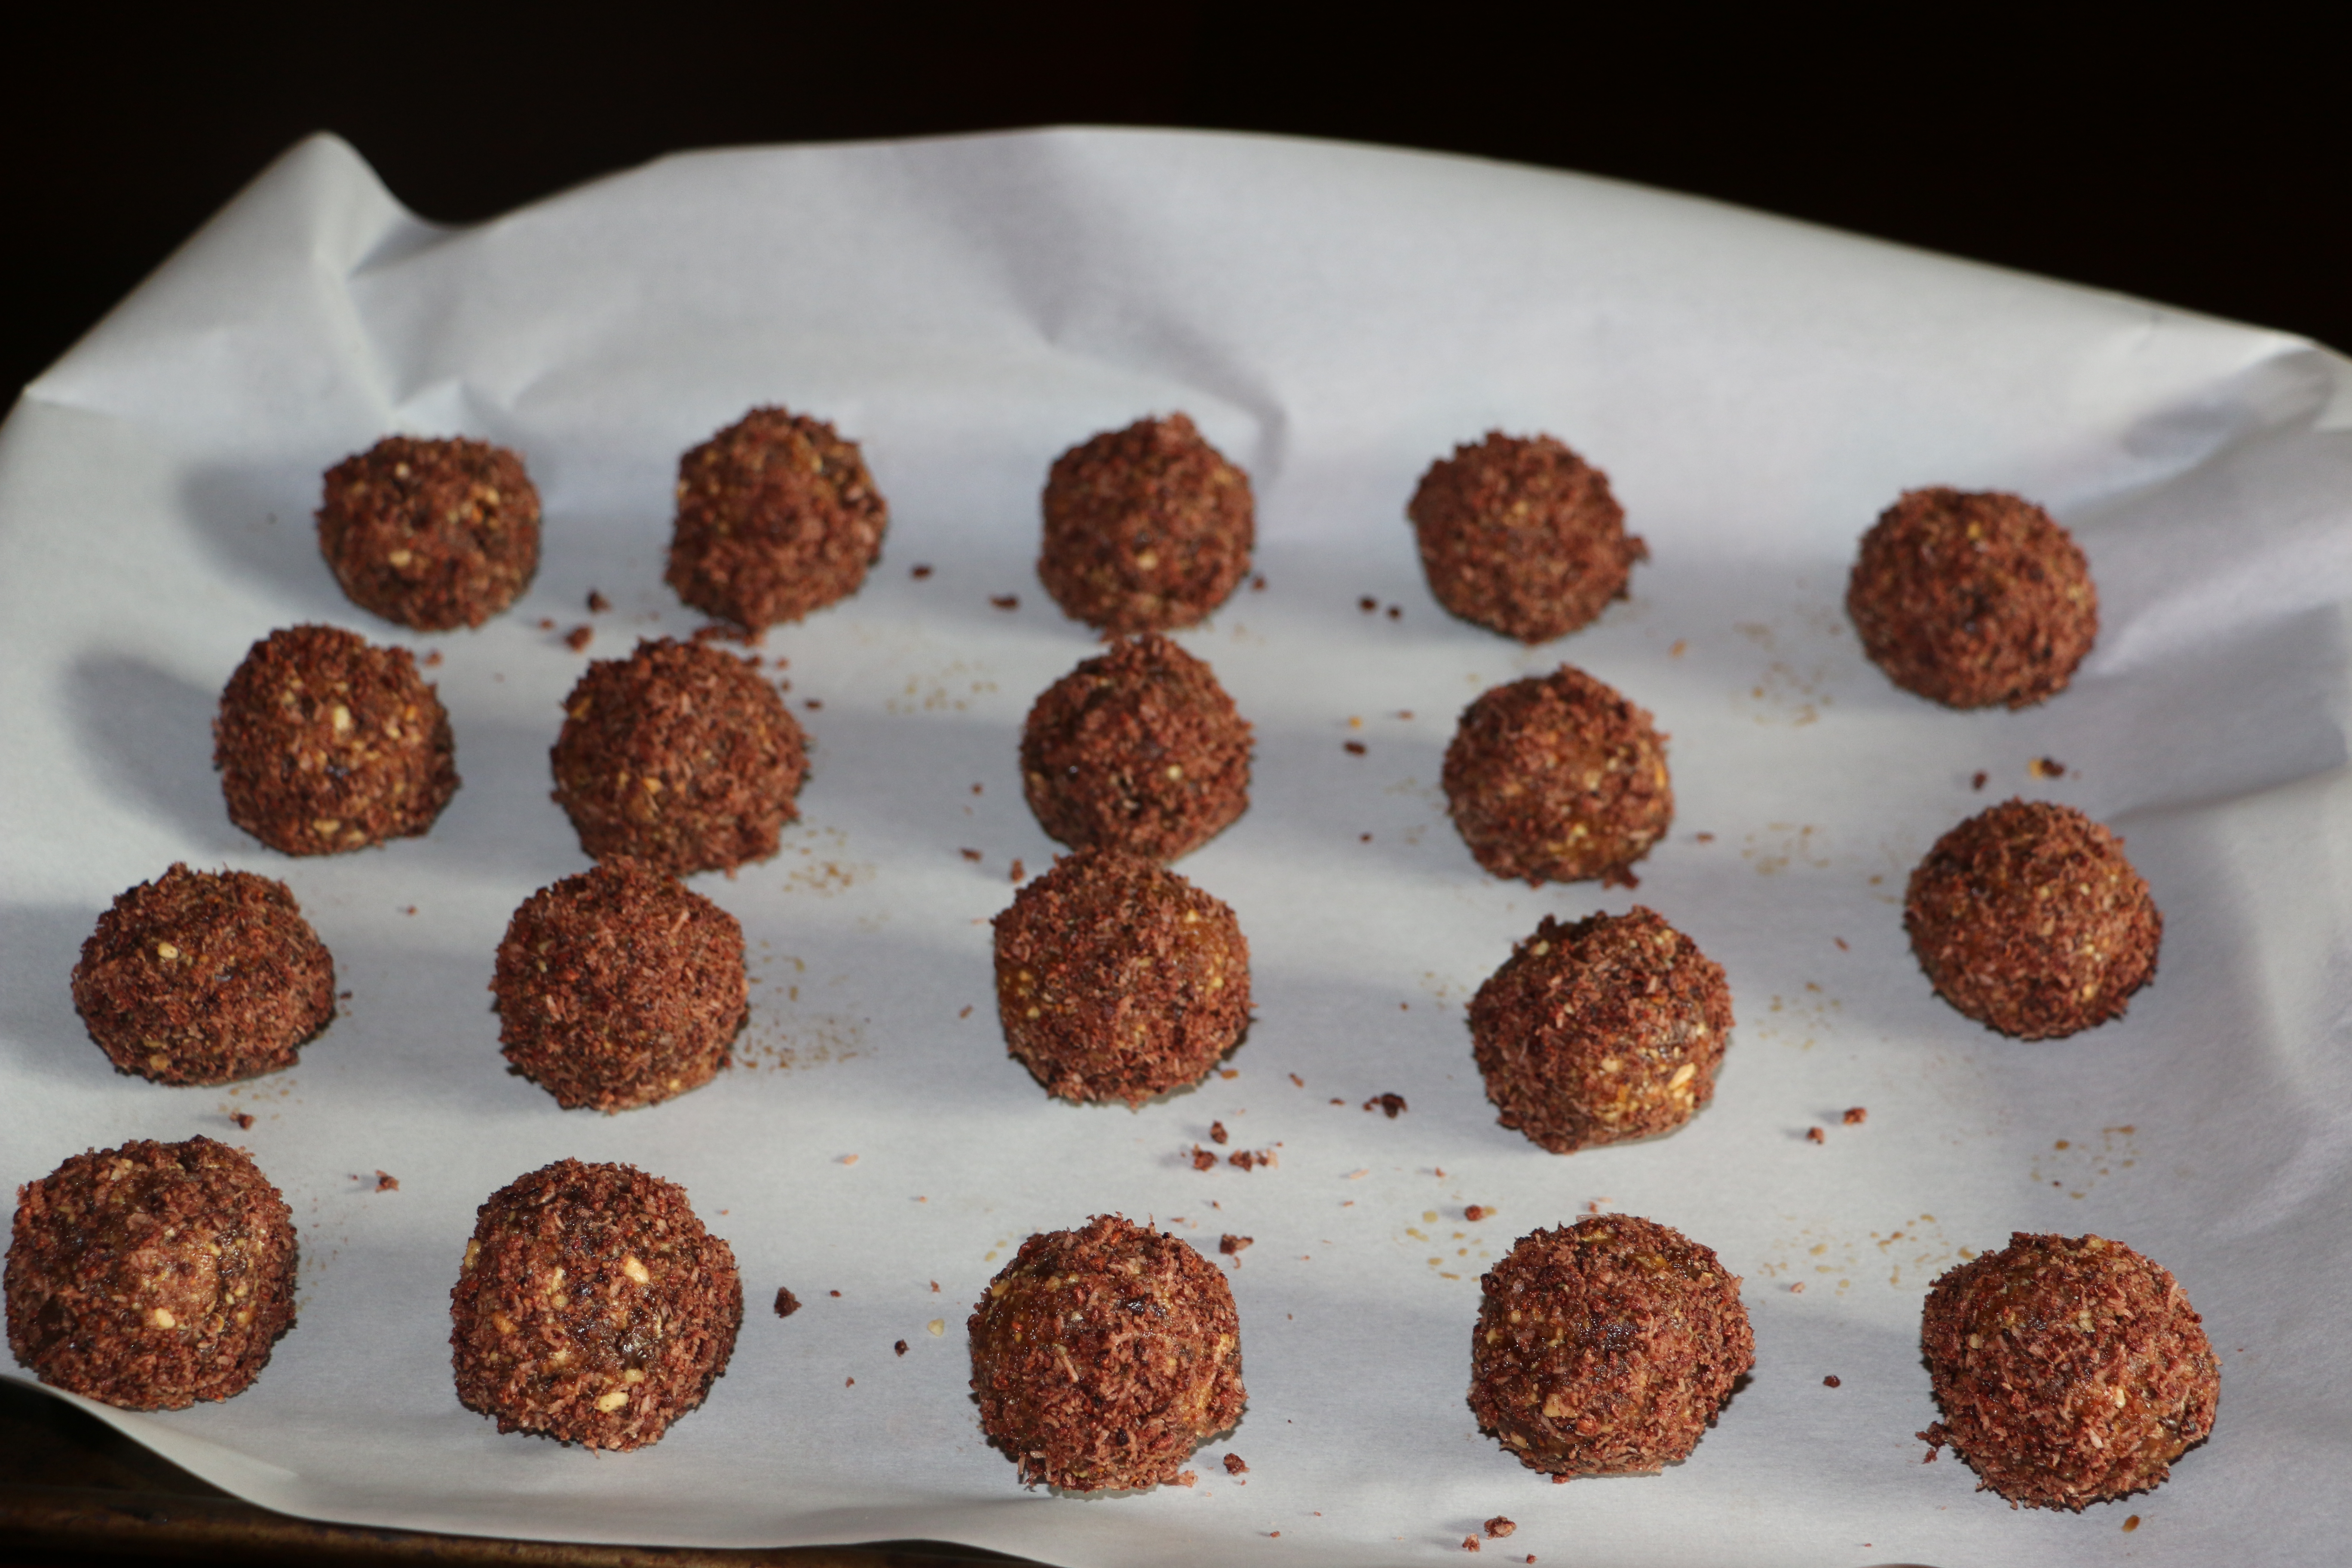
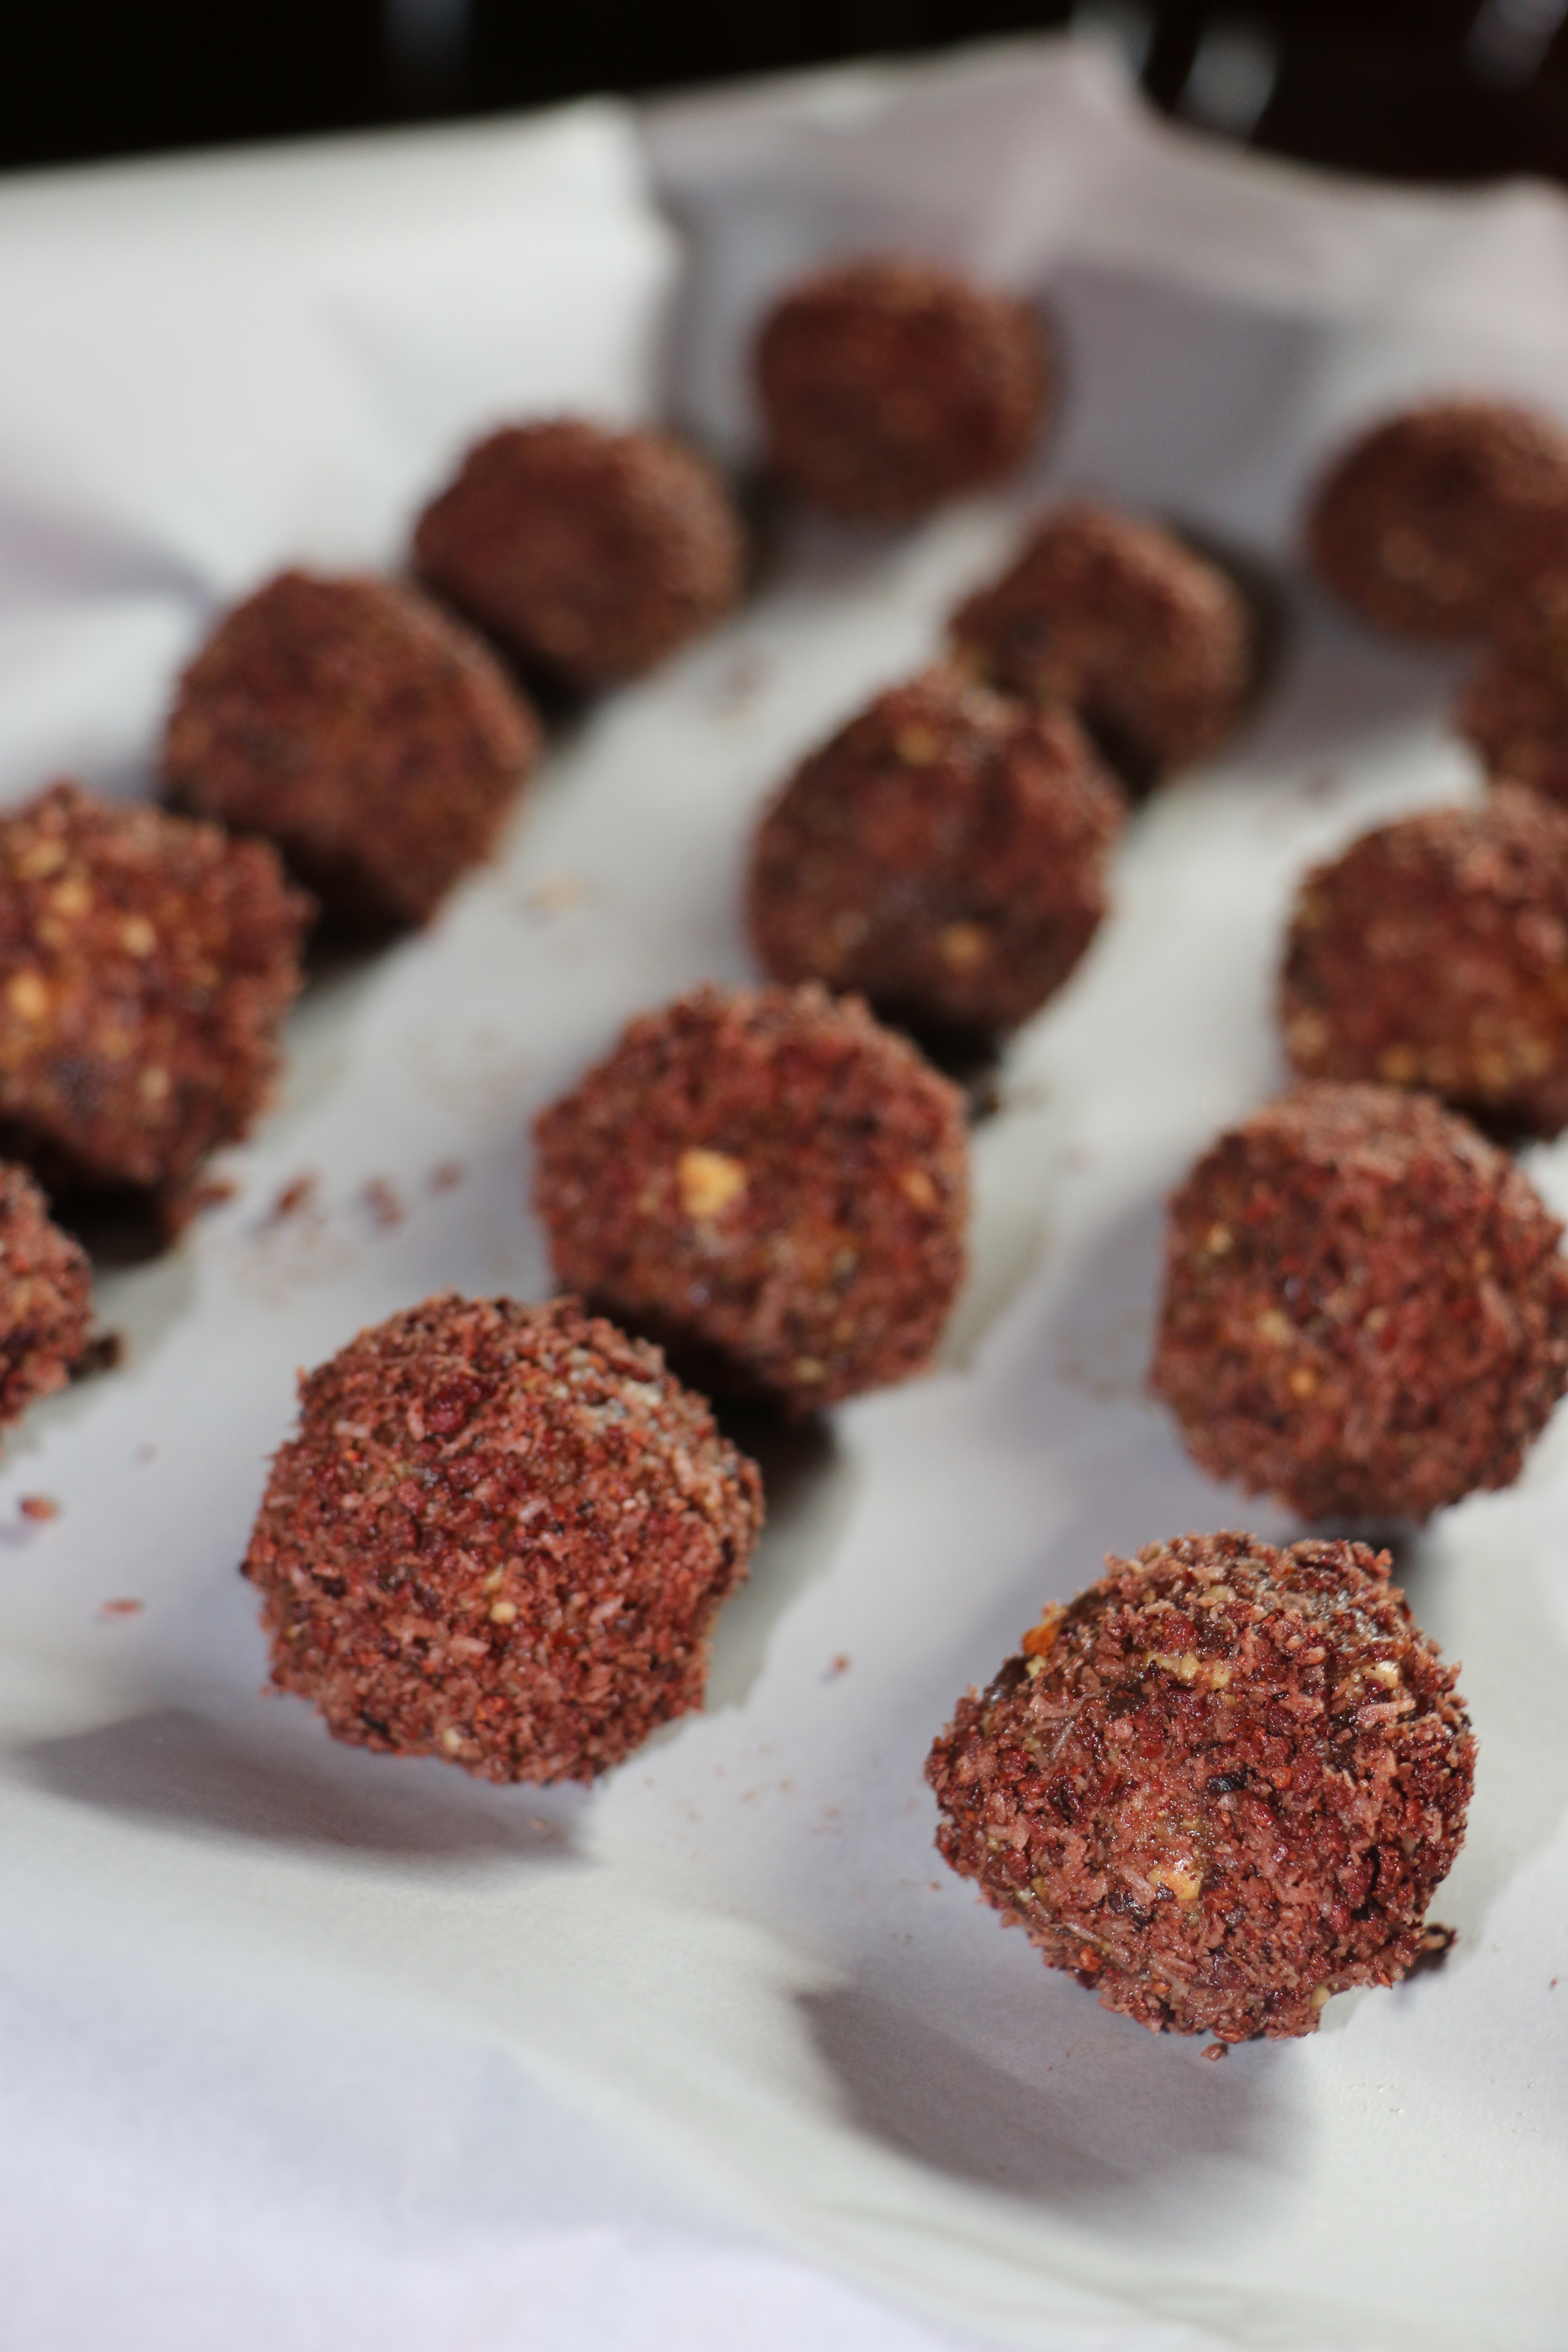
White Chocolate, Lemon and Coconut Date Balls
Servings: makes 27-30 date balls
Ingredients:
- 2 cups almonds
- 15 mejool dates, pitted
- 1 cup shredded coconut, divided
- ¾ cup white chocolate chips
- ½ cup coconut butter
- 2 tablespoons coconut oil
- 2 teaspoons pure lemon extract
- 2 teaspoons vanilla extract
- Zest from one lemon
- 1 teaspoon sea salt
Instructions:
- Place the almonds in the bowl of a food processor. Pulse almonds in food processor until they form small crumbs. Pour the almonds into a large bowl, and set aside.
- Place the mejool dates in the food processor, and puree until smooth.
- Add the almond crumbs back into the bowl of the food processor. Reserving ½ cup of shredded coconut, add the remaining ingredients into the bowl of the food processor, and process until the ingredients have fully incorporated, the mixture becomes sticky and you can form the dough into balls.
- Line a large baking sheet with parchment paper.
- Place a golf size ball of the almond coconut mixture in the palm of your hand, press the dough together and roll into a ball. Once the ball has been rolled, place on the parchment lined baking sheet.
- Repeat with the remaining mixture.
- Pour ½ cup of shredded coconut onto a large plate. Roll a date ball in the coconut mixture, and place back on the parchment lined baking sheet after it has been coated with the shredded coconut. Repeat with the remaining date balls until each one has been coated with shredded coconut.
- Place the baking sheet with the date balls in the fridge for 20-30 minutes (or in the freezer for 10-15 minutes) to become firm.
- After 10-15 minutes, take them out of the fridge (or freezer), serve and enjoy! The remaining date balls should be kept refrigerated or frozen.