baconwrappedbarbells


Leave a comment

Slow Cooker Chili

IMG_0027

Peanut butter, sugar, beer, pickle juice and chocolate.  What doe these things have in common?  These are some of the things people swear by when making chili.  I was somewhat surprised by the type and variety of ingredients people add to their chili recipes when doing research to create my own slow cooker chili recipe.  In addition to the ingredients mentioned above, I also viewed recipes that called for coffee, masa (made from corn and used as thickener to get chili to desired consistency), cinnamon, corn and siracha sauce.

IMG_0035

Chili is a versatile dish that can be created a variety of ways.  I’ve seen recipes for southwest chicken chili, beef and butternut squash chili, chipotle steak chili, turkey and bean chili, bison chili and vegetarian chili.  No matter what your preference, there is a chili recipe out there to please your taste buds.  As far as chili recipes go, I’m a chili purist; I like to use traditional ingredients found in standard chili recipes (you won’t find pickle juice or siracha sauce in the slow cooker chili recipe) and hold firmly to the belief that there should be no beans in a bowl of chili.  This has less to do with the ongoing discussions within the Paleo/Primal community regarding consumption of legumes as part of a healthy diet.  I’m less concerned with this issue, and more concerned with beans ruining my meaty bowl of goodness.  As Texas chili champ Wick Fowler so eloquently stated, “If you know beans about chili, you know that chili has no beans.”

IMG_0068

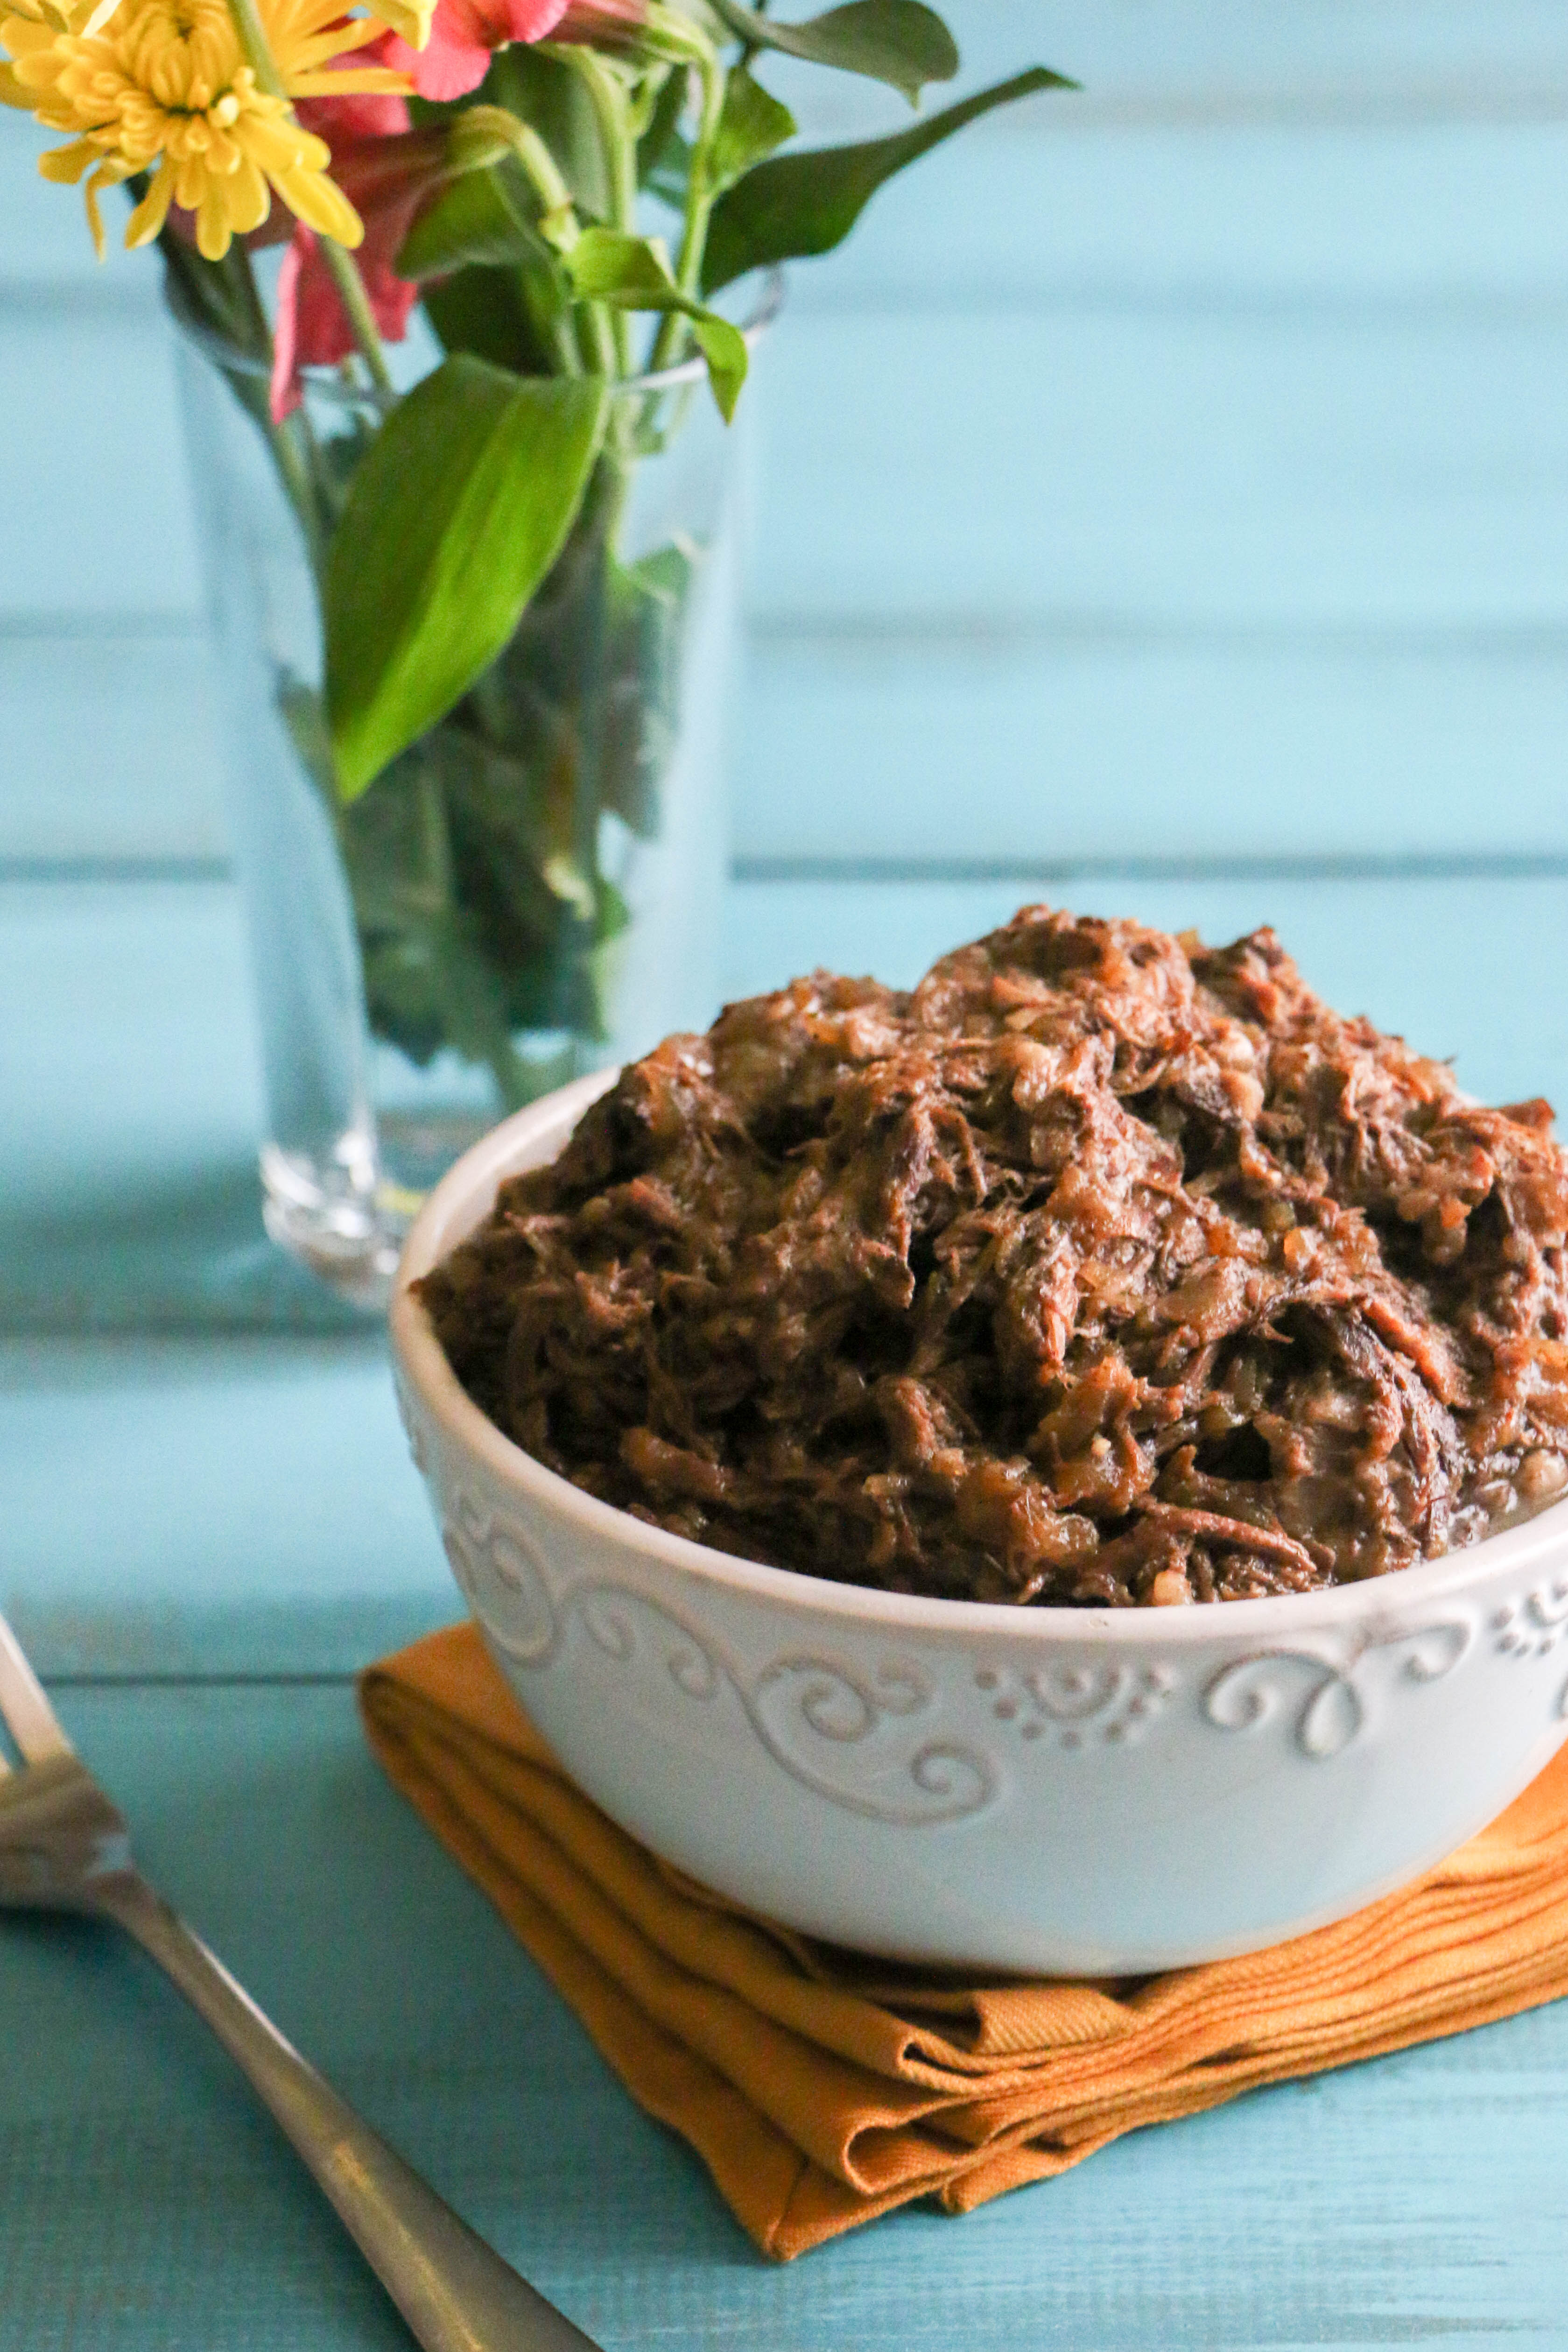
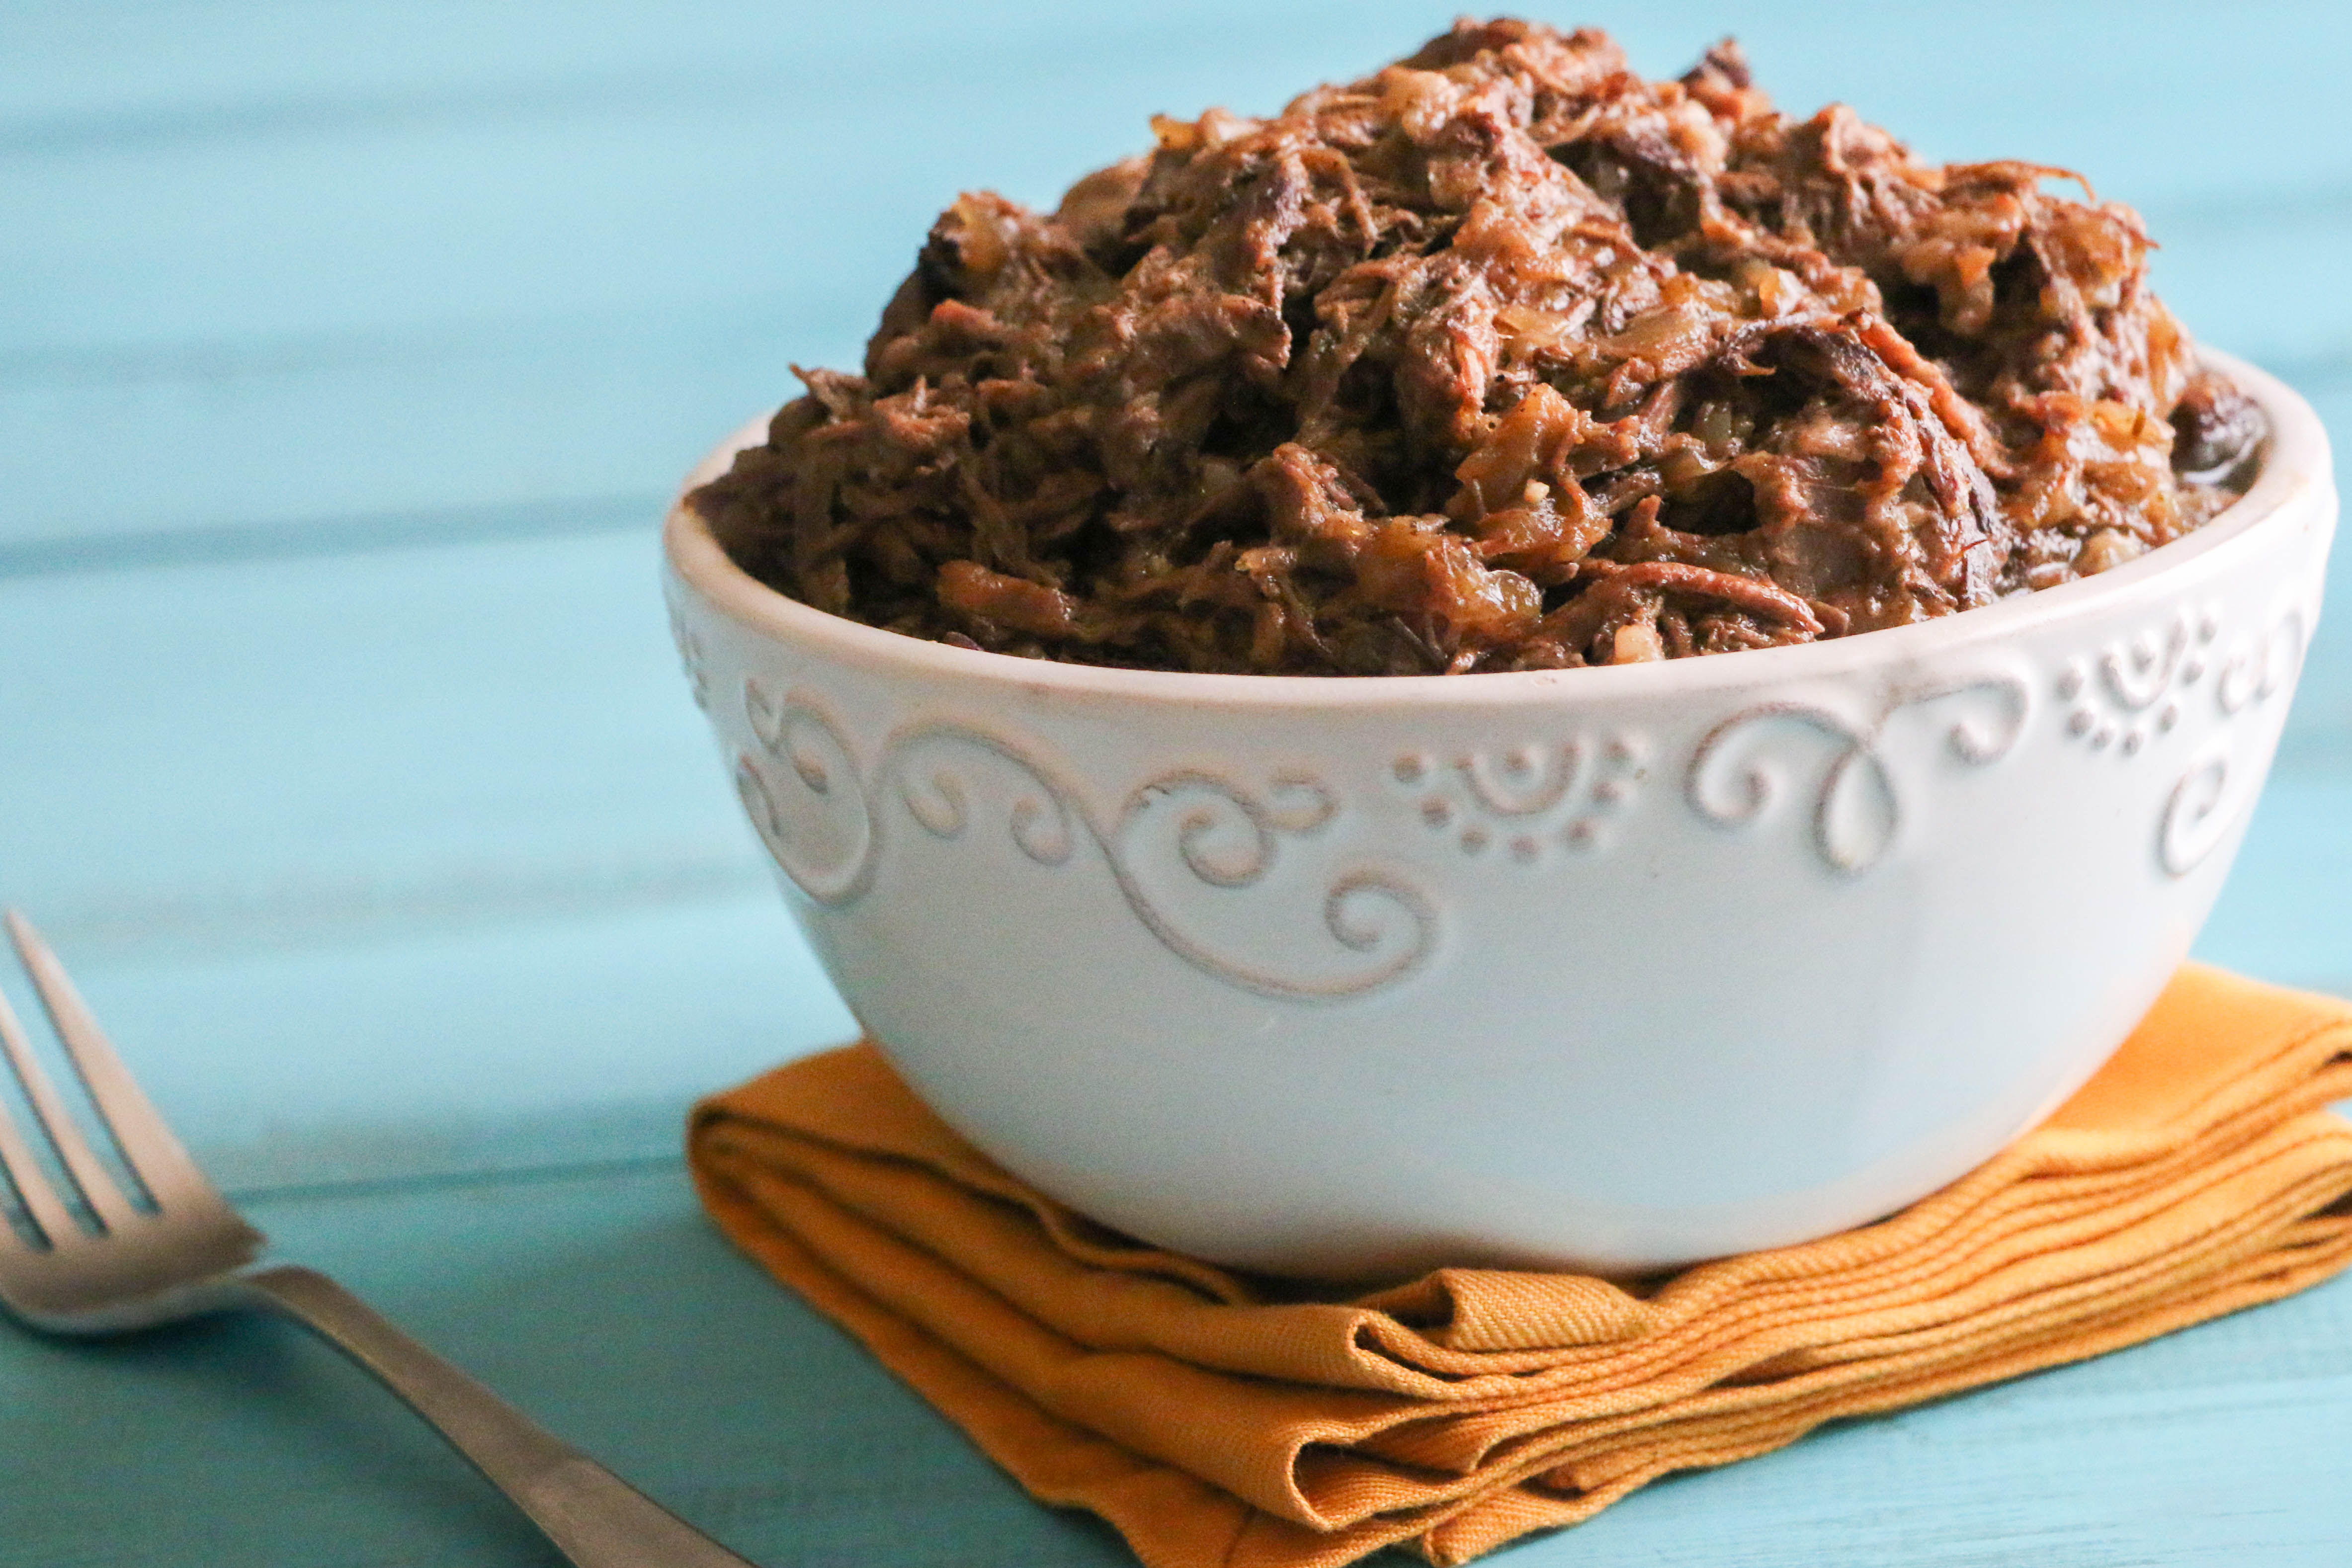
No matter what your chili persuasion, I think you’ll love this recipe!  Allowing the ingredients to cook low and slow in the slow cooker results in a thick, smoky, flavorful bowl of chili.  I like to prep this chili on Saturday night, adding all of the ingredients into the slow cooker before heading to bed.  When I wake up the next morning, it is ready (making my Sunday morning meal prep a breeze)!

Enjoy, and please feel free to share in the comments below if you try this recipe!

Are you team beans or team no beans?

Slow Cooker Chili

Servings: serves 6-8


Ingredients:

  • 2 pounds chuck roast, cut into 1/2 inch cubes
  • 1/2 pound bacon, sliced
  • 1 yellow onion, diced
  • 1 red bell pepper, diced
  • 1 green bell  pepper, diced
  • 28 ounce can diced tomatoes
  • 6 ounce can tomato paste
  • 4.5 ounce can chopped green chilies
  • 2 cups beef broth
  • 8 garlic cloves, minced
  • 1/4 cup chili powder
  • 1 tablespoon cumin
  • 1 tablespoon oregano
  • 2 teaspoons paprika
  • 2 teaspoons sea salt
  • 1 teaspoon coriander
  • 1 teaspoon ground black pepper
  • 1/2 teaspoon cayenne pepper

Instructions:

  1. Pre-heat a large skillet over medium heat.  Add bacon slices to the skillet to cook, flipping once halfway through.  Fry bacon until just crispy.
  2. While the bacon is cooking, line a large plate with paper towels.  Once the bacon is finished cooking, remove skillet from heat and place the bacon slices on the paper lined plate to drain.  Once the bacon has cooled and is safe to handle, crumble the bacon into small pieces.
  3. Pour the excess bacon grease from the skillet into a small bowl, reserving 1 tablespoon of the grease in the skillet.
  4. Place the skillet back on the stove over medium heat.  Warm 1 tablespoon of the reserved bacon grease in the skillet.  Add the diced onion and peppers to the skillet, and sautee for approximately 8-10 minutes until the vegetables have softened.  Once the vegetables have finished cooking, add them to the bowl of the slow cooker.
  5. Place the skillet back on the stove over medium to medium-high heat.  Warm 2 tablespoons of the reserved bacon grease in the skillet.  Add the chuck roast cubes and sear the meat until browned, stirring occasionally to make sure that the chunks don’t stick together while browning.  Once the meat has browned, remove the skillet from the heat and add the meat to the bowl of the slow cooker.
  6. Add the remaining ingredients to the bowl of the slow cooker, and mix until thoroughly combined.
  7. Cover the bowl of the slow cooker with the lid, and cook on low for 10-12 hours.
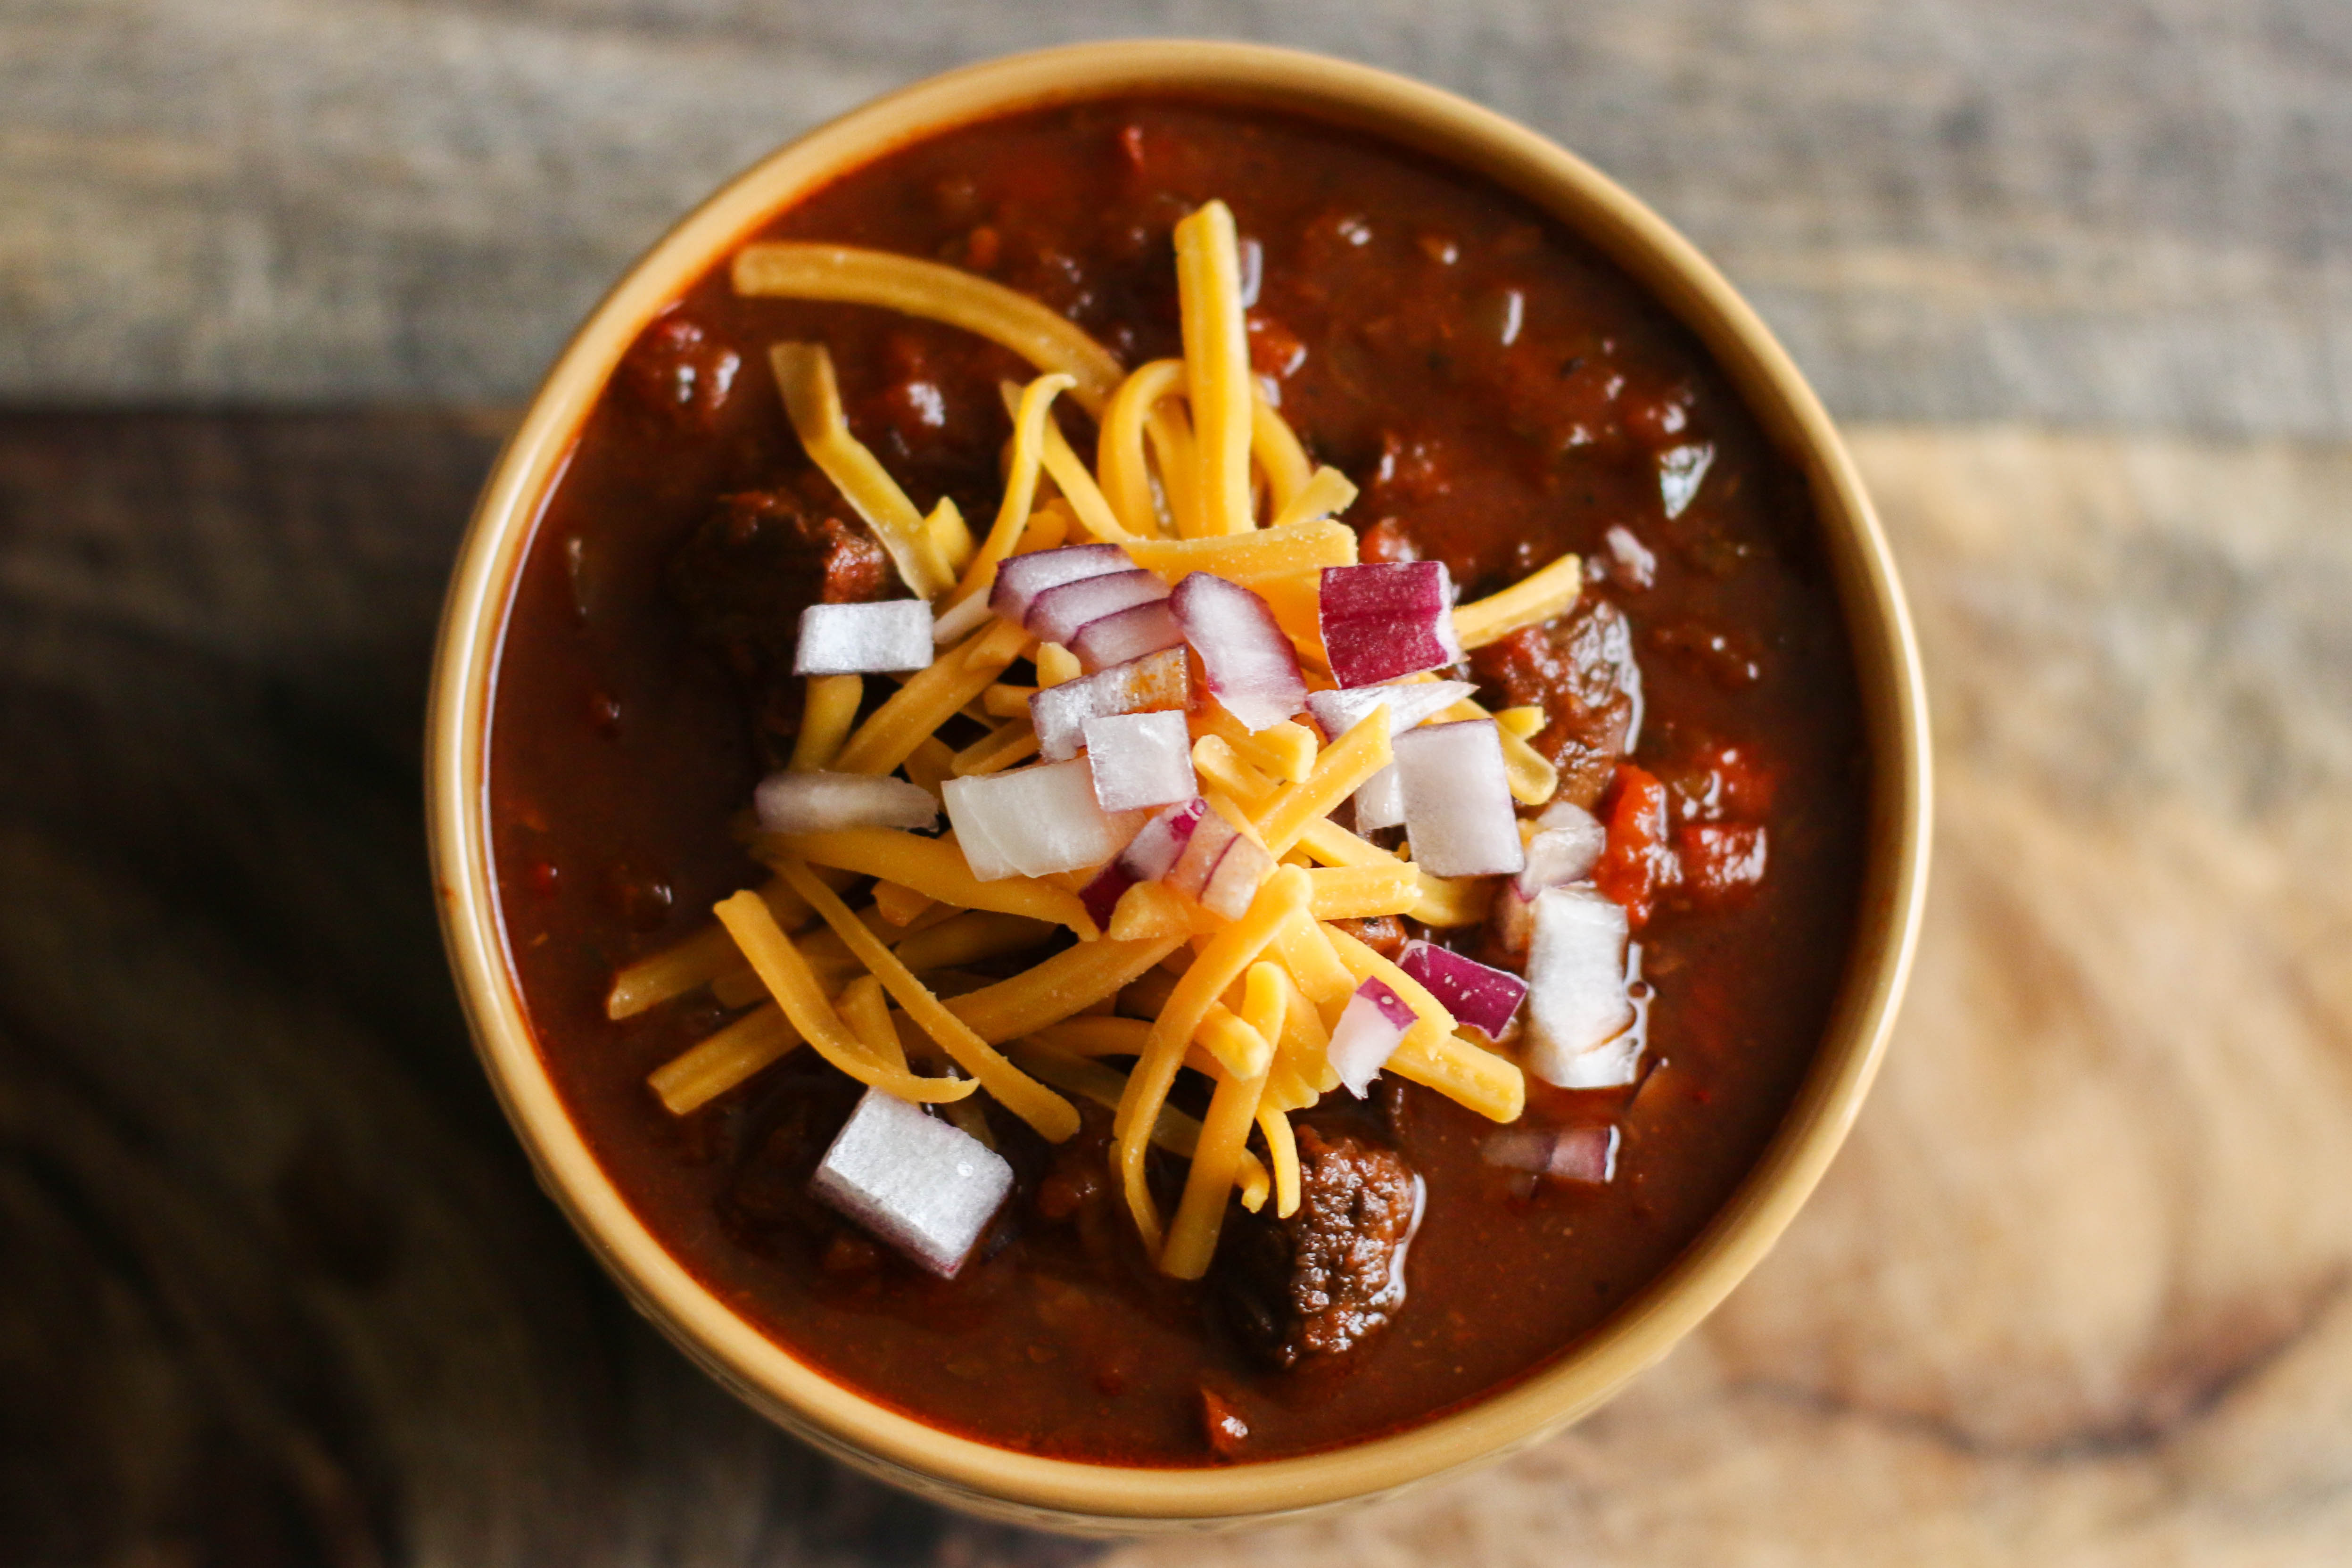
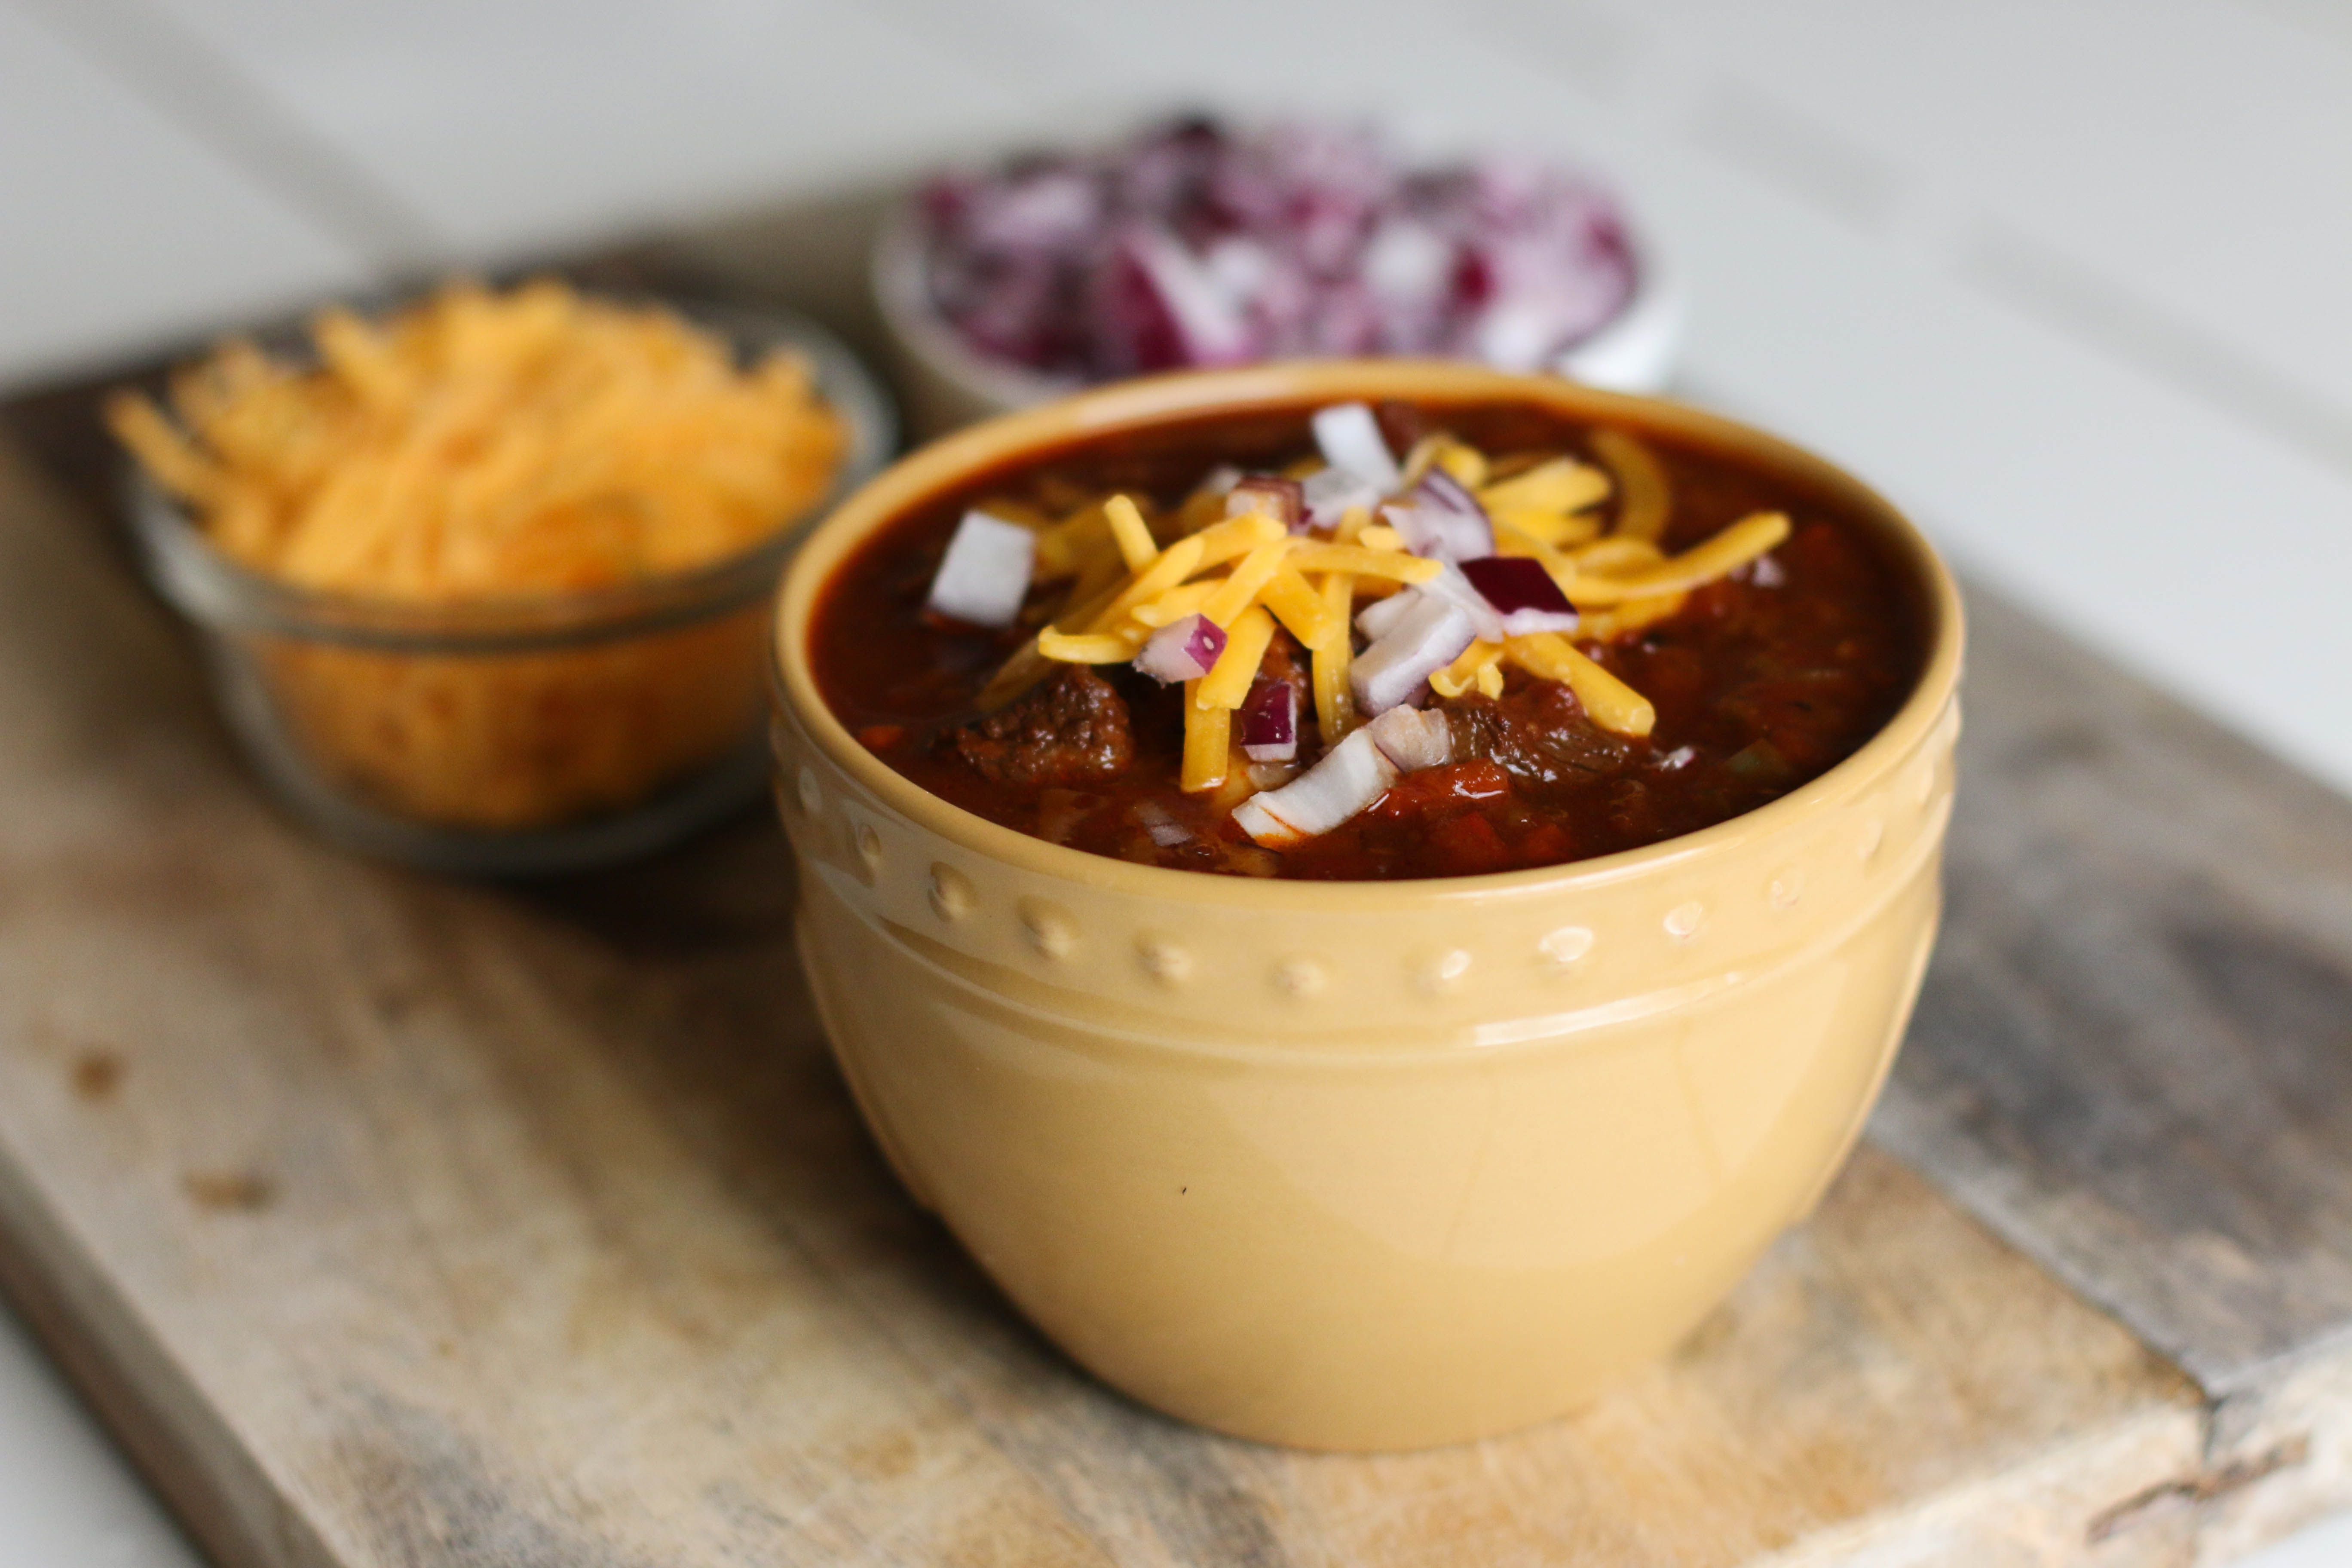
  8. Once the chili has finished cooking, ladle the chili into serving bowls and top with your favorite chili fixings (i.e. cheddar cheese, cilantro, diced red onion, sour cream, etc.)

IMG_0040


4 Comments

Slow Cooker Honey Balsamic Pot Roast

IMG_4212

Happy Friday!  This weekend is going to be packed full of fun things.  I’ll be volunteering as a judge at Fittest in OK, a local CrossFit competition hosted by my gym, CrossFit 405.  The competition will be held at Cox Convention Center January 24 and 25, and will feature some great athletes from around Oklahoma.  If you live in or around the area, come by and check it out!

I love volunteering as a judge for local competitions in Oklahoma.  It’s great watching people from all types of athletic backgrounds (from people just starting out, to semi-seasoned pros) lay it out all on the floor once the clock counts down; 3……2……1… go!  I’ve participated in several team competitions over the years (but have not competed as an individual….yet!).

I’ll be volunteering both Saturday and Sunday, which will take up a majority of my weekend.  Thankfully, I was able to meal prep last weekend, and made several things that will help me be ready for next week since I won’t have much time to spend in the kitchen this weekend.  I’m a big fan of prepping food during the weekend.  Knowing that I spent a couple of hours during the weekend cooking up proteins and chopping veggies to create quick and delicious meals helps take the stress off of worrying about what I’m going to eat when I get home from work during the weekday.

This recipe for Slow Cooker Honey Balsamic Pot Roast is a great addition to any meal prep.  The combination of sweetness from the honey and the tangy kick from the coconut aminos help the flavors in sauce come alive!  In addition, slow cooking the pot roast over low heat allows the sauce to tenderize the meat, and the result leaves you with fork tender bites of pot roast.

IMG_4173

I originally made this recipe as part of Christmas dinner last year when I was in Houston for the holidays.  Since then, I’ve made it several times over the past month.

This recipe would be great paired with my Roasted Sweet Potatoes and Brussels Sprouts.  It also goes well with mashed sweet potato, and I’ve got a new recipe for mashed sweet potatoes that I’ll be sharing with you next week.  Until then, please enjoy this recipe for Slow Cooker Honey Balsamic Pot Roast.

If you try this recipe, please let me know what you think.  I love reading your comments!

IMG_4229

Slow Cooker Honey Balsamic Pot Roast

Servings: serves 8-10


Ingredients

  • 3 1/2 – 4 pound boneless chuck roast
  • 2 tablespoons cooking fat (i.e., lard, butter, olive oil, avocado oil, coconut oil)
  • 2 large onions, peeled and thinly sliced
  • 1 cup beef broth
  • 1/2 cup balsamic vinegar
  • 2 tablespoons coconut aminos
  • 1 1/2 tablespoons honey
  • 1 teaspoon dried thyme
  • 1 teaspoon dried rosemary
  • 4 cloves garlic, minced
  • sea salt
  • ground black pepper

Instructions:

  1. Heat cooking fat over medium high heat in a large skillet.  While the fat is heating, liberally season both sides of the chuck roast with salt and pepper.
  2. Add the chuck roast to the preheated skillet, and sear on one side for approximately 7-8 minutes until browned.  Then flip over and sear the other side of the chuck roast for 7-8 minutes.
  3. While the meat is cooking on the stove, in a medium sized bowl, mix together the beef broth, balsamic vinegar, honey, coconut aminos, thyme, rosemary and minced garlic.
  4. Remove the skillet from the heat, and set the chuck roast aside on a large plate.
  5. Remove all but one tablespoon of cooking fat from the skillet, and then place the skillet back on the stove (with the 1 tablespoon of cooking fat).
  6. Add the onions to the skillet, and sautée over medium heat until the onions turn golden brown, 8-10 minutes.
  7. Remove the onions from the heat, and place into the bottom of the slow cooker insert.
  8. Place the chuck roast on top of the onions, and then pour the sauce mixture over the chuck roast.
  9. Cover the meat, and cook on low for 8-10 hours, or on high for 4-5 hours.
  10. Once the meat has done cooking, you can shred the meat with a fork, plate and serve!  Be sure to use the liquid from the slower cooker as gravy/sauce for the pot roast.


Recipe inspired by Add a Pinch.


Leave a comment >

I’ve been on a baking kick lately.  In fact, I have been on a quest to make the perfect almond butter chocolate chip cookies.  I’ve tried several different recipes, and although each recipe created great cookies, I was hoping to create a version packed with flavor and chocolate goodness.

While experimenting in the kitchen last week in my attempt at almond butter cookie awesomeness, I accidentally ended up creating a new recipe for Almond Butter Pumpkin Chocolate Brownies.

IMG_9326

I was hanging out with my friend Rachel at the time, and convinced her to help me on my chocolate chip cookie quest for perfection.  I decided that the addition of pumpkin and cinnamon to the cookie batter would kick it up a notch.    However, it turned out that the addition of pumpkin to the cookie batter resulted in batter that was too thin.  I forged ahead, and stuck a small batch of cookies in the oven, hoping that the oven would work some kind of miracle on the cookies.  Rachel and I tasted tested the first batch of cookies out of the oven.  While they were tasty, the batter had spread very thin, and as a result, the cookies looked like chocolate pancakes.

Rachel mentioned that the cookies had the taste and texture of brownies.  That gave both of us the idea to take the rest of the cookie batter and bake it in a pan to see what would happened.  The cookie batter created brownies better then I could have hoped for.

It was a very happy accident indeed, and I am excited to share the results!

IMG_9333


Have you every had a “happy accident” in the kitchen?  If so, feel free to share in the comments section!

Almond Butter Pumpkin Chocolate Brownies

Servings: makes 12-15


Ingredients

  • 1 egg, plus 1 egg yolk, beaten
  • 1/2 cup canned pumpkin
  • 1 tablespoon vanilla extract
  • 1 cup raw almond butter (creamy)*
  • 1 cup coconut sugar
  • 1/2 cup cocoa powder
  • 1 teaspoon cinnamon
  • 3/4 teaspoon baking soda*
  • 3/4 teaspoon sea salt
  • 6 ounces dark chocolate chunks*

Instructions:

  1. Preheat oven to 350 degrees.
  2. grease an 8 x 8 inch (or 7 x 11) baking dish.
  3. In a large mixing bowl, combine the egg and egg yolk, pumpkin and vanilla extract and mix well.  Then add the almond butter, and stir until all of the liquid ingredients are fully incorporated.
  4. In a separate bowl, mix together the coconut sugar, cocoa powder, baking soda, sea salt, and cinnamon.
  5. Add the coconut sugar/cocoa mixture to the liquid ingredients in the large mixing bowl, and mix everything together until all of the ingredients are fully incorporated.
  6. Add in the chocolate chunk, and stir to combine.
  7. Pour the brownie batter into the greased baking dish, and spread evenly.
  8. Place in the lower rack of the oven, and bake for 30-35 minutes until done (to check if it is done, insert a toothpick into the brownies.  The toothpick should come out mostly clean).
  9. Let the brownies cool before serving.
  10. Brownies will keep in an airtight storage container at room temperature for 2-3 days.*


Notes

  • To make the recipe dairy-free, use the chocolate brand enjoy life chocolate chunks (they are diary, soy and gluten free).
  • If you want the brownies to be more cake like in texture, use 1 1/2 teaspoons of baking soda instead of 3/4 teaspoons of baking soda.
  • If you have difficulty finding raw almond butter, you can make your own.  Place 3 cups of raw almonds into a high powered food processor.  Process  the almonds for 15-20 minutes (scraping down the sides as necessary) until creamy.  This will yield approximately 1 cup of creamy almond butter.
  • How long these brownies last is my best guess, the pan is usually empty by the second day!