baconwrappedbarbells


Leave a comment

Cinnamon and Browned Butter Mashed Sweet Potatoes

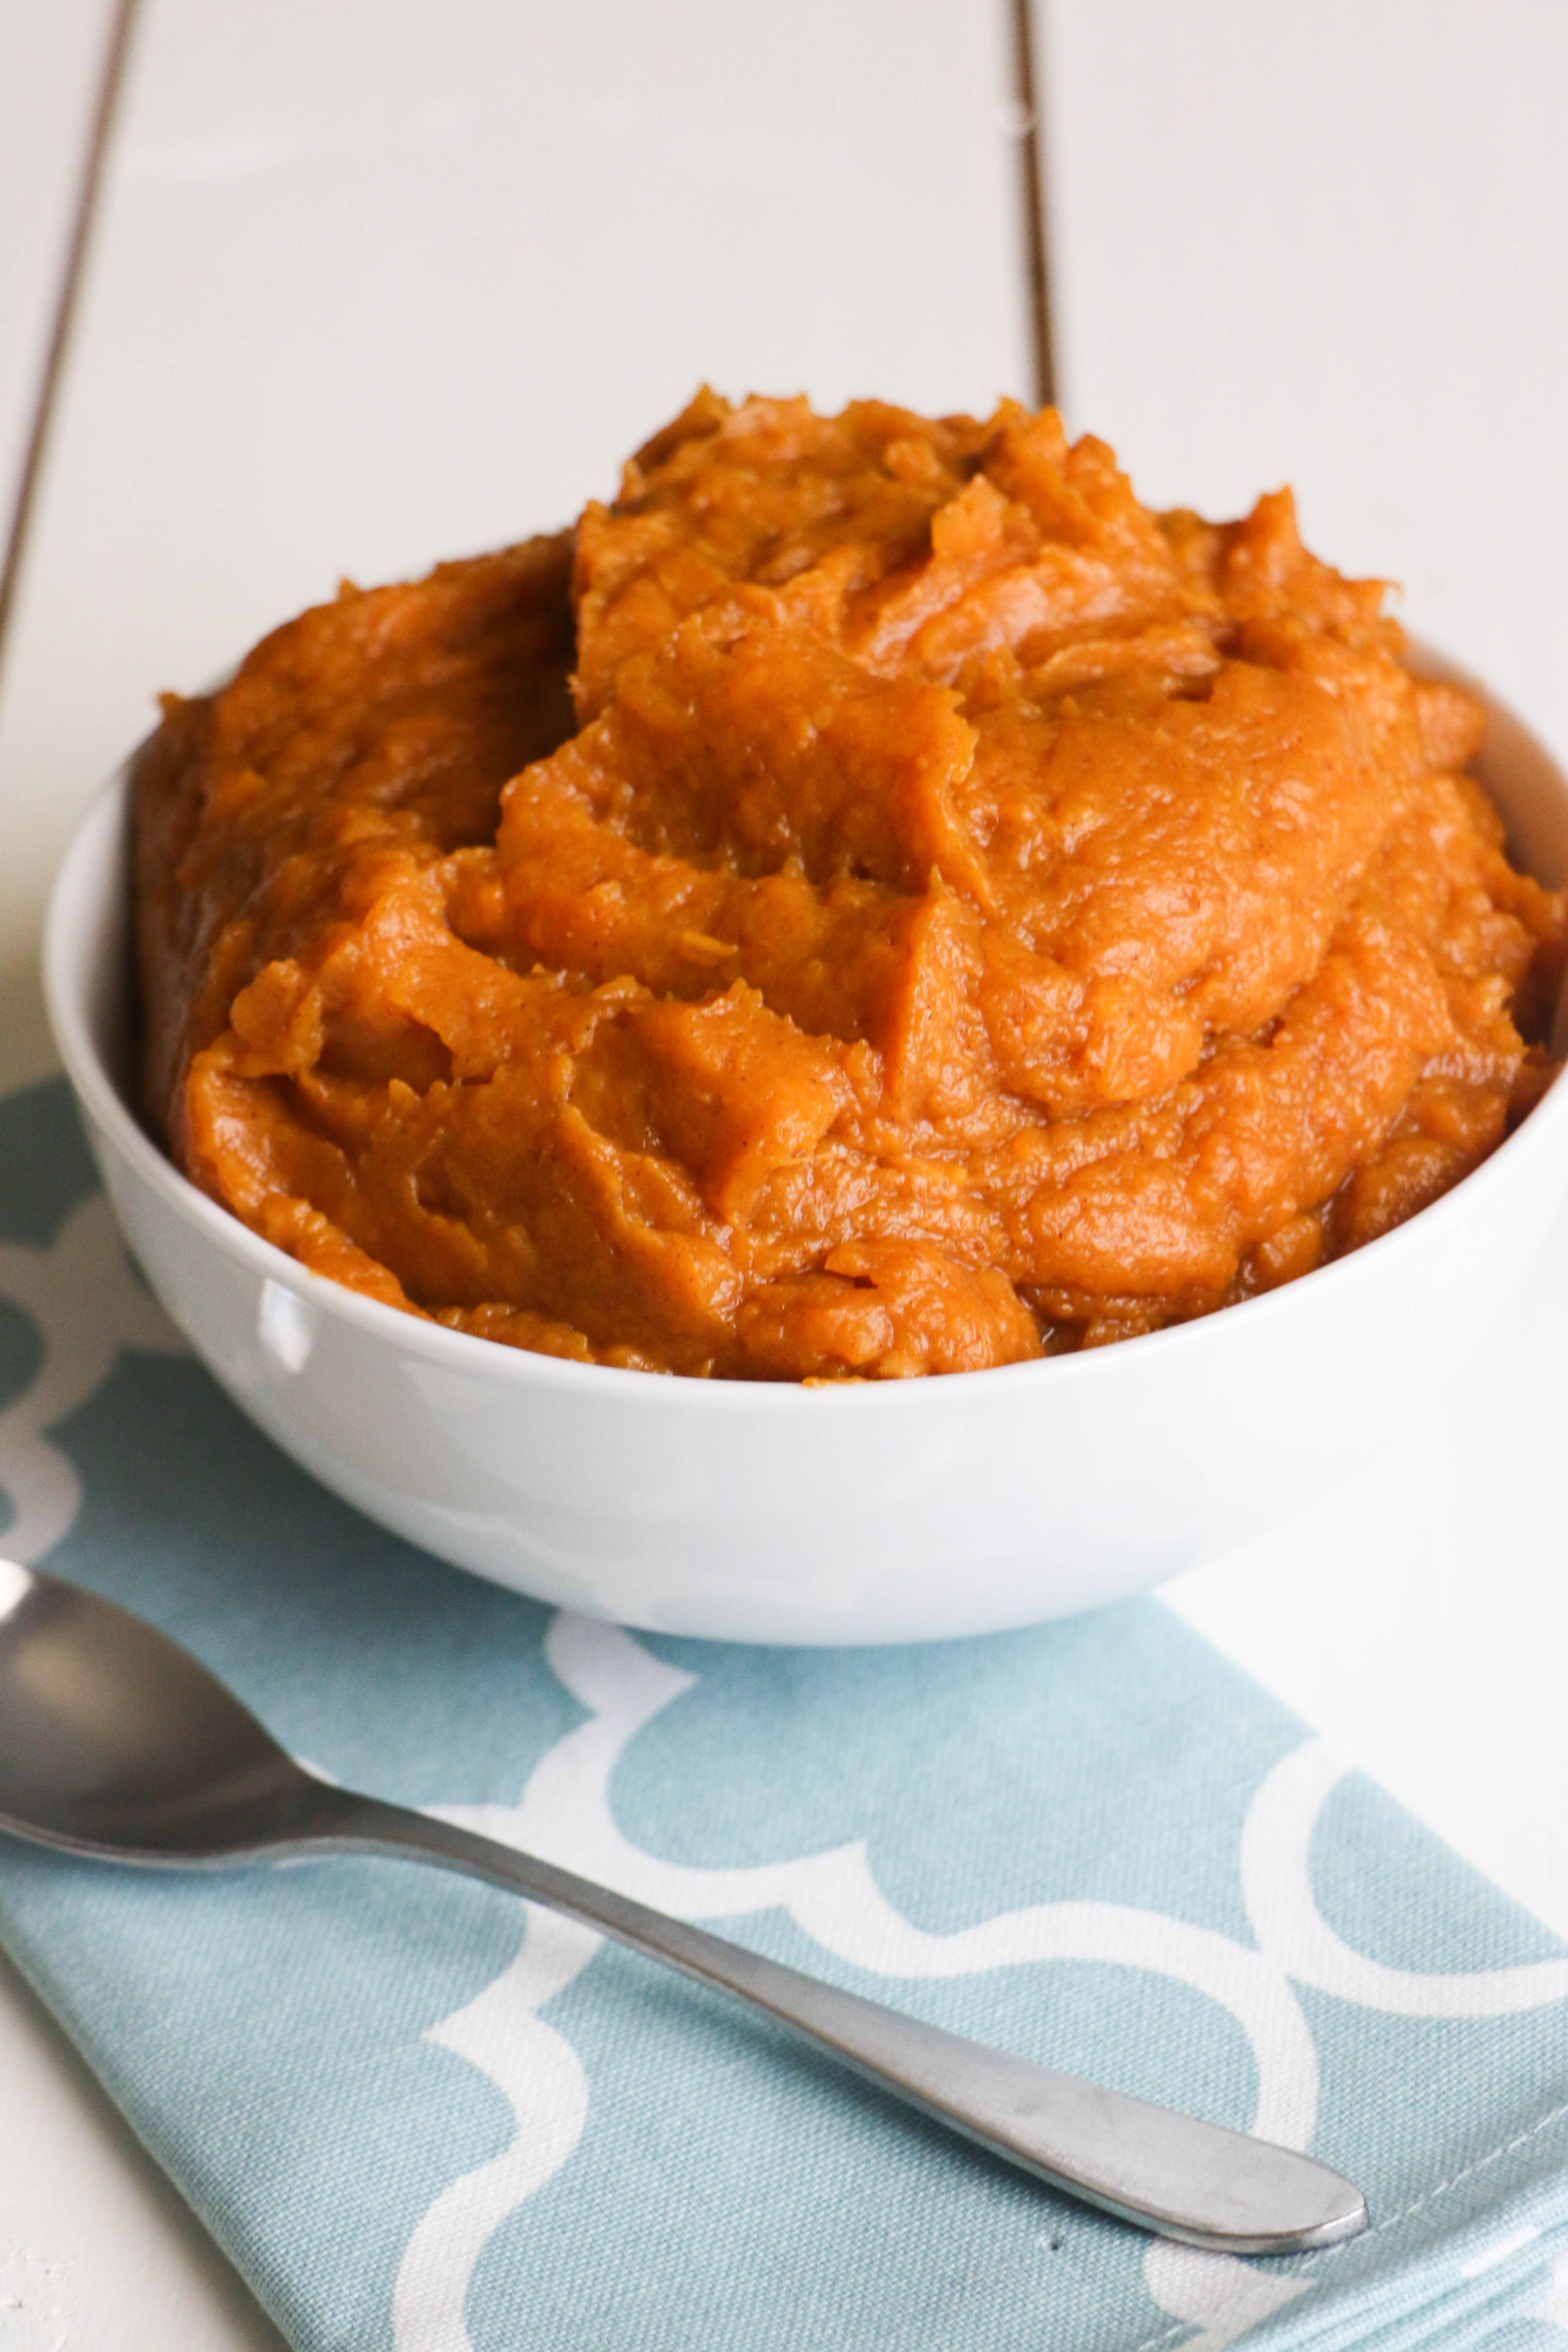
This recipe for Cinnamon and Browned Butter Mashed Sweet Potatoes is minimal on steps, but large in flavor.  The browned butter gives the sweet potatoes a rich nutty taste, and the coconut milk adds a creamy texture to the dish.   At first this seemed too simple to call a recipe, but I decided to go ahead and post it on the blog because it was something I really wanted to share with you guys!

IMG_6640

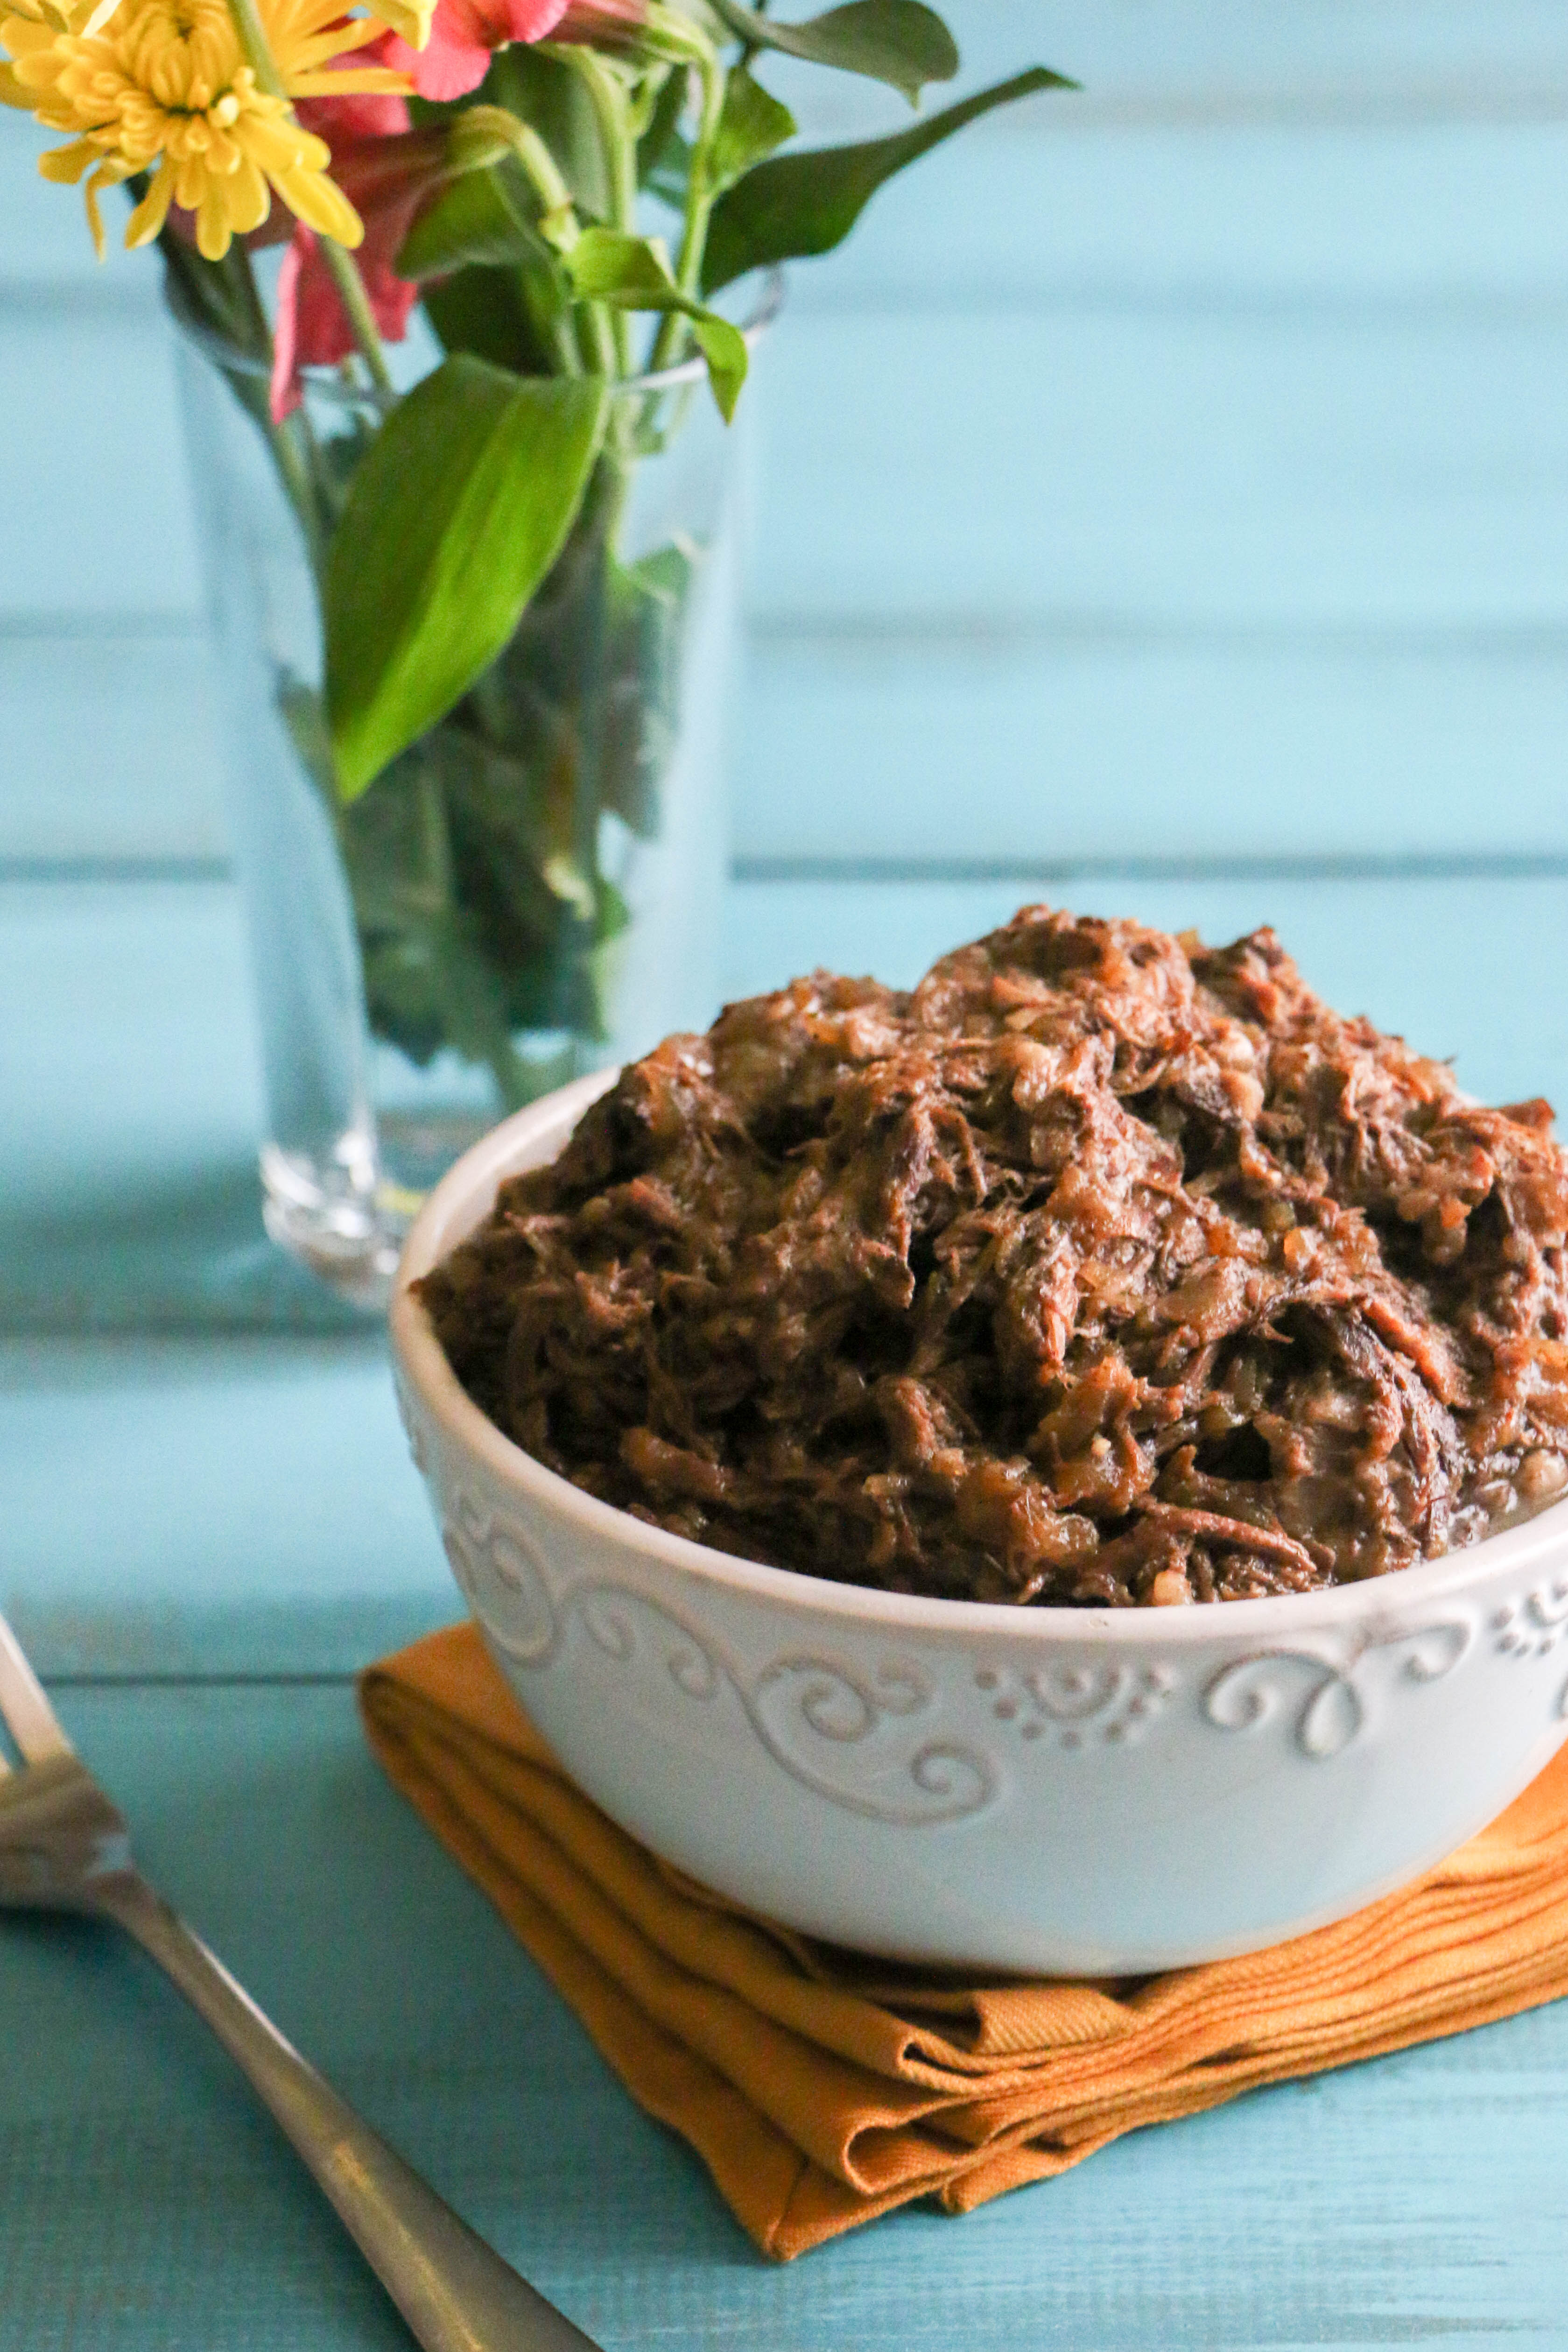
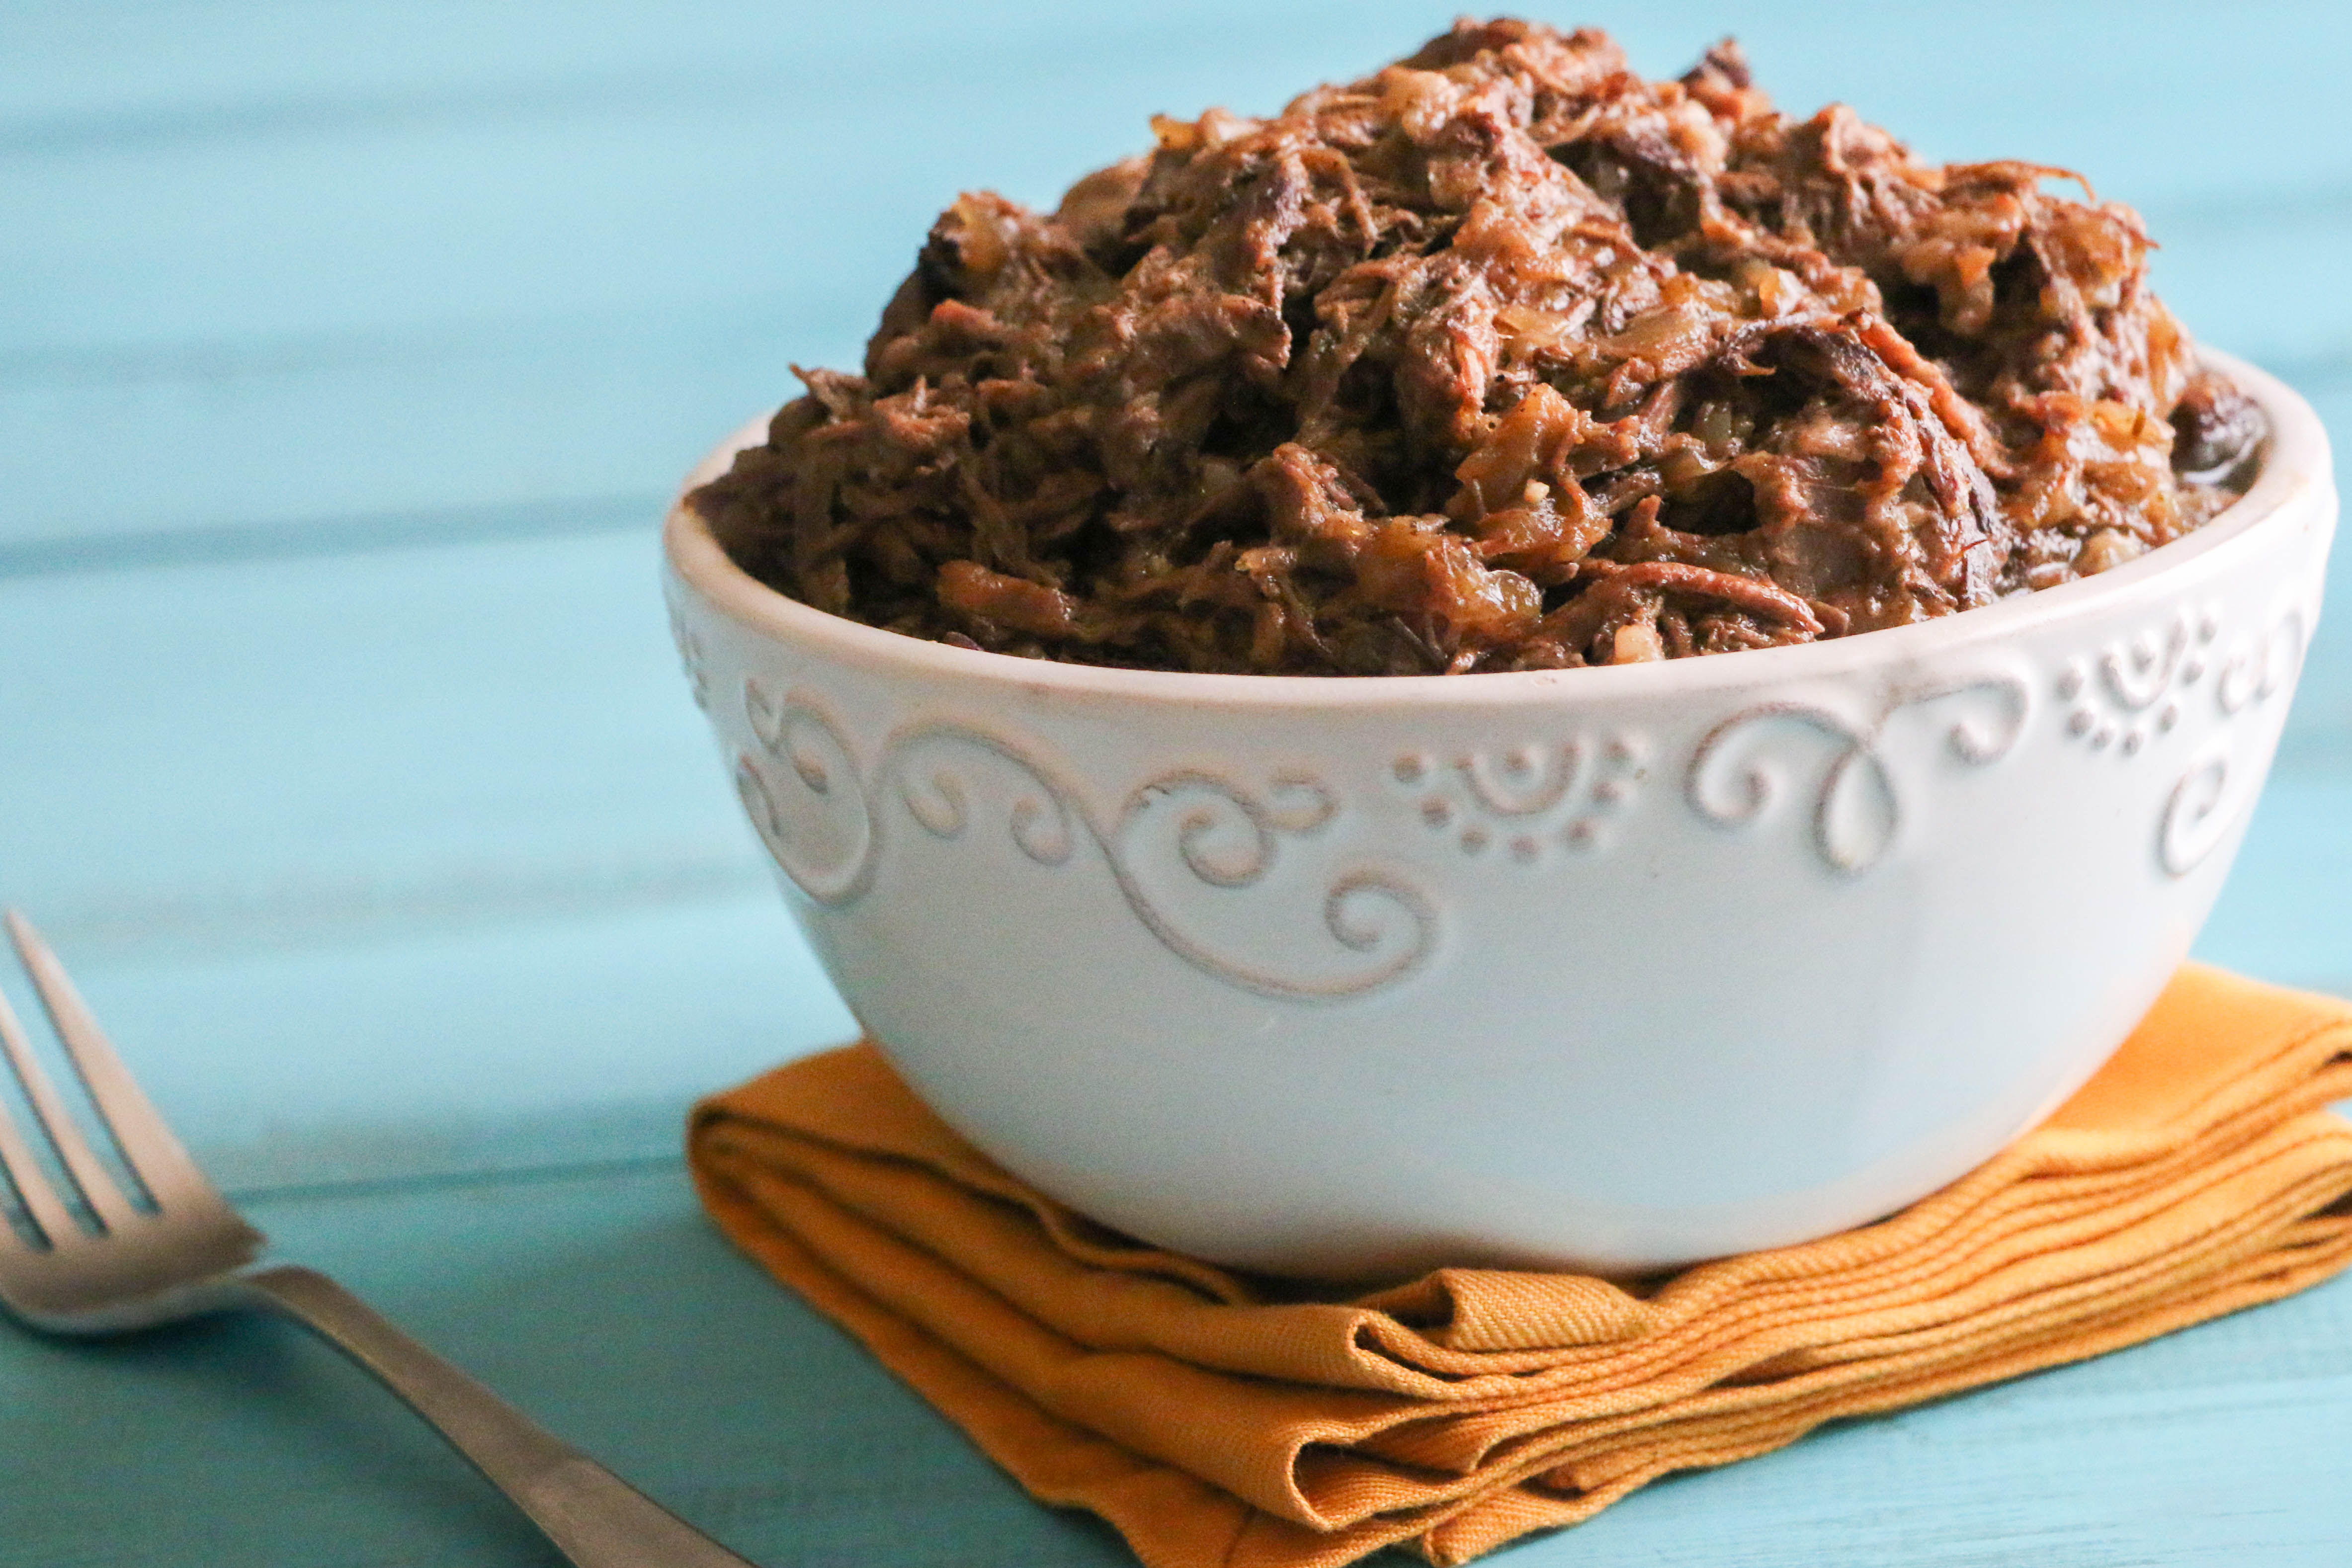
These mashed sweet potatoes go really well with my recipe for Slow Cooker Balsamic Pot Roast.  Throw in some roasted Brussels sprouts or green beans, and you’ll have a meal to please the entire family!  I have been tempted to eat these sweet potatoes as a meal on its own, but I have been able to resist that urge (though barely).

IMG_6647

I hope you guys enjoy these sweet potatoes as much as I do.  If you make this recipe, please feel free to share your results in the comments below.  I always love reading your experiences making the recipes I share on the blog!

Cinnamon and Browned Butter Mashed Sweet Potatoes

Servings: serves 4-6


Ingredients

  • 3-4 large sweet potatoes (approximately 3 1/2 pounds)
  • 1/4 cup butter
  • 1/3 cup canned coconut milk
  • 2 teaspoons cinnamon
  • 1 1/2 teaspoons sea salt

Instructions:

  1. Preheat the oven to 450 degrees.
  2. Line a baking tray with foil or parchment paper.
  3. Place the sweet potatoes on the lined baking tray.
  4. Once the oven has finished preheating, place the tray in the oven and bake the sweet potatoes until they are done, approximately 90 minutes (you’ll know the sweet potatoes are done if you can pierce the flesh of the potato easily with a knife or fork).
  5. Take the sweet potatoes out of the oven, and set aside to cool.
  6. Place the butter in a small saucepan, and then place the saucepan over medium high heat.
  7. Melt the butter in the saucepan.  After the butter has melted, it will begin to foam.  Stir the butter constantly over the heat until the milk solids in the butter begin to brown.  As the butter browns, it will give off a slightly nutty aroma.  As soon as the solids turn brown and give off the nutty aroma, remove the butter from the heat immediately and set aside.
  8. Once the sweet potatoes have cooled enough to handle, peel the skin from the potatoes, and place the  sweet potato flesh into a large bowl.
  9. Add the browned butter, cinnamon, coconut milk and sea salt to the large bowl, and mix everything until thoroughly combined.
  10. Place in a serving bowl, and serve alongside your main course.


4 Comments

Slow Cooker Honey Balsamic Pot Roast

IMG_4212

Happy Friday!  This weekend is going to be packed full of fun things.  I’ll be volunteering as a judge at Fittest in OK, a local CrossFit competition hosted by my gym, CrossFit 405.  The competition will be held at Cox Convention Center January 24 and 25, and will feature some great athletes from around Oklahoma.  If you live in or around the area, come by and check it out!

I love volunteering as a judge for local competitions in Oklahoma.  It’s great watching people from all types of athletic backgrounds (from people just starting out, to semi-seasoned pros) lay it out all on the floor once the clock counts down; 3……2……1… go!  I’ve participated in several team competitions over the years (but have not competed as an individual….yet!).

I’ll be volunteering both Saturday and Sunday, which will take up a majority of my weekend.  Thankfully, I was able to meal prep last weekend, and made several things that will help me be ready for next week since I won’t have much time to spend in the kitchen this weekend.  I’m a big fan of prepping food during the weekend.  Knowing that I spent a couple of hours during the weekend cooking up proteins and chopping veggies to create quick and delicious meals helps take the stress off of worrying about what I’m going to eat when I get home from work during the weekday.

This recipe for Slow Cooker Honey Balsamic Pot Roast is a great addition to any meal prep.  The combination of sweetness from the honey and the tangy kick from the coconut aminos help the flavors in sauce come alive!  In addition, slow cooking the pot roast over low heat allows the sauce to tenderize the meat, and the result leaves you with fork tender bites of pot roast.

IMG_4173

I originally made this recipe as part of Christmas dinner last year when I was in Houston for the holidays.  Since then, I’ve made it several times over the past month.

This recipe would be great paired with my Roasted Sweet Potatoes and Brussels Sprouts.  It also goes well with mashed sweet potato, and I’ve got a new recipe for mashed sweet potatoes that I’ll be sharing with you next week.  Until then, please enjoy this recipe for Slow Cooker Honey Balsamic Pot Roast.

If you try this recipe, please let me know what you think.  I love reading your comments!

IMG_4229

Slow Cooker Honey Balsamic Pot Roast

Servings: serves 8-10


Ingredients

  • 3 1/2 – 4 pound boneless chuck roast
  • 2 tablespoons cooking fat (i.e., lard, butter, olive oil, avocado oil, coconut oil)
  • 2 large onions, peeled and thinly sliced
  • 1 cup beef broth
  • 1/2 cup balsamic vinegar
  • 2 tablespoons coconut aminos
  • 1 1/2 tablespoons honey
  • 1 teaspoon dried thyme
  • 1 teaspoon dried rosemary
  • 4 cloves garlic, minced
  • sea salt
  • ground black pepper

Instructions:

  1. Heat cooking fat over medium high heat in a large skillet.  While the fat is heating, liberally season both sides of the chuck roast with salt and pepper.
  2. Add the chuck roast to the preheated skillet, and sear on one side for approximately 7-8 minutes until browned.  Then flip over and sear the other side of the chuck roast for 7-8 minutes.
  3. While the meat is cooking on the stove, in a medium sized bowl, mix together the beef broth, balsamic vinegar, honey, coconut aminos, thyme, rosemary and minced garlic.
  4. Remove the skillet from the heat, and set the chuck roast aside on a large plate.
  5. Remove all but one tablespoon of cooking fat from the skillet, and then place the skillet back on the stove (with the 1 tablespoon of cooking fat).
  6. Add the onions to the skillet, and sautée over medium heat until the onions turn golden brown, 8-10 minutes.
  7. Remove the onions from the heat, and place into the bottom of the slow cooker insert.
  8. Place the chuck roast on top of the onions, and then pour the sauce mixture over the chuck roast.
  9. Cover the meat, and cook on low for 8-10 hours, or on high for 4-5 hours.
  10. Once the meat has done cooking, you can shred the meat with a fork, plate and serve!  Be sure to use the liquid from the slower cooker as gravy/sauce for the pot roast.


Recipe inspired by Add a Pinch.


Leave a comment

Meaty Spaghetti Sauce

IMG_6824

It. Is. COLD.  The weather has taken a turn for the worst with the recent cold front affecting many parts of the United States.

Because of the cold, I’ve started the habit of running from my car to any building that I’m about to enter when I am out and about, so that I can get out of biting Oklahoma wind as quickly as possible.  And since it’s a poorly hidden secret that I really don’t enjoy running, you know it has to be pretty cold.

running

Weather like this begs for food that is warm and comforting.  But the start of a new year also means a fresh resolve to make healthy lifestyle choices that typically include a renewed focus on eating healthy, wholesome and nutritious foods.

You guys are in luck, because today’s recipe provides the best of both worlds.  This hearty spaghetti sauce is full of satiating protein and vitamin packed vegetables to keep you on track with your healthy eating goals, while providing the warmth and comfort you crave.

IMG_6791

The addition of balsamic vinegar adds a touch of subtle sweetness to the sauce without the addition of natural sweeteners, and the inclusion of dried parsley and chopped fennel seeds creates an additional level of complexity to the sauce without overpowering the other ingredients.

This meaty spaghetti sauce is perfect over spaghetti squash as a weeknight meal, after a long day at school or work.   I sprinkled a small amount of Manchego cheese on top (you can also use parmesan or mozzarella) to add a creamy texture to the sauce (and because cheese, if you can tolerate dairy, is amazing).

IMG_6845

Meaty Spaghetti Sauce with Spaghetti Squash

Servings: serves 5-6


Ingredients:

  • 1 large Spaghetti Squash
  • 1/2 tablespoon butter *
  • 1/2 large onion, diced
  • 1/2 pound ground beef
  • 1/2 pound ground pork
  • 1/2 red bell pepper, diced
  • 1/2 green bell pepper, diced
  • 1/2 tablespoon fennel seed, chopped
  • 2 tablespoon dried parsley
  • 2 tablespoons balsamic vinegar
  • 2 cloves garlic, minced
  • 28 ounce can diced tomato
  • 15 ounce can tomato sauce
  • 6 ounce can tomato paste
  • 1 teaspoon dried oregano
  • 1 teaspoon dried thyme
  • 1 teaspoon dried basil
  • 1 teaspoons sea salt
  • 1/2 teaspoon ground black pepper

Instructions:

  1. Preheat oven to 425 degrees.
  2. Line a large baking sheet with parchment paper.
  3. Chop spaghetti squash in half lengthwise, and scoop out the seeds.*
  4. Place the spaghetti squash cut side down, and bake in the oven for approximately 40-45 minutes.
  5. Once cooked, take the spaghetti squash out of the oven, flip the halves over and let cool.
  6. Once the spaghetti squash has cooled enough to handle, use a fork to scrap the squash noodles into a large bowl.
  7. Heat butter over medium high heat.  Add onion, and cook over medium high heat until the onion becomes translucent, approximately 5-8 minutes, stirring frequently.
  8. Add the ground beef and ground pork, and continue cooking until meat has browned.
  9. Add remaining ingredients and bring them to a boil.
  10. Once the mixture has reached a boil,  reduce the heat to medium low, and simmer the sauce on the stove for approximately one hour.
  11. Once the spaghetti sauce has finished cooking, remove from heat, and serve with the spaghetti squash.

Notes:

  •  Quick tip, to make the spaghetti squash easier to cut, microwave for 1-2 minutes.  This makes the shell a little softer, so that you don’t have to hammer away at the shell.
  • to make whole30 friendly, use ghee, avacado oil, lard, tallow or some other type of whole30 approved cooking fat.


Leave a comment

Browned Butter Banana Bread with Paleo Nutella Swirl

IMG_8180

I’m somewhat of a procrastinator in certain areas of my life.  Don’t get me wrong, I like to make lists and then check things off. A checked off list makes me feel all warm and fuzzy inside.  But sometimes, I just want to sit on my couch and read a kindle book, instead of acting like a grown-up (aka, doing my chores).  This is especially true on Sunday afternoons after I’ve finished meal prepping for the week, but before the laundry is done and the pile of dishes from meal prep have been washed.

However, I would recommend not procrastinating in making this banana bread.

This recipe is based off of my recipe for Paleo Pumpkin Chocolate Layered Bread with Chocolate Chips and Walnuts.  The addition of browned butter to this recipe adds another level of taste to an otherwise great recipe.  Browning butter is a technique that involves melting butter over medium to medium-high heat on the stove.  Heating butter after it melts results in the milk solids in the butter beginning to brown.  As the milk solids begin to brown, the butter gives off a nutty aroma.  The browned butter adds a nutty and slight butterscotch flavor to recipes.  I’ve added browned butter to several recipes, including cookies, sweet potatoes, and mashed cauliflower.

The addition of browned butter to this recipe for banana bread enhances the flavor of the walnuts, and adds a richness and depth to the overall taste of the bread.

IMG_8174

This banana bread is decadent, rich, and moist, and the combination of ingredients allows the flavors to combine to create a taste sensation sure to please a hungry crowd.

This banana bread would be great for a holiday party, or for Christmas breakfast/brunch.  Enjoy!

IMG_8197

Browned Butter Banana Bread with Paleo Nutella Swirl

Servings: makes 12-15


Ingredients:

  • 1 cup almond flour
  • 1 cup banana, mashed (2-3 small overly ripe bananas)
  • 1/2 cup tapioca flour
  • 1/2 cup butter
  • 2/3 cup Paleo Nutella
  • 1/3 cup honey
  • 1/4 cup coconut flour (sifted)
  • 1/4 cup chopped walnuts
  • 3 eggs, beaten
  • 1 tablespoon vanilla extract
  • 1 ½ teaspoons cinnamon
  • 1 teaspoon baking soda
  • 1 teaspoon baking powder
  • 1/2 tsp teaspoon salt
  • 1/2 tbs coconut oil (to grease the pan)

Instructions:

  1. Preheat oven to 350 degrees.
  2. Preheat a medium sauce pan over medium-high heat. Once the pan is hot, add ½ cup of butter to the pan and allow the butter to melt.
  3. Stir the butter constantly in the sauce pan as it melts. After the butter has melted, it will begin to foam.  As the butter foams, the milk solids from the butter will begin to darken, turning first to a tan color, and then to brown as it continues to cook.  As the butter browns, it will give off a slightly nutty aroma.  As soon as the solids turn from tan to brown and give off the nutty aroma, remove the sauce pan from heat immediately so that the milk solids do not burn.  Set aside to cool.
  4. Grease a 9 x 5 x 3 inch bread pan with coconut oil (you can also use butter), and then line the bottom of the pan with parchment paper.
  5. In a large mixing bowl, add almond flour, tapioca flour, coconut flour, cinnamon, baking soda, baking powder and sea salt.  Stir to combine.  Set aside.
  6. In a separate bowl, add eggs, mashed banana, honey and vanilla extract.  Stir to combine.  Then add the browned and cooled butter, and stir to combine.
  7. Pour the liquid ingredients into the dry ingredients, and stir the mixture thoroughly to incorporate.
  8. Let the batter sit on the counter for 3-4 minutes (this lets the coconut mixture soak up the moisture).
  9. Add Paleo Nutella to the batter, and gently swirl the Paleo Nutella through the bread batter using a spatula (do not fully incorporate the Paleo Nutella into the batter).
  10. Add the bread batter to the coated bread pan.
  11. Place the bread pan in the preheated oven and bake the bread for 50-55 minutes, until a toothpick inserted into the bread comes out clean.
  12. Once the bread is finished, remove from the oven and let cool on the counter for 5 to 10 minutes before removing the loaf of bread from the bread pan to cool further.
  13. Serve and enjoy!


1 Comment

Chocolate Hazelnut-Almond Spread (aka Paleo Nutella)

I’ve been a CrossFitter for over three years, and the majority of my time has been spent at CrossFit 405, a CrossFit gym near downtown Oklahoma City.  My local gym (or box, whatever you prefer) has been a place for me to push myself to my physical limits and get out of my comfort zone.  I’ve done some pretty amazing things over the past three years that I didn’t think my body could do.  In the process, I’ve gotten a lot stronger, both mentally and physically.

I’m still on the journey to becoming healthier, and that journey has been much more enjoyable with the gym family I’ve made at CrossFit 405.

My gym recently celebrated its fifth anniversary with a party/fundraiser (the fundraiser was for the McCloud Fire Department, a small town near Oklahoma City where one of our coaches works as a firefighter) last Saturday, December 6.  The celebration included the following WOD:

(12 min time cap) Partner WOD 3 Rounds For Time:

200ft single farmers (Rx135lb/95lb) and sandbag (Rx 75lb) carry.

IMG_9677

IMG_9480

While one partner did the farmers carry, the other partner did burpees.  Each burpee shaved a second of the total time for the farmers carry.

IMG_9698

IMG_9641

The anniversary party included some smaller challenges, as well as time for people to just hang out and chow down some tasty grub (because CrossFitters like to put food away!).

IMG_0036

Many of my friends at CrossFit 405 are happy to help me taste test my recipes before I post them on the blog.  They always give me their honest feedback (whether I like it or not), and help me step up my game so that I make sure and share recipes with you that make your taste buds happy.

My recipe for Chocolate Hazelnut-Almond Spread got a big thumbs-up from my CrossFit 405 taste testers.  Since I made several test batches to perfect the recipes, there was plenty to share!

IMG_8130

The spread is reminiscent of nutella, although it has a much cleaner profile.  Several of my taste testers reported eating the Chocolate Hazelnut-Almond Spread straight out of the jar!  The Chocolate Hazelnut-Almond Spread is very versatile treat.  You can use it as a fruit dip for guests, or eat it with Paleo/Gluten-Free pancakes or waffles during a weekend brunch.

IMG_8161

I used the Chocolate Hazelnut-Almond Spread as the base for another recipe, which I will be sharing with you in my next blog post (so make sure to check back next week)!

Do you CrossFit?  If so, I’d love to hear about your CrossFIt community.  Are there any other workout styles you love? Feel free to share about what workouts make your body feel better in the comments below!

Chocolate Hazelnut-Almond Spread (aka Paleo Nutella)

IMG_8134


Ingredients:

  • 1 1/2 cups roasted hazelnuts
  • 1 1/2 cups coconut milk (canned)
  • 3/4 cup raw almonds
  • 1/4 cup coconut sugar
  • 12 ounces dark chocolate chips
  • 2 tablespoons honey
  • 2 tablespoons cocoa powder
  • 2 tablespoons coconut oil
  • 2 teaspoons of vanilla
  • 1/2 teaspoon sea salt

Directions:

  1. Preheat oven to 350 degrees.
  2. On a baking sheet lined with parchment paper, spread the hazelnuts and almonds in a single layer  (making sure to keep the different nuts separate) and roast for 12-13 minutes, stirring them at the half way point during the roasting process.
  3. Remove the hazelnuts and almonds from the oven and set aside to cool.  Once the nuts have cooled, place the hazelnuts in a cloth napkin and rub together in the napkin to remove some of the skin (note that some skin will still remain on the hazelnuts no matter how much you rub, which is ok).
  4. Pour the dark chocolate chips in a microwave safe bowl.  Place the bowl in the microwave, and heat on high for 25-30 seconds. Remove bowl from the microwave and stir the dark chocolate chips.  Place the bowl back in the microwave and heat an additional 25-30 seconds.  Continuing the process of heating and stirring the dark chocolate chips until the dark chocolate chips have melted completely.
  5. Pour the roasted hazelnuts and almonds into the bowl of a high powered food processor.  Blend nuts in the food processor on high until the nuts turn into a thick paste, which should take 2-4 minutes (depending on the power of your blender).
  6. Add the remaining ingredients to the food processor, and continue to blend another 2-3 minutes until the ingredients have fully incorporated and the mixture is smooth and creamy.
  7. Store in an airtight container in the refrigerator for up to 2-3 weeks.


3 Comments

Mexi-Cauli Rice Bowl

Thanksgiving last week was awesome, because I was able to spend time with my family, including my adorable nephew Tayo.  My family lives in Texas, while I live in Oklahoma, so I don’t see my nephew as often as I would like.  He is full of energy and spunk, and his laughter and smiles make everything better (but when he is hungry, you better watch out, cause he’ll let you know how he feels 😉 ).

Every Thanksgiving, my parents invite relatives and friends from their local church to celebrate Thanksgiving.  We have a large potluck at my parent’s house, and this year I  whipped up some of my favorite Thanksgiving dishes, including a green bean casserole and sweet potato casserole.  My sweet potato casserole is a family favorite, and is usually polished off before the end of dinner.

I’m Nigerian-American, and we also have several Nigerian dishes as well, like Jollof Rice (rice cooked with tomato stew and spices), Moi Moi (a dished made from black beans), meat pies and fried plantains.

I love having family and friends come together to celebrate and give thanks for health, well being, and being able to gather together and celebrate the holidays.  However, one of the absolutely best parts about Thanksgiving in Texas, is that I don’t have to worry about finishing off leftovers!  By the time I make it back home, turkey (and any other leftovers) are the last things I want to eat.

If you’re also tired of turkey, ham, and casseroles, than I have a ground beef and vegetable dish that is sure to make your tastebuds happy!

IMG_7954

IMG_8016

This dish was inspired by my desire for latin american flavored meal without being too carb-heavy.  With low-carb veggies like cauliflower and green and red bell peppers, and ground beef flavored with spices like cumin, chili powder and oregano, you are going to enjoy this flavor combination.

IMG_7960

Depending on your tolerance for spicy foods, you can also kick it up a notch by adding more red pepper flakes.

I’d love to know how your Thanksgiving went!  Feel free to leave a comment below sharing your favorite traditional (and non-traditional) Thanksgiving dishes.  If you make the Mexi-Cauli Rice Bowl, please let me know what you think!

IMG_8083

Mexi-Cauli Rice Bowl

Servings: serves 3-4


Ingredients:

  • 1 pound ground beef
  • 1 large head of cauliflower, chopped into florets
  • 1 14 oz can diced tomato
  • 1 large red onion, diced
  • 1 large red bell pepper, diced
  • 1 large green bell pepper, diced
  • 3 cloves of garlic, minced
  • 1 1/2 tablespoons chili powder
  • 2 1/2 teaspoons sea salt
  • 1 teaspoon ground black pepper
  • 1 teaspoon cumin
  • 1/2 teaspoon dried oregano
  • 1/2 teaspoon paprika
  • 1/4 teaspoon red pepper flakes (optional)
  • 1 tablespoon cooking fat (lard, tallow, coconut oil, butter, avocado oil)

Instructions:

  1. Process the cauliflower florets into cauliflower rice by using the shredding attachment on a food processor.  If you don’t have access to a food processor, you can “rice” the cauliflower by using a handle held food grater.  Pour the cauliflower rice into a large bowl and set aside.
  2. Preheat a large skillet over medium high heat.  Add the ground beef and all of the spices (but reserving 1 teaspoon of sea salt).  Cook the ground beef over medium high heat until browned, approximately 10-12 minutes.
  3. Once the meat has browned, add the diced tomatoes and lower the heat to medium-low, simmering the browned beef and diced tomatoes for 15-20 minutes.  Once the browned beef has finished simmering, remove from heat and set aside.
  4. While the beef and diced tomatoes are simmering, preheat a large pot over medium high heat.  Then add 1 tablespoon of the cooking fat to the pot.
  5. Once the cooking fat has heated, add the minced garlic and sautee for 20-30 seconds.  Add the diced onions and sautee an additional 4 to 5 minutes.
  6. Add the diced red and green bell peppers to the large pot, and continue sauteeing for 6-7 minutes.
  7. Add the cauliflower rice to the large pan, and mix with the diced onions and bell peppers until combined.
  8. Continue cooking the cauliflower mixture, stirring the mixture periodically until the rice has softened, 8-10 minutes.
  9. Once the cauliflower rice mixture has cooked through, remove from heat.
  10. Mix the cauliflower rice mixture with the beef and diced tomatoes, and stir to thoroughly combine.
  11. serve immediately.


Notes:

  • This meal makes great leftovers.


2 Comments

Creamy Roasted Cauliflower and Garlic Soup with Sausage, Bacon and Kale

Now that colder weather has arrived, I’m in the mood for foods that make me feel warm and cozy.  I absolutely hate the cold, and wish I could live in pajamas and warm fuzzy bathrobes all day (fuzzy bathrobes are the best kind of bathrobes, just sayin’).  While pajamas and bathrobes are currently not part of the dress code at my job, changing the dress code at work is one of my top priorities 😉  Until then, drinking hot tea at work to keep my hands (and body) warm will have to do, along with wrapping myself in warm blankets and ignoring the stares of fellow co-workers when I’m wrapped up in my blanket like I burrito.  But I digress.

 This recipe for cauliflower soup is sure to keep you warm and cozy on a cool fall/winter evening.  It’s packed full of flavor (you’ll just have to trust me on this one), and the addition of bacon grease (crazy, I know) takes it to another level entirely!

IMG_6956

This recipe is a fan favorite among friends, and is recipe I like to make for anyone, regardless of whether they follow a Paleo/gluten-free lifestyle.

IMG_6930


You may get words of love and adoration from friends and family after you make this recipe for them.  If you don’t, I hope they at least say thank you for the flavor party that is sure to be happening in their mouths.

If you try out this recipe, please let me know what you think.  I’d love to read your feedback!  What are some things you like to do to keep you warm during the cold season?

Creamy Roasted Cauliflower and Garlic Soup with Sausage, Bacon and Kale

Servings: serves 6-8


Ingredients (for the sausage):

  • 1 pound ground pork
  • 2-3 garlic cloves, minced
  • 1 1/2 teaspoons dried sage
  • 1 teaspoon fennel seeds, chopped
  • 1 teaspoon sea salt
  • 1/2 teaspoon dried thyme
  • 1/4 teaspoon ground black pepper
  • 1/2 teaspoon red pepper flakes (optional)

Ingredients (for the soup):

  • 1 large head of cauliflower, chopped into florets
  • 7 cups chicken broth
  • 1 large red onion, roughly chopped
  • 1/2 head of kale, roughly chopped
  • 3-4 slices of bacon, cooked, drained and chopped (reserve 2 tablespoons of bacon grease)
  • 1/2 cup heavy cream (can sub with coconut milk to make dairy-free)
  • 1 head of garlic
  • 2 tablespoons plus 2 teaspoons of cooking fat (lard, avocado oil, butter, ghee, tallow)
  • 1 1/2 teaspoons sea salt
  • 1 teaspoon dried thyme
  • 1 teaspoon dried oregano
  • 1/2 teaspoon paprika
  • 1/2 teaspoon black pepper

Instructions:

For the Sausage:

  1. In a medium bowl, combine all of the ingredients for the sausage until everything has been fully incorporated.
  2. Heat a large skillet over medium heat.  Add the sausage to the skillet, and cook over medium heat until  sausage has browned and cooked through, approximately 10-12 minutes.  Drain excess fat once the sausage is thoroughly cooked, and then set aside.


For the Soup:

  1. Preheat oven to 425 degrees.
  2. Line a large baking sheet with parchment paper.
  3. In a large mixing bowl, combine the cauliflower and onion.
  4. Drizzle 2 tablespoons of cooking fat onto the cauliflower and onion, and toss to coat.
  5. Place the vegetables on the baking sheet in a single layer.
  6. Trim the top off the head of garlic.  Place the garlic on a small piece of aluminum foil.  Pour two teaspoons of cooking fat on top of the garlic.  Wrap the foil around the garlic so that it is completely sealed.
  7. Place the garlic wrapped in foil on a small corner of the baking sheet.
  8. Roast the cauliflower, onions and garlic in the oven for approximately 1 hour until they have softened, (you should be able to pierce the roasted vegetables easily with a fork).  Toss the cauliflower and onions halfway the cooking process.  Once the cauliflower, onions and garlic have finished roasting, remove the baking sheet from the oven.
  9. Allow the roasted garlic to cool, and then peel once you are able to safely handle it.
  10. Place a large cooking pot on the stove.  Pour the roasted cauliflower and onion into the pot, and then add 7 cups of chicken broth.
  11. Bring the mixture to a boil, and then reduce heat to medium low, letting the vegetables simmer in the chicken broth for approximately 30 minutes.
  12. Turn the stove off, and pour the roasted vegetables, chicken broth and peeled roasted garlic into a vitamix, and puree until smooth, approximately 2-3 minutes depending on your preference level.  If you don’t have a vitamix, a large high powered food processor should work.
  13. After the mixture has  pureed, pour the mixture back into the large cooking pot.
  14. Place the pot back on the stove, and reheat the pot using medium heat.  To the pot, add the heavy cream, sea salt, thyme, oregano, paprika, pepper, sausage, bacon, kale and bacon grease and stir until all the ingredients in the mixture are fully incorporated.
  15. Cook the soup over medium heat for 8-10 minutes.
  16. serve immediately and enjoy!

IMG_6986


Leave a comment

Supreme Pizza Egg Muffins

I’m a person who loves convenience when it comes to breakfast during the work week.  I typically workout in the mornings, and by the time I come home from the gym to get ready for work, the last thing I want to do is try and start cooking breakfast.  As a result, my go-to-meals for breakfast in the morning are usually egg muffins.

IMG_6373

They are easy to make, and packed full of flavor.   I like to make a large batch of egg muffins on Sundays while I am meal prepping for the week.  I portion the egg muffins into ziplock bags and then throw them in the freezer.  During the week, it’s a simple task of me throwing a pre-portioned bag of frozen egg muffins into my lunch bag before I head off to work.

When I get to work, I heat the egg muffins in the microwave in my company’s office (they re-heat really well).  I get several comments from co-workers about how wonderful the eggs muffins smell in the mornings while they are warming up.  Those comments also include strong hints to share my breakfast(which I ignore, because I’m hungry).  I may share my cookies with you, but don’t touch my breakfast 😉

IMG_6354

Although this recipe includes ingredients found as toppings on a supreme pizza, feel free to play around with ingredients and spices.  Try making taco egg muffins by using ground beef, cheddar cheese, taco seasoning, onions and peppers.  I’ve also made egg muffins with baked chicken, bacon, caramelized onions, mozzarella and artichoke.  Those were the bomb!

Please share some go to tips you have for making easy breakfasts during the week,and your favorite egg muffin combinations in the comments below!

Supreme Pizza Egg Muffins

Servings: makes approximately 24


Ingredients:

For the Muffins:

  • 13 eggs
  • 1 pound ground pork sausage
  • 1/2 cup coconut milk (canned)
  • 1 cup shredded mozzarella cheese (optional, omit to make dairy-free)
  • 4 ounces pepperoni slices, chopped
  • 4 ounce can portobello mushrooms, drained
  • 2.25 ounce can black olives, drained
  • 1/2 red onion, diced
  • 1/2 green bell pepper, diced
  • 1 tablespoon dried Italian seasoning
  • 1 teaspoon sea salt
  • 1 teaspoon garlic powder
  • 1/2 teaspoon ground black pepper
  • 1 teaspoon cooking fat

For the Pizza Sauce:

  • 8 ounce can tomato sauce
  • 3 ounces of tomato paste (1/2 of a 6 ounce can)
  • 3/4 teaspoon paprika
  • 2 teaspoons Italian seasoning
  • 1/2 teaspoon garlic powder

Instructions

  1. Preheat oven to 375 degrees.
  2. Preheat a large skillet over medium-high heat.  Add sausage to the skillet, and cook until the meat has browned and is in crumbles.
  3. After the sausage has cooked, drain the excess fat (reserving 1 teaspoon), place the sausage in a large bowl and set aside.
  4. Heat 1 teaspoon of fat from sausage over medium-high heat.  Added diced red onion and saute for 5 to 6 minutes.
  5. Add the diced green bell peppers to the skillet and saute with the onions for an additional 3 to 4 minutes.
  6. Remove the skillet from heat, place the peppers and onions in to the bowl with the ground beef, and set aside to cool.
  7. In a small separate bowl, mix together the pizza sauce ingredients thoroughly until completely combined. Set aside.
  8. In a separate large bowl, whisk together the eggs, coconut milk, Italian seasoning, sea salt, garlic powder and ground black pepper.
  9. Once the peppers/onion/sausage mixture has cooled, to the large bowl add chopped pepperoni slices, black olives, portobello mushrooms and 1/2 cup mozzarella cheese and mix together.
  10. Line two 12 serving cupcake pans with liners (or grease the muffin cups with cooking fat).
  11. Fill each cupcake liner half way with the egg/coconut milk mixture, and then fill each liner with approximately 2 tablespoons of the supreme pizza topping mixture.
  12.  Dollop a tablespoon of pizza sauce over each cupcake liner.
  13. Take the remaining 1/2 cup of shredded mozzarella cheese, and sprinkle a pinch of mozzarella cheese on top of each cupcake liner.
  14. Place the cupcake pans in the oven and bake for approximately 30-35 minutes until firm (a knife inserted into the egg muffins should come out clean), rotating the pans half way through (and also making sure to rotate the pans from top to bottom).
  15. Remove from oven and let cool slightly before serving.


2 Comments

Chicken Teriyaki

I was in a deep committed relationship for 11 years.  It had its ups and downs, but overall I was happy.  And then recently, I noticed things weren’t going as well.  There was failure to communicate.  It began to feel like a relationship with lots of stops and starts, and the reliability and consistency wasn’t there anymore.  My family and friends had been begging me for months to let go, but it was hard to give up after investing in the relationship for so long.  However, I eventually made the difficult decision to end it.

After 11 years, I finally decided to trade in my car for a SUV.  It wasn’t an easy decision, and I still miss my old car.  You know what I also miss? Not having car payments :/  However, I do love the knowledge that I have a safe and reliable car!

Before trading in my old car, I went through and cleaned out all junk inside.  It was like a treasure drove in there (actually, more like a junk yard)!  I found at least $3.00 worth of coins.

However, I hit the jackpot when I found my first cell phone from 2002.  I must have been on a roll, because a little later I found the second cell phone I ever owned.

And then I hit it big again when I found my first iphone.

IMG_6458

The all important lesson I learned after cleaning out my old car?  I’m a phone hoarder.  Now you know my deepest darkest secret 😉

This post is all about sharing, and today I’m also sharing with you my recipe for Chicken Teriyaki!

IMG_7436


IMG_7529

This meal is packed full of different types of vegetables.  To keep it lower on the carb spectrum, I prepared a side of cauliflower rice to go with the meal, and I was on a veggie cloud 9!

IMG_7521

 I learned a new technique for cooking chicken in a stir-fry that makes the meat tender and moist.  It’s called “velveting” chicken, and involves marinating the chicken in an arrowroot powder/egg wash coating, and then boiling the chicken prior to adding it to the stir-fry. (Detailed instructions for implementing the technique are below).

I would love to read your tried and true techniques for making your favorite stir-fry meals.  Please feel free to share in the comments below!

Chicken Teriyaki

Servings: serves 3-4


Ingredients (Velvet Chicken):

  • 1 pound chicken breast, cut into 1 inch pieces
  • 1 large egg white, beaten
  • 1 tablespoon arrowroot flour
  • 2 tablespoons sesame oil
  • 1/2 teaspoon salt
  • 1/4 teaspoon pepper

Ingredients (Chicken Teriyaki):

  • 4 cups broccoli
  • 1/2 red bell pepper, sliced
  • 1/2 yellow onion, sliced
  • 2 cups snap peas
  • 4 scallions, sliced thinly
  • 3/4 cup coconut aminos
  • 1/4 cup orange juice, plus the zest of 1/2 an orange
  • 2 tablespoons honey
  • 2 tablespoons coconut sugar
  • 1 1/2 tablespoons sesame oil
  • 3 cloves of garlic, minced plus 2 cloves of garlic, minced, divided
  • 2 teaspoons fresh ginger, grated
  • 4 teaspoons water
  • 2 teaspoons arrowroot powder

Instructions:

  1. In a large bowl, whisk together egg white, arrowroot powder, 1 tablespoon sesame oil, salt and pepper until thoroughly combined.  Then, add the chicken pieces to the mixture and stir to coat.
  2. Marinate chicken in coating for 30 minutes.
  3. While the chicken is marinating, in a medium sized saucepan mix together the coconut aminos, orange juice, orange zest, coconut sugar, honey, 3 cloves of minced garlic, 1 teaspoon ginger and 1/2 tablespoon sesame oil.
  4. Place saucepan on stove over medium high heat, and bring sauce to a boil.
  5. Once the sauce has come to a boil, reduce heat to medium low and let simmer for 7 to 8 minutes.
  6. While the sauce is simmering, in a small bowl mix together the water and arrowroot powder.
  7. After the sauce has simmered for 7 to 8 minutes, reduce temperature to low and add the arrowroot/water mixture to the saucepan, stirring to incorporate.
  8. Continue to stir the teriyaki sauce for 1 to 2 minutes on low until the teriyaki sauce has thickened.  Once the sauce has  thickened,  remove from heat and set aside.
  9. Take the marinated chicken, and drain any excess coating.
  10. In a large skillet, heat 1 to 2 inches of water and 1 tablespoon of sesame oil over high heat until boiling.
  11. After the water has come to a boil, place the chicken pieces in the water (making sure each piece is fully submerged), and cook for 2 minutes.  If necessary, stir the chicken with a slotted spoon to make sure the pieces don’t stick together.
  12. After 2 minutes, remove chicken from the water with a slotted spoon, drain and set aside.
  13. In a large skillet, heat 1 1/2 teaspoons of sesame oil on medium high heat.  Once the oil is hot, add 2 cloves of minced garlic and 1 teaspoon of ginger, and stir continuously for 10 to 20 seconds.
  14. Add chicken to the garlic/ginger mixture and stir-fry until cooked through, 3 to 4 minutes.
  15. Take the chicken out of the skillet and set aside.
  16. Heat 1 1/2 teaspoons of sesame oil on medium high heat.  Once the oil is hot, add the broccoli, red bell pepper, snap peas and onions, and stir-fry for 4 to 5 minutes.
  17. Add the chicken to the vegetables in the skillet, and turn the heat off.
  18. Pour the teriyaki sauce over the chicken and vegetables, and mix together to combine.
  19. Pour the chicken teriyaki into a serving bowl, and sprinkle the scallions on top.
  20. You can serve this meal with cauliflower rice, white rice or even kelp noodles.


Notes:

IMG_7588


Leave a comment

Spaghetti Squash with Sun-dried Tomato Basil Walnut Pesto

Sometimes I burn things.  Okay, what you read may have sounded somewhat creepy.  Let me clarify.  To be more specific, sometimes I unintentionally burn the food I’m cooking.  I may leave something on the stove and forget to check it, only to come back later and find said food “cooked” to an inedible crisp.  Or, I may overestimate how long something is suppose to bake, and cook it until its at a point where even my best guy friends won’t touch it.  It’s somewhat frustrating, but comes with the territory, at least in my world.  When I cook something, I look forward to sampling the different food combinations that make up a recipe.  When that meal happens to burn (sometimes a fiery flame of death), my heart hurts, and my soul gets crushed just a little.

On the other hand, I have somewhat of an unlikely love of “burnt” Brussels Sprouts and broccoli.  My favorite part when roasting these vegetables is the little extra crispy bites.  I don’t burn them until they are completely unrecognizable, but the vegetables are usually a lot more crispy then most people prefer.  Therefore, I usually only crisp them up in the comfort of my own home, in a meal that won’t be shared with others (mainly, because I don’t want to share 😉 ).

Why this long talk about burning food?  Well, it gives a little background for last week’s fiasco.  I invited my friend Olivia over for grilled steaks, Brussels Sprouts roasted with chopped bacon, and mashed sweet potatoes.  Olivia asked that her steak be cooked well-done (horrible, I know), which request I fully intended to comply with.  What I failed to realize is that by warming up the grill as the sun was setting, I wouldn’t actually be grilling the steaks until it was night time.  This wouldn’t be a problem, except that I have poor lighting in my backyard.  I wasn’t able to visually check the steaks because of the bad lighting, and they cooked longer than necessary, well past the point of preference for either one of us.

Olivia asked for a well-done steak, but I ended up cooking her steak so long that she couldn’t eat most of it because it was too tough.  It’s a good think she enjoyed the vegetables, because that ended up being the majority of her dinner for the night.

Thankfully, this recipe for Spaghetti Squash with Sun-dried Tomato Basil Walnut Pesto came out great, and no food was harmed in the making of this meal.

IMG_3509

I made chicken to go along with the spaghetti squash using my chicken marinade recipe, and these meal was made to rave reviews.

 IMG_3546

Try it out, and let me know what you think in the comments below!

Spaghetti Squash With Sun-dried Tomato Basil Walnut Pesto

Servings: serves 5-6


Ingredients:

  • 1 large Spaghetti Squash
  • 1 cup extra virgin olive oil
  • 1 cup fresh basil
  • 1/2 cup shredded Manchego cheese*
  • 1/2 cup raw walnuts
  • 1/2 cup sun-dried tomatoes
  • 1 tablespoon fresh thyme
  • 1/2 teaspoon salt
  • 1/4 teaspoon black pepper
  • 3 cloves of garlic, peeled

Instructions:

  1. Preheat oven to 425 degrees.
  2. Line a large baking sheet with parchment paper.
  3. Chop spaghetti squash in half lengthwise, and scoop out the seeds.  Quick tip, to make the spaghetti squash easier to cut, microwave for 1-2 minutes.  This makes the shell a little softer, so that you don’t have to hammer away at it like your hacking down a tree.
  4. Place the spaghetti squash cut side down, and bake in the oven for approximately 40-45 minutes.
  5. Once cooked, take the spaghetti squash out of the oven, flip the halves over and let cool.
  6. In the bowl of a food processor fitted with an S blade, place the basil, sun-dried tomato, manchego cheese, walnuts, garlic, thyme, salt and pepper.
  7. Turn the food processor on, and pulse 5 or 6 times, for 2-3 seconds each time.  Scrap down the sides of the bowl if necessary.
  8. Then turn the food processor on, and while the food processor is running, slowly pour in the extra virgin olive oil and continue running the food processor until the pesto ingredients have fully combined.
  9. Once the spaghetti squash has cooled enough to handle, use a fork to scrap the squash noodles into a large bowl.
  10. Pour the pesto over the spaghetti squash noodles, and stir the  pesto with the squash noodles until fully incorporated.
  11. Plate and enjoy!


Notes:

  • You can sub shredded Parmesan cheese for manchego cheese if this type of cheese is difficult to locate, or omit the cheese entirely to make the recipe dairy free and Whole30 friendly.