baconwrappedbarbells


Leave a comment

Apple Cinnamon Raisin Bread with Pecans

IMG_9688

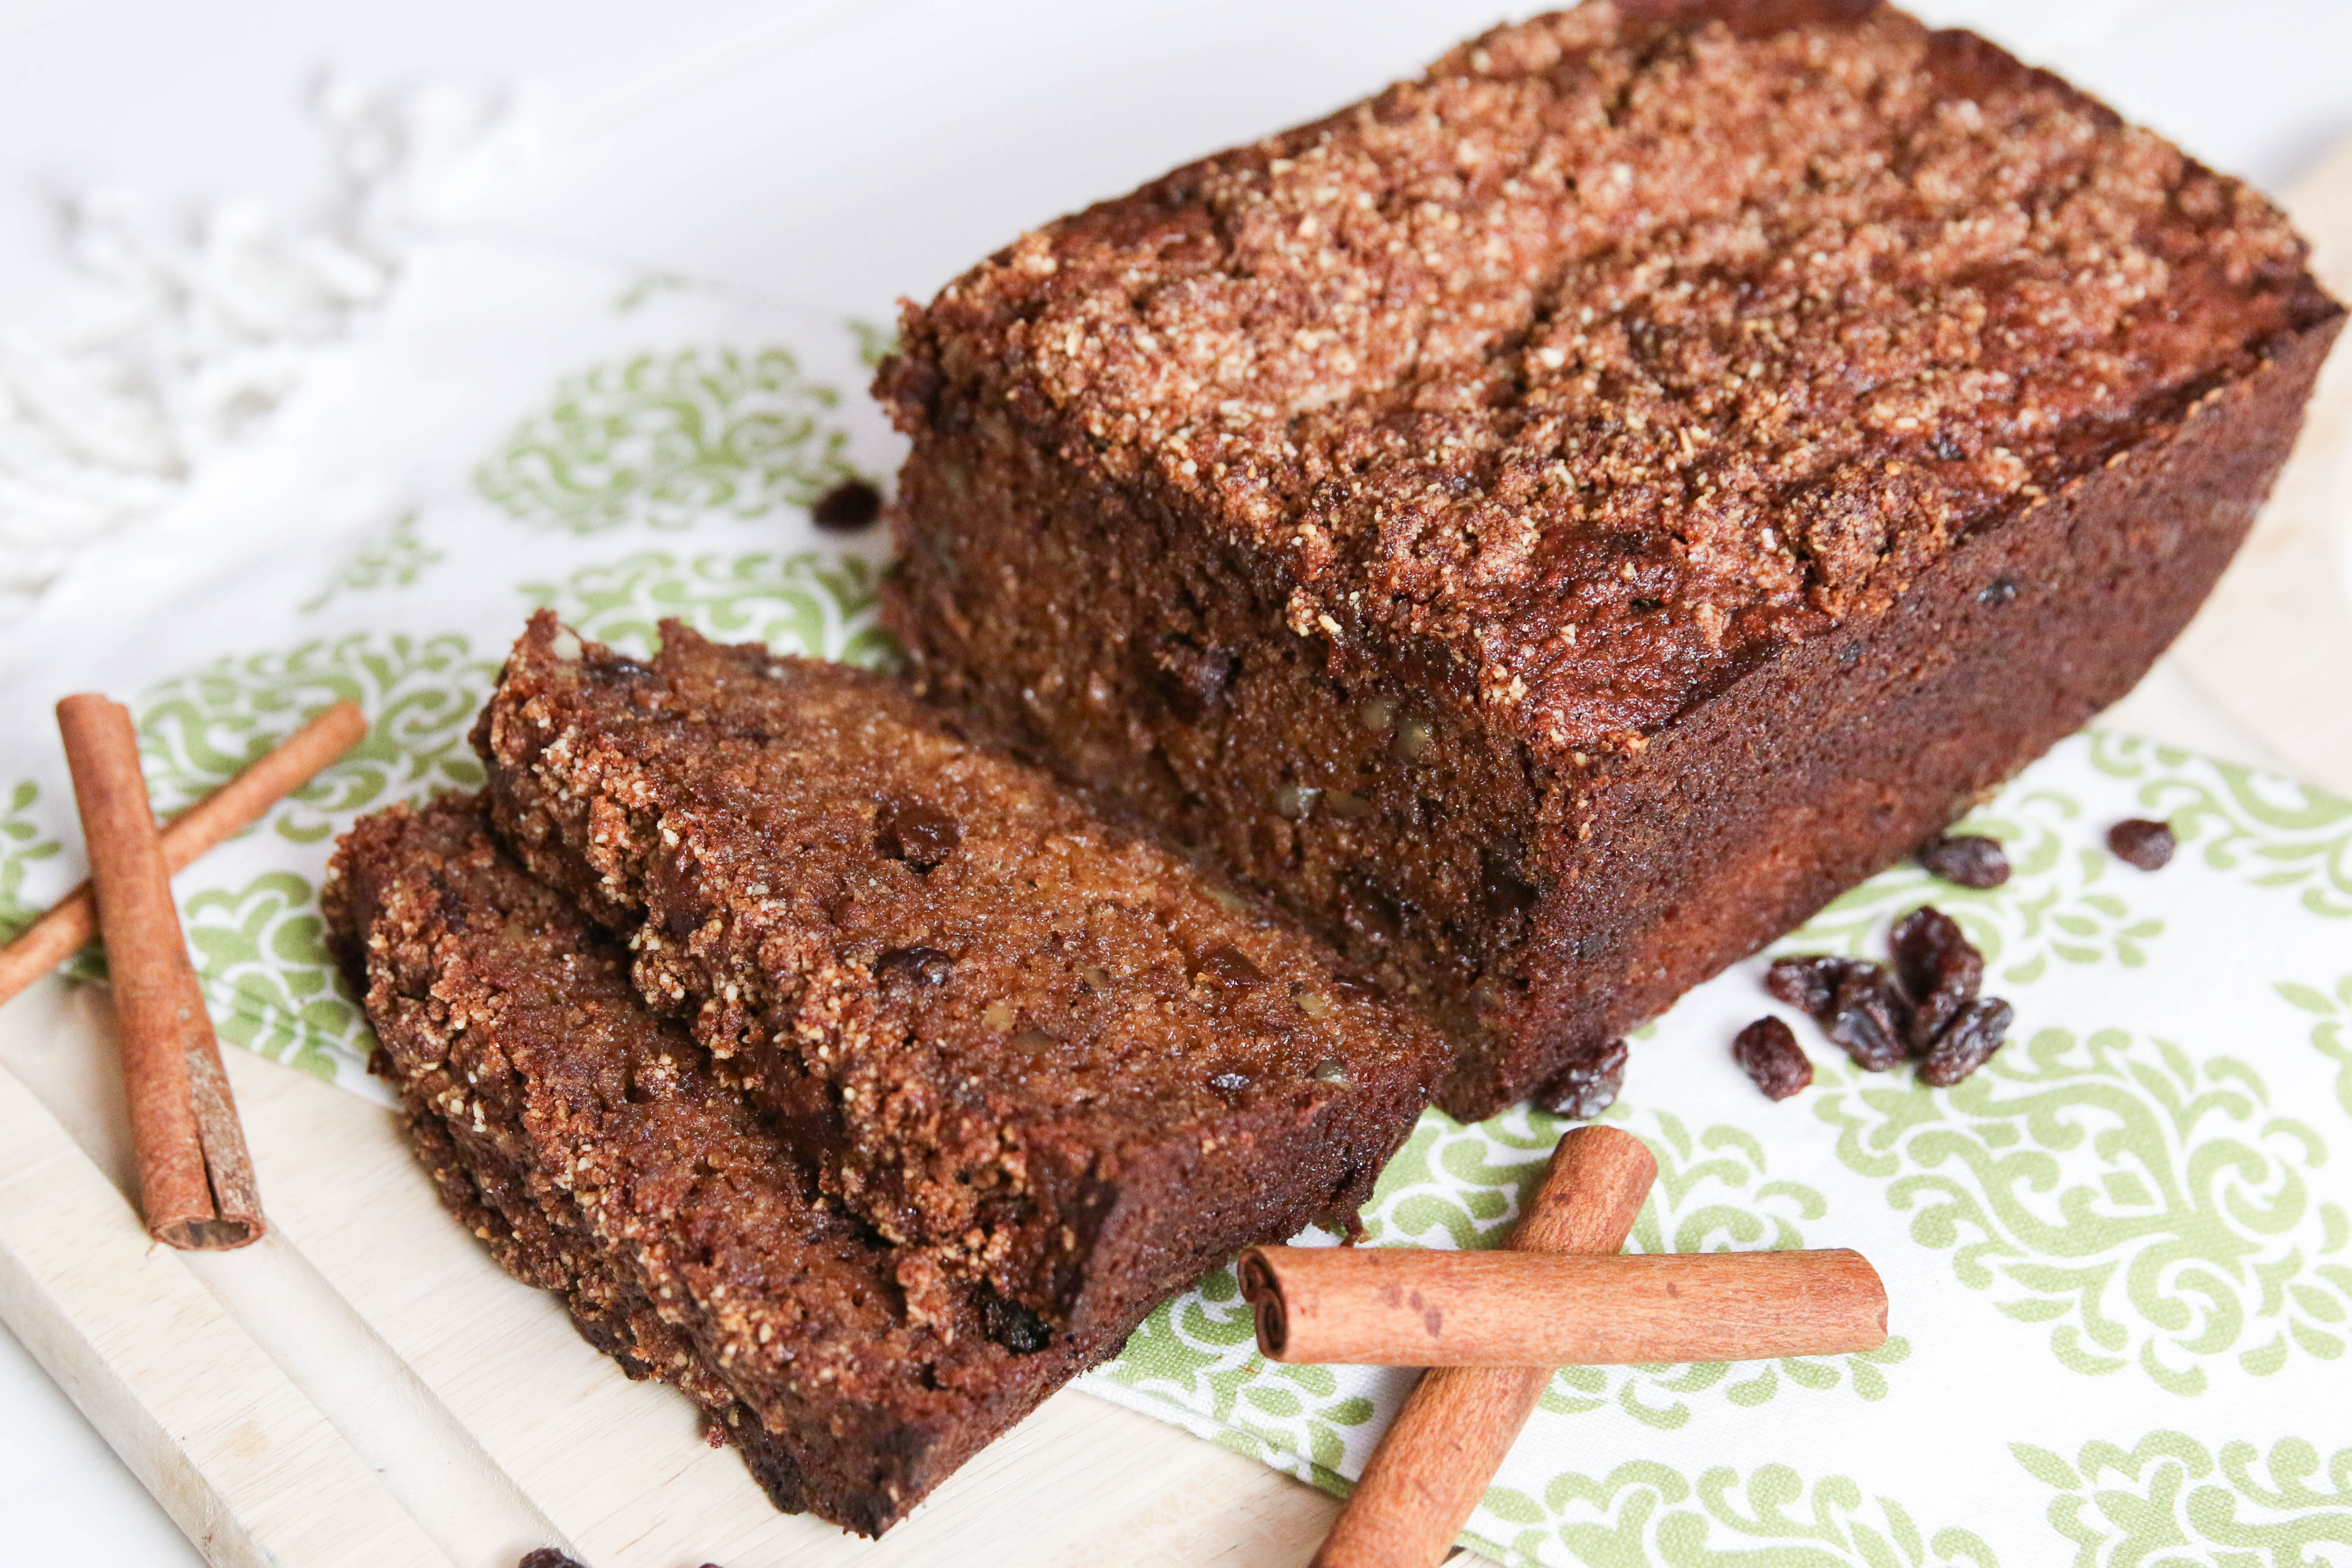
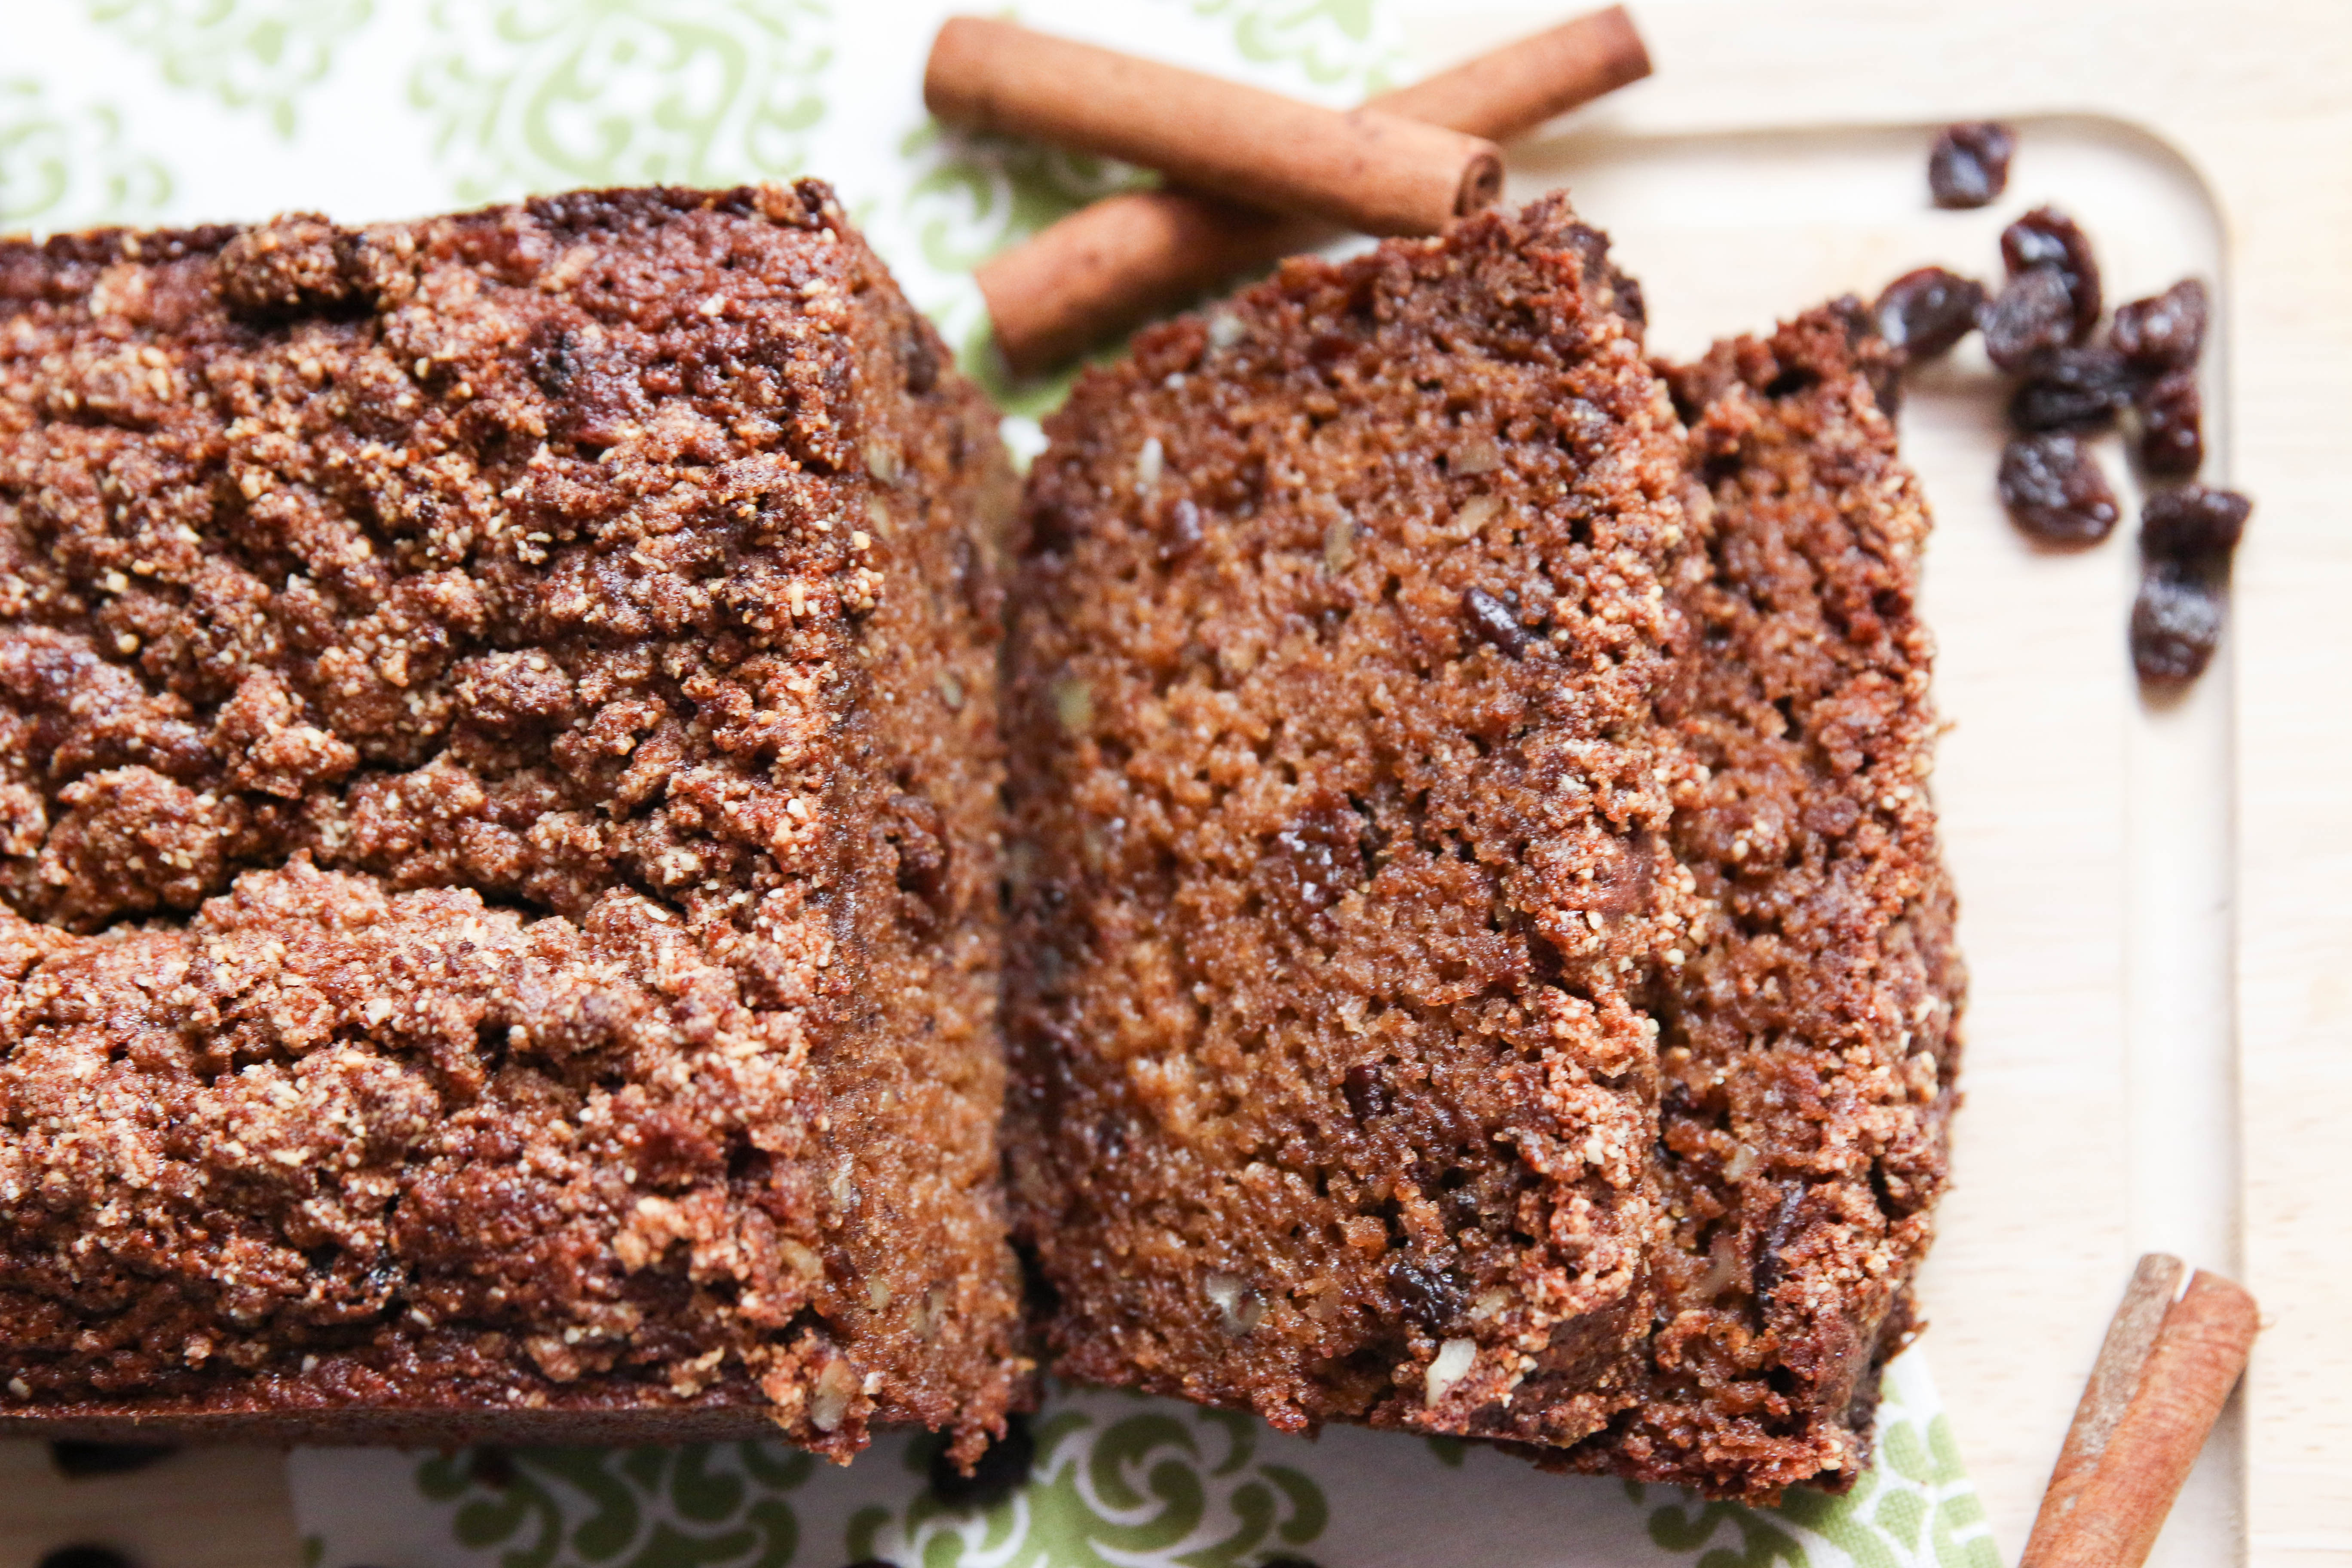
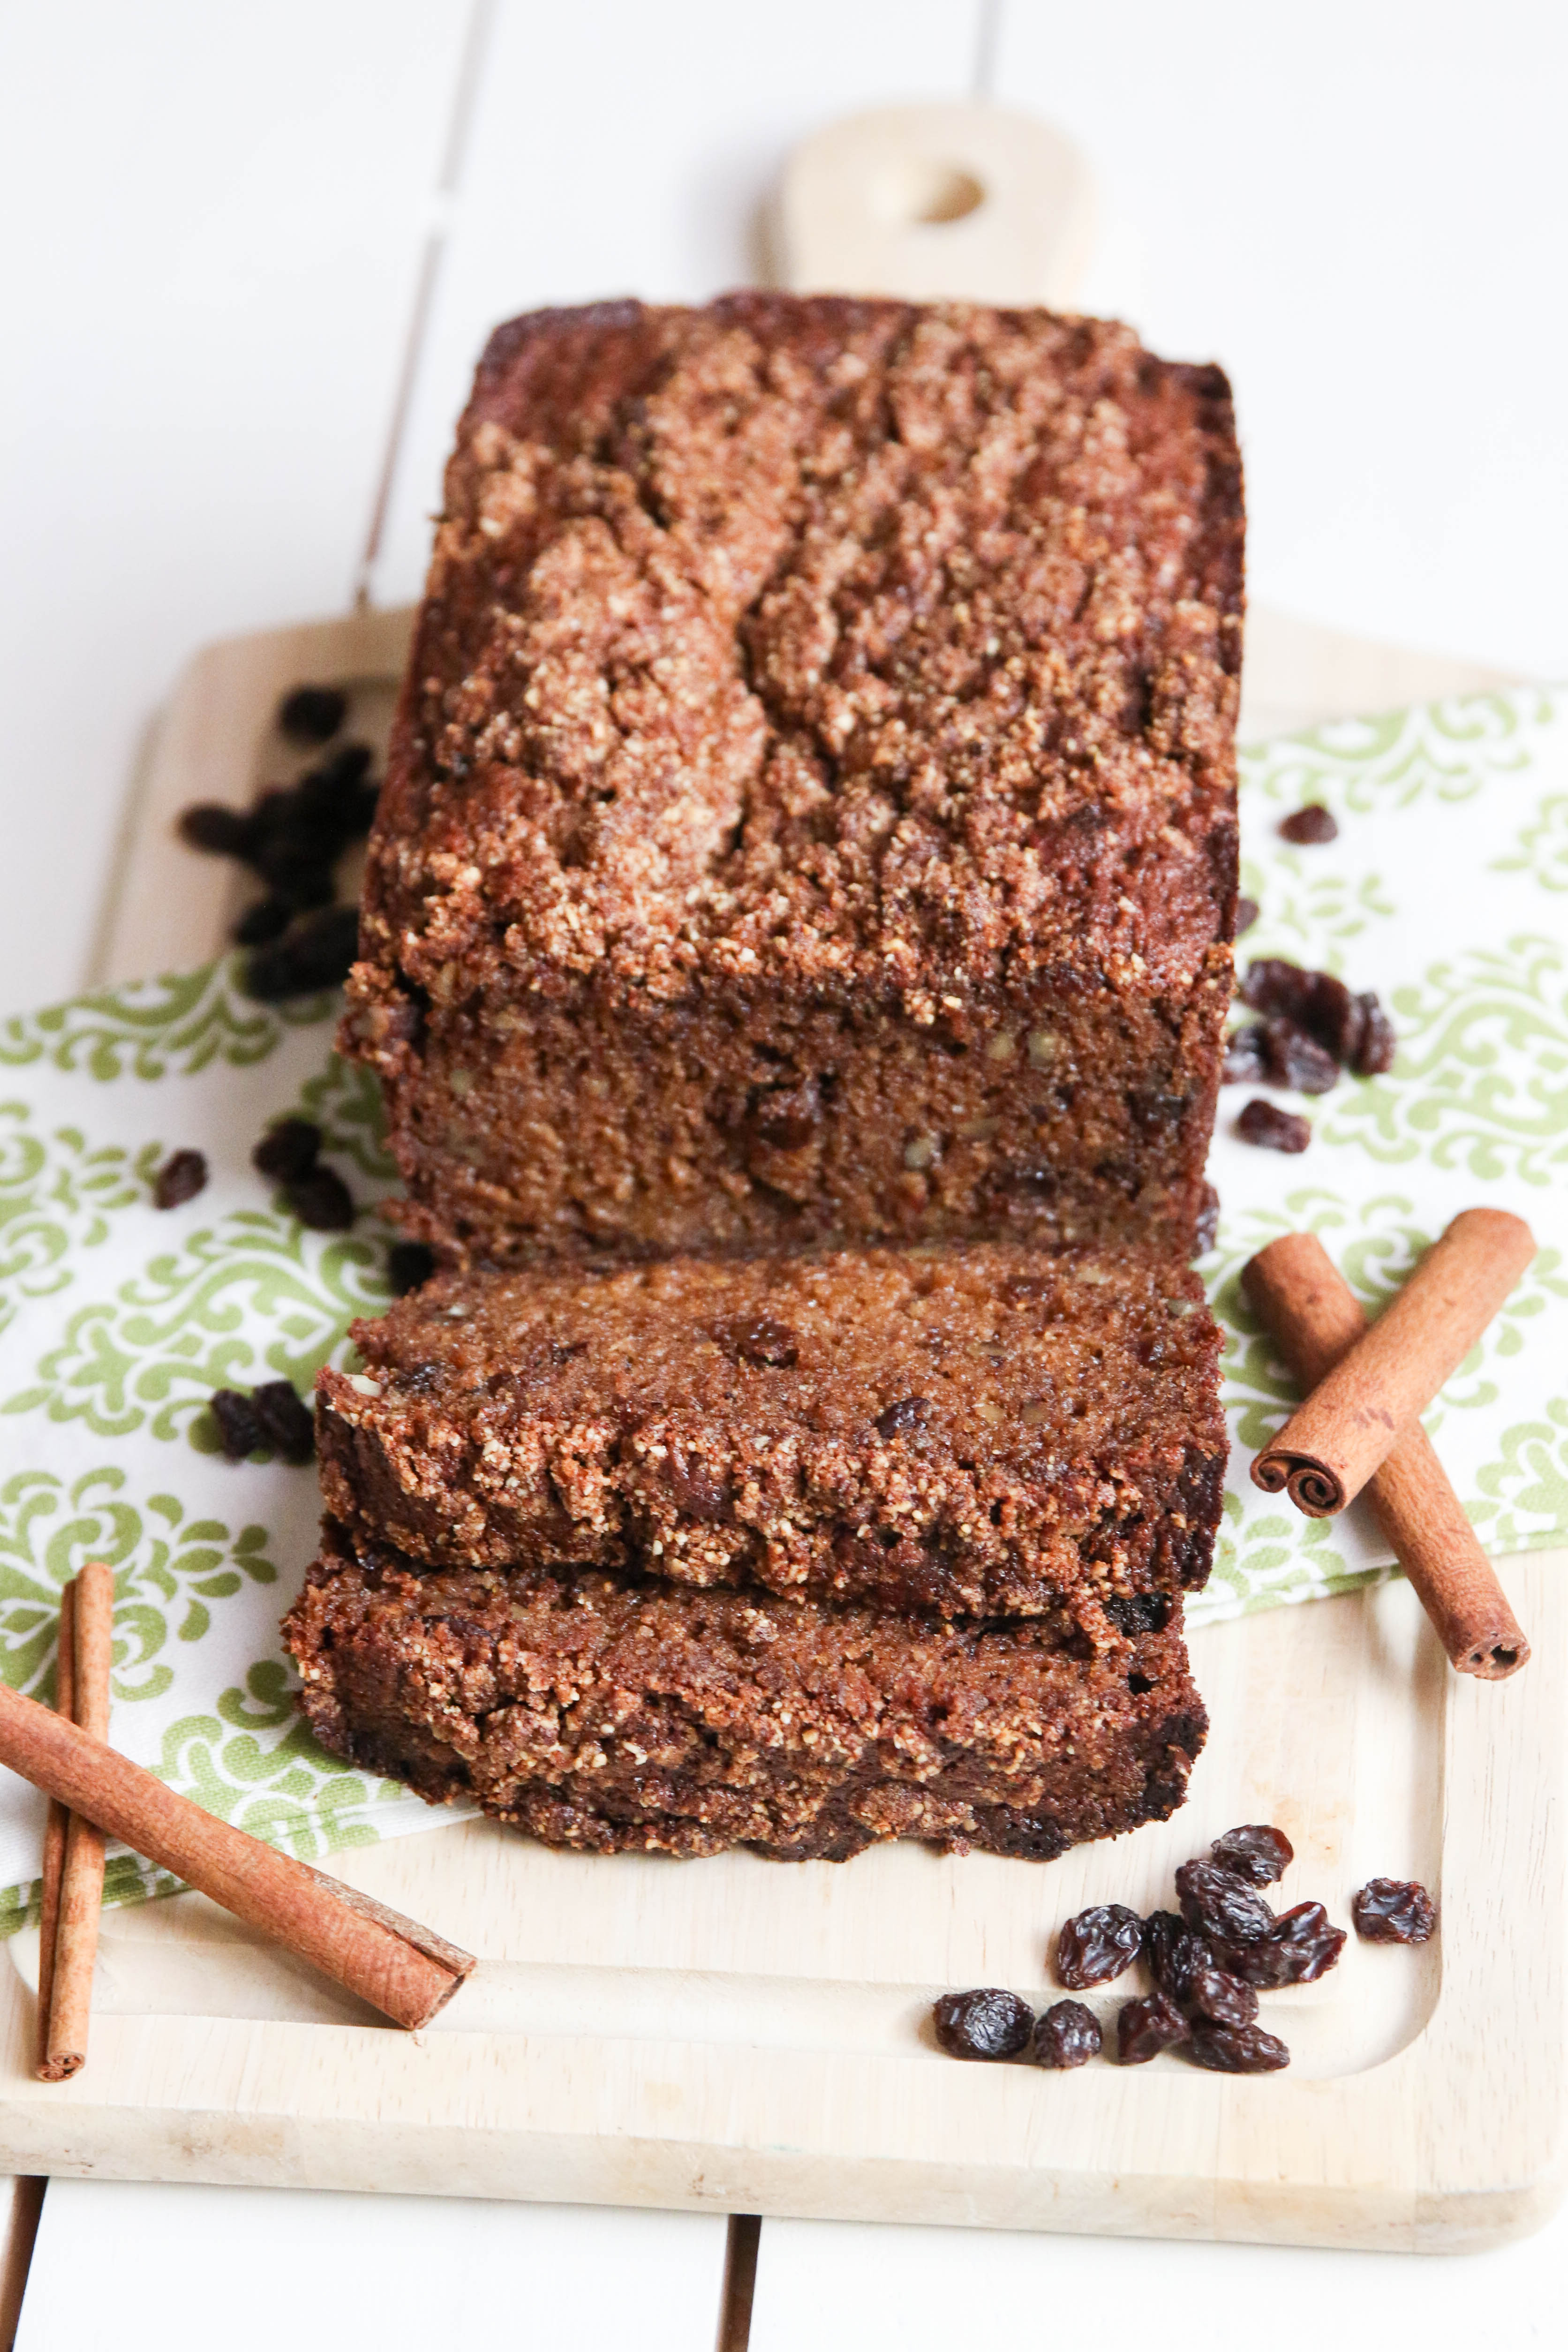
This recipe for Apple Cinnamon Raisin bread is sooooooo flavorful and moist, packed full of cinnamon, vanilla, shredded apples, raisins and pecans!  With the change in season just around the corner, this would be a perfect treat on a fall day, especially with a cup of hot cocoa.

IMG_9676

I’ve got to give a big shout out to the ladies at my office, who made the ultimate sacrifice in testing each batch of this recipe as I worked on getting it just right before sharing with you guys!  It was a group effort as each version got closer and closer to the texture and flavor I wanted.  Thankfully, the ladies at my office were willing to step up to the plate and give their feedback on each batch of bread I brought for testing.  Oh the sacrifice! 😉  Version four of the recipe finally yielded the texture and flavor I was looking for, and now I get to share the recipe with all of you!

IMG_9693

I love reading your feedback about the recipes you try, so please leave me a comment below sharing your thoughts!

Apple Cinnamon Raisin Bread with Pecans*

Servings: 8-12


Ingredients:

  • 1 and 1/4 cup almond flour
  • 3/4 cup tapioca flour
  • 3/4 cup apple sauce
  • 3/4 cup coconut sugar
  • 1/2 cup butter, melted
  • 1/2 cup chopped pecans
  • 1/2 cup raisins
  • 1 large apple, peeled and cored
  • 2 eggs
  • 1 tablespoon vanilla extract
  • 1 tablespoon cinnamon
  • 1 teaspoon baking soda
  • 1 teaspoon baking powder
  • 1/2 teaspoon sea salt
  • butter or coconut oil to grease the baking pan

Streusel topping

  • 1/4 cup almond flour
  • 2 tablespoons coconut sugar
  • 1 tablespoon butter
  • 1/2 teaspoon cinnamon

Instructions:

  1. Preheat the oven to 350 degrees
  2. Grease a 9 x 5 x 3 inch bread pan with butter or coconut oil.  Then, line the bottom of the greased pan with parchment paper.
  3. In a large mixing bowl, combine with almond flour, tapioca flour, coconut sugar, cinnamon, baking soda, baking powder and sea salt.
  4. In a separate bowl, whisk together the eggs, apple sauce and vanilla extra.  Then add in the melted butter and stir to combine.
  5. Pour the wet ingredients into the dry ingredients and stir thoroughly until the mixture is fully incorporated.
  6. Grate the apple using either a hand held grater or the grating attachment on a food processor.  Once the apple has been grated, squeeze out all excess moisture and add the grated apple to the bread batter.
  7. Add raisins and pecans to the bread batter and mix to fully combine.
  8. Pour the bread batter into the greased and lined bread pan and place in the preheated oven.  Bake the bread or 55-60 minutes, or until a toothpick inserted into the center of the bread comes out clean.
  9. Once the bread has finished baking, remove from the oven and set aside to cool on the counter for at least 10 to 15 minutes before slicing and serving.

IMG_9654

*To make this bread into muffins, use a muffin pan and fill each well approximately half way.  Then sprinkle the streusel topping over the batter.  Bake for 25-30 minutes  until a toothpick inserted into the muffin comes out clean.  The batter makes 14-16 muffins.


1 Comment

Orange Honey “Soy” Chicken

IMG_9300

I love lifting heavy things.  Picking up a heavy dumbbell or barbell in the gym gives me a sense of accomplishment.  This love didn’t until later on in my life.  Before I started CrossFit, I was a gym bunny, taking 7-9 exercise classes a week including zumba, Krav Maga, body pump, spinning, kickboxing, step aerobics and boot camp classes.  I really enjoyed the body pump classes (an hour long strength training class focusing on different body parts for 2-3 minutes using light dumbbells and barbells), but never felt like I was getting any stronger.

I joined CrossFit back in 2011 after I moved to Oklahoma, nervous and excited but ready for a new challenge.  Fast forward over 3 years later, and know I can’t imagine a week without picking heavy things up and putting them back down.  Back squats are my all time favorite strength training movement, with front squats a close second (and dead lifts dead last on that list.  Get it?  Deadlifts?  dead last?  Okay, stop groaning, did you at least crack a smile?).

It’s also a sense of accomplishment when my strength gains at the gym show up in other areas of my life.  Telling the checkout lady at the grocery store that she can overload my bags, and then carrying all of my shopping bags from the car to the house in one trip?  Score!  Being able to move heavy objects in my house without having to call someone for help?  Yes thank you!  Lifting heavier than the guys at my gym?  Don’t mind if I do 😉

It’s also great to hang out with other women (and men) who are care about lifting heavy too!  The sense of camaraderie at gym is great, and sometimes I get just as excited about watching my friends reach their strength training goals as I do when I reach my own.

These same friends help me taste test recipes for the blog, and my taste testers have given these Orange Honey “Soy” Chicken thighs two thumbs up!

IMG_9351

The marinade for this chicken is a balance of sweetness from the honey and saltiness from the coconut aminos (the “soy” part of the recipe) and salt.  The addition of fresh grated ginger and minced garlic add a level of flavor that is sure to please your taste buds.

IMG_9362

Enjoy!  I love reading your reviews of the recipe after you’ve tried it.  Please leave a comment below sharing your results.

Orange Honey “Soy” Chicken

Servings: 3-4


Ingredients:

  • 2 1/2 – 3 pounds of chicken thighs
  • 1/4 cup olive oil
  • 1/4 cup coconut aminos
  • 1/4 cup honey
  • 2 tablespoons orange juice
  • 2 teaspoons fresh grated ginger
  • 2 teaspoons minced garlic (approximately 4 large cloves)
  • 1 teaspoon sea salt
  • 1/2 teaspoon black pepper

Instructions:

  1. Place all of the ingredients except for the chicken in a medium size bowl, and stir to combine.
  2. Place the chicken wings in a large resealable bag.
  3. Pour the marinade mixture over the chicken thighs to coat and then seal the bag tightly (making sure to remove as much of the air from the bag as possible before sealing).
  4. Refrigerate the marinated chicken thighs for 4-6 hours (can refrigerate overnight).
  5. To cook the chicken, preheat the oven to 425 degrees.
  6. using a 9 x 13 baking dish, place the chicken thighs skin side down in the dish (make sure to remove excess marinade from the chicken thighs before placing in the baking dish).
  7. Bake the chicken thighs in the oven for 20 minutes.
  8. After 20 minutes, remove the chicken from the oven, flip over so that the skin side is up, and place back in the oven.
  9. Continue cooking until chicken thighs are done, approximately 25-30 more minutes (bake until the internal temperature of the chicken thighs is approximately 185 degrees).

Inspired by the Honey Soy Baked Chicken Thighs recipe from She Wears Many Hats


2 Comments

Honey, Lime and Garlic Chicken Wings

IMG_4295

Honey. Check. Lime. Check.  Garlic.  Check.  The results; a marinade for chicken wings that results in a sweet and spicy dish with just a hint of heat from the addition of red pepper flakes.

IMG_4345

I went to the grocery store a couple of weeks ago looking for new salad dressings to try out.  Sometimes I get into a food rut, and I wanted to branch out from my usual go to salad dressing of extra virgin olive oil and balsamic vinegar.  Unfortunately, most of the store bought dressing options included ingredients that I don’t consume on a regular basis as part of a Paleo/Primal/clean eating diet, such as soybean and canola oil, soy sauce and cane sugar.  However, several of the ingredients in the salad dressings; specifically honey, sesame oil, and garlic, peaked my interest, and gave me the idea to create a recipe for chicken marinade using those ingredients as part of the marinade recipe. After a couple of tweaks to the recipe and some trial and error, the end result is this delicious recipe for Honey, Lime and Garlic Chicken Wings.  Enjoy!

IMG_4338

Honey, Lime and Garlic Chicken Wings Servings: serves 4-6


Ingredients:

  • 3 pounds of chicken wings
  • 1/4 cup sesame oil
  • 1/4 cup coconut aminos
  • 2 tablespoons honey
  • 1 tablespoon lime juice
  • 1 1/2 teaspoons minced garlic (approximately 3 large cloves)
  • 1 teaspoon dried cilantro
  • 1 teaspoon dried oregano
  • 1 teaspoon cumin
  • 1 teaspoon sea salt
  • 1/2 teaspoon black pepper
  • 1/8 teaspoon red pepper flakes

Instructions:

  1. Place the chicken wings in a large bowl.  Sprinkle sea salt and pepper on the chicken wings, and toss to evenly coat.
  2. Place the chicken wings in a large resealable bag.
  3. Place the remaining ingredients in a medium size bowl, and whisk  thoroughly to combine.
  4. Pour the marinade mixture over the chicken to coat and seal the bag tightly (making sure to remove as much of the air from the bag as possible before sealing).
  5. Refrigerate the marinated chicken for 4-6 hours (can refrigerate overnight).
  6. To cook the chicken, preheat the oven to 400 degrees.
  7. Line a baking sheet with aluminium foil.  Place a cooling rack over the aluminum foil.
  8. Place the chicken wings in a single layer on the cooling rack.
  9. Bake the chicken in the oven for 25 minutes.
  10. After 25 minutes, remove the chicken from the oven, flip over, and place back in the oven.
  11. Continue cooking the chicken wings until wings are cooked through, approximately 25 minutes more.


Leave a comment

Meaty Spaghetti Sauce

IMG_6824

It. Is. COLD.  The weather has taken a turn for the worst with the recent cold front affecting many parts of the United States.

Because of the cold, I’ve started the habit of running from my car to any building that I’m about to enter when I am out and about, so that I can get out of biting Oklahoma wind as quickly as possible.  And since it’s a poorly hidden secret that I really don’t enjoy running, you know it has to be pretty cold.

running

Weather like this begs for food that is warm and comforting.  But the start of a new year also means a fresh resolve to make healthy lifestyle choices that typically include a renewed focus on eating healthy, wholesome and nutritious foods.

You guys are in luck, because today’s recipe provides the best of both worlds.  This hearty spaghetti sauce is full of satiating protein and vitamin packed vegetables to keep you on track with your healthy eating goals, while providing the warmth and comfort you crave.

IMG_6791

The addition of balsamic vinegar adds a touch of subtle sweetness to the sauce without the addition of natural sweeteners, and the inclusion of dried parsley and chopped fennel seeds creates an additional level of complexity to the sauce without overpowering the other ingredients.

This meaty spaghetti sauce is perfect over spaghetti squash as a weeknight meal, after a long day at school or work.   I sprinkled a small amount of Manchego cheese on top (you can also use parmesan or mozzarella) to add a creamy texture to the sauce (and because cheese, if you can tolerate dairy, is amazing).

IMG_6845

Meaty Spaghetti Sauce with Spaghetti Squash

Servings: serves 5-6


Ingredients:

  • 1 large Spaghetti Squash
  • 1/2 tablespoon butter *
  • 1/2 large onion, diced
  • 1/2 pound ground beef
  • 1/2 pound ground pork
  • 1/2 red bell pepper, diced
  • 1/2 green bell pepper, diced
  • 1/2 tablespoon fennel seed, chopped
  • 2 tablespoon dried parsley
  • 2 tablespoons balsamic vinegar
  • 2 cloves garlic, minced
  • 28 ounce can diced tomato
  • 15 ounce can tomato sauce
  • 6 ounce can tomato paste
  • 1 teaspoon dried oregano
  • 1 teaspoon dried thyme
  • 1 teaspoon dried basil
  • 1 teaspoons sea salt
  • 1/2 teaspoon ground black pepper

Instructions:

  1. Preheat oven to 425 degrees.
  2. Line a large baking sheet with parchment paper.
  3. Chop spaghetti squash in half lengthwise, and scoop out the seeds.*
  4. Place the spaghetti squash cut side down, and bake in the oven for approximately 40-45 minutes.
  5. Once cooked, take the spaghetti squash out of the oven, flip the halves over and let cool.
  6. Once the spaghetti squash has cooled enough to handle, use a fork to scrap the squash noodles into a large bowl.
  7. Heat butter over medium high heat.  Add onion, and cook over medium high heat until the onion becomes translucent, approximately 5-8 minutes, stirring frequently.
  8. Add the ground beef and ground pork, and continue cooking until meat has browned.
  9. Add remaining ingredients and bring them to a boil.
  10. Once the mixture has reached a boil,  reduce the heat to medium low, and simmer the sauce on the stove for approximately one hour.
  11. Once the spaghetti sauce has finished cooking, remove from heat, and serve with the spaghetti squash.

Notes:

  •  Quick tip, to make the spaghetti squash easier to cut, microwave for 1-2 minutes.  This makes the shell a little softer, so that you don’t have to hammer away at the shell.
  • to make whole30 friendly, use ghee, avacado oil, lard, tallow or some other type of whole30 approved cooking fat.


2 Comments

Chicken Teriyaki

I was in a deep committed relationship for 11 years.  It had its ups and downs, but overall I was happy.  And then recently, I noticed things weren’t going as well.  There was failure to communicate.  It began to feel like a relationship with lots of stops and starts, and the reliability and consistency wasn’t there anymore.  My family and friends had been begging me for months to let go, but it was hard to give up after investing in the relationship for so long.  However, I eventually made the difficult decision to end it.

After 11 years, I finally decided to trade in my car for a SUV.  It wasn’t an easy decision, and I still miss my old car.  You know what I also miss? Not having car payments :/  However, I do love the knowledge that I have a safe and reliable car!

Before trading in my old car, I went through and cleaned out all junk inside.  It was like a treasure drove in there (actually, more like a junk yard)!  I found at least $3.00 worth of coins.

However, I hit the jackpot when I found my first cell phone from 2002.  I must have been on a roll, because a little later I found the second cell phone I ever owned.

And then I hit it big again when I found my first iphone.

IMG_6458

The all important lesson I learned after cleaning out my old car?  I’m a phone hoarder.  Now you know my deepest darkest secret 😉

This post is all about sharing, and today I’m also sharing with you my recipe for Chicken Teriyaki!

IMG_7436


IMG_7529

This meal is packed full of different types of vegetables.  To keep it lower on the carb spectrum, I prepared a side of cauliflower rice to go with the meal, and I was on a veggie cloud 9!

IMG_7521

 I learned a new technique for cooking chicken in a stir-fry that makes the meat tender and moist.  It’s called “velveting” chicken, and involves marinating the chicken in an arrowroot powder/egg wash coating, and then boiling the chicken prior to adding it to the stir-fry. (Detailed instructions for implementing the technique are below).

I would love to read your tried and true techniques for making your favorite stir-fry meals.  Please feel free to share in the comments below!

Chicken Teriyaki

Servings: serves 3-4


Ingredients (Velvet Chicken):

  • 1 pound chicken breast, cut into 1 inch pieces
  • 1 large egg white, beaten
  • 1 tablespoon arrowroot flour
  • 2 tablespoons sesame oil
  • 1/2 teaspoon salt
  • 1/4 teaspoon pepper

Ingredients (Chicken Teriyaki):

  • 4 cups broccoli
  • 1/2 red bell pepper, sliced
  • 1/2 yellow onion, sliced
  • 2 cups snap peas
  • 4 scallions, sliced thinly
  • 3/4 cup coconut aminos
  • 1/4 cup orange juice, plus the zest of 1/2 an orange
  • 2 tablespoons honey
  • 2 tablespoons coconut sugar
  • 1 1/2 tablespoons sesame oil
  • 3 cloves of garlic, minced plus 2 cloves of garlic, minced, divided
  • 2 teaspoons fresh ginger, grated
  • 4 teaspoons water
  • 2 teaspoons arrowroot powder

Instructions:

  1. In a large bowl, whisk together egg white, arrowroot powder, 1 tablespoon sesame oil, salt and pepper until thoroughly combined.  Then, add the chicken pieces to the mixture and stir to coat.
  2. Marinate chicken in coating for 30 minutes.
  3. While the chicken is marinating, in a medium sized saucepan mix together the coconut aminos, orange juice, orange zest, coconut sugar, honey, 3 cloves of minced garlic, 1 teaspoon ginger and 1/2 tablespoon sesame oil.
  4. Place saucepan on stove over medium high heat, and bring sauce to a boil.
  5. Once the sauce has come to a boil, reduce heat to medium low and let simmer for 7 to 8 minutes.
  6. While the sauce is simmering, in a small bowl mix together the water and arrowroot powder.
  7. After the sauce has simmered for 7 to 8 minutes, reduce temperature to low and add the arrowroot/water mixture to the saucepan, stirring to incorporate.
  8. Continue to stir the teriyaki sauce for 1 to 2 minutes on low until the teriyaki sauce has thickened.  Once the sauce has  thickened,  remove from heat and set aside.
  9. Take the marinated chicken, and drain any excess coating.
  10. In a large skillet, heat 1 to 2 inches of water and 1 tablespoon of sesame oil over high heat until boiling.
  11. After the water has come to a boil, place the chicken pieces in the water (making sure each piece is fully submerged), and cook for 2 minutes.  If necessary, stir the chicken with a slotted spoon to make sure the pieces don’t stick together.
  12. After 2 minutes, remove chicken from the water with a slotted spoon, drain and set aside.
  13. In a large skillet, heat 1 1/2 teaspoons of sesame oil on medium high heat.  Once the oil is hot, add 2 cloves of minced garlic and 1 teaspoon of ginger, and stir continuously for 10 to 20 seconds.
  14. Add chicken to the garlic/ginger mixture and stir-fry until cooked through, 3 to 4 minutes.
  15. Take the chicken out of the skillet and set aside.
  16. Heat 1 1/2 teaspoons of sesame oil on medium high heat.  Once the oil is hot, add the broccoli, red bell pepper, snap peas and onions, and stir-fry for 4 to 5 minutes.
  17. Add the chicken to the vegetables in the skillet, and turn the heat off.
  18. Pour the teriyaki sauce over the chicken and vegetables, and mix together to combine.
  19. Pour the chicken teriyaki into a serving bowl, and sprinkle the scallions on top.
  20. You can serve this meal with cauliflower rice, white rice or even kelp noodles.


Notes:

IMG_7588