I’m somewhat of a procrastinator in certain areas of my life. Don’t get me wrong, I like to make lists and then check things off. A checked off list makes me feel all warm and fuzzy inside. But sometimes, I just want to sit on my couch and read a kindle book, instead of acting like a grown-up (aka, doing my chores). This is especially true on Sunday afternoons after I’ve finished meal prepping for the week, but before the laundry is done and the pile of dishes from meal prep have been washed.
However, I would recommend not procrastinating in making this banana bread.
This recipe is based off of my recipe for Paleo Pumpkin Chocolate Layered Bread with Chocolate Chips and Walnuts. The addition of browned butter to this recipe adds another level of taste to an otherwise great recipe. Browning butter is a technique that involves melting butter over medium to medium-high heat on the stove. Heating butter after it melts results in the milk solids in the butter beginning to brown. As the milk solids begin to brown, the butter gives off a nutty aroma. The browned butter adds a nutty and slight butterscotch flavor to recipes. I’ve added browned butter to several recipes, including cookies, sweet potatoes, and mashed cauliflower.
The addition of browned butter to this recipe for banana bread enhances the flavor of the walnuts, and adds a richness and depth to the overall taste of the bread.

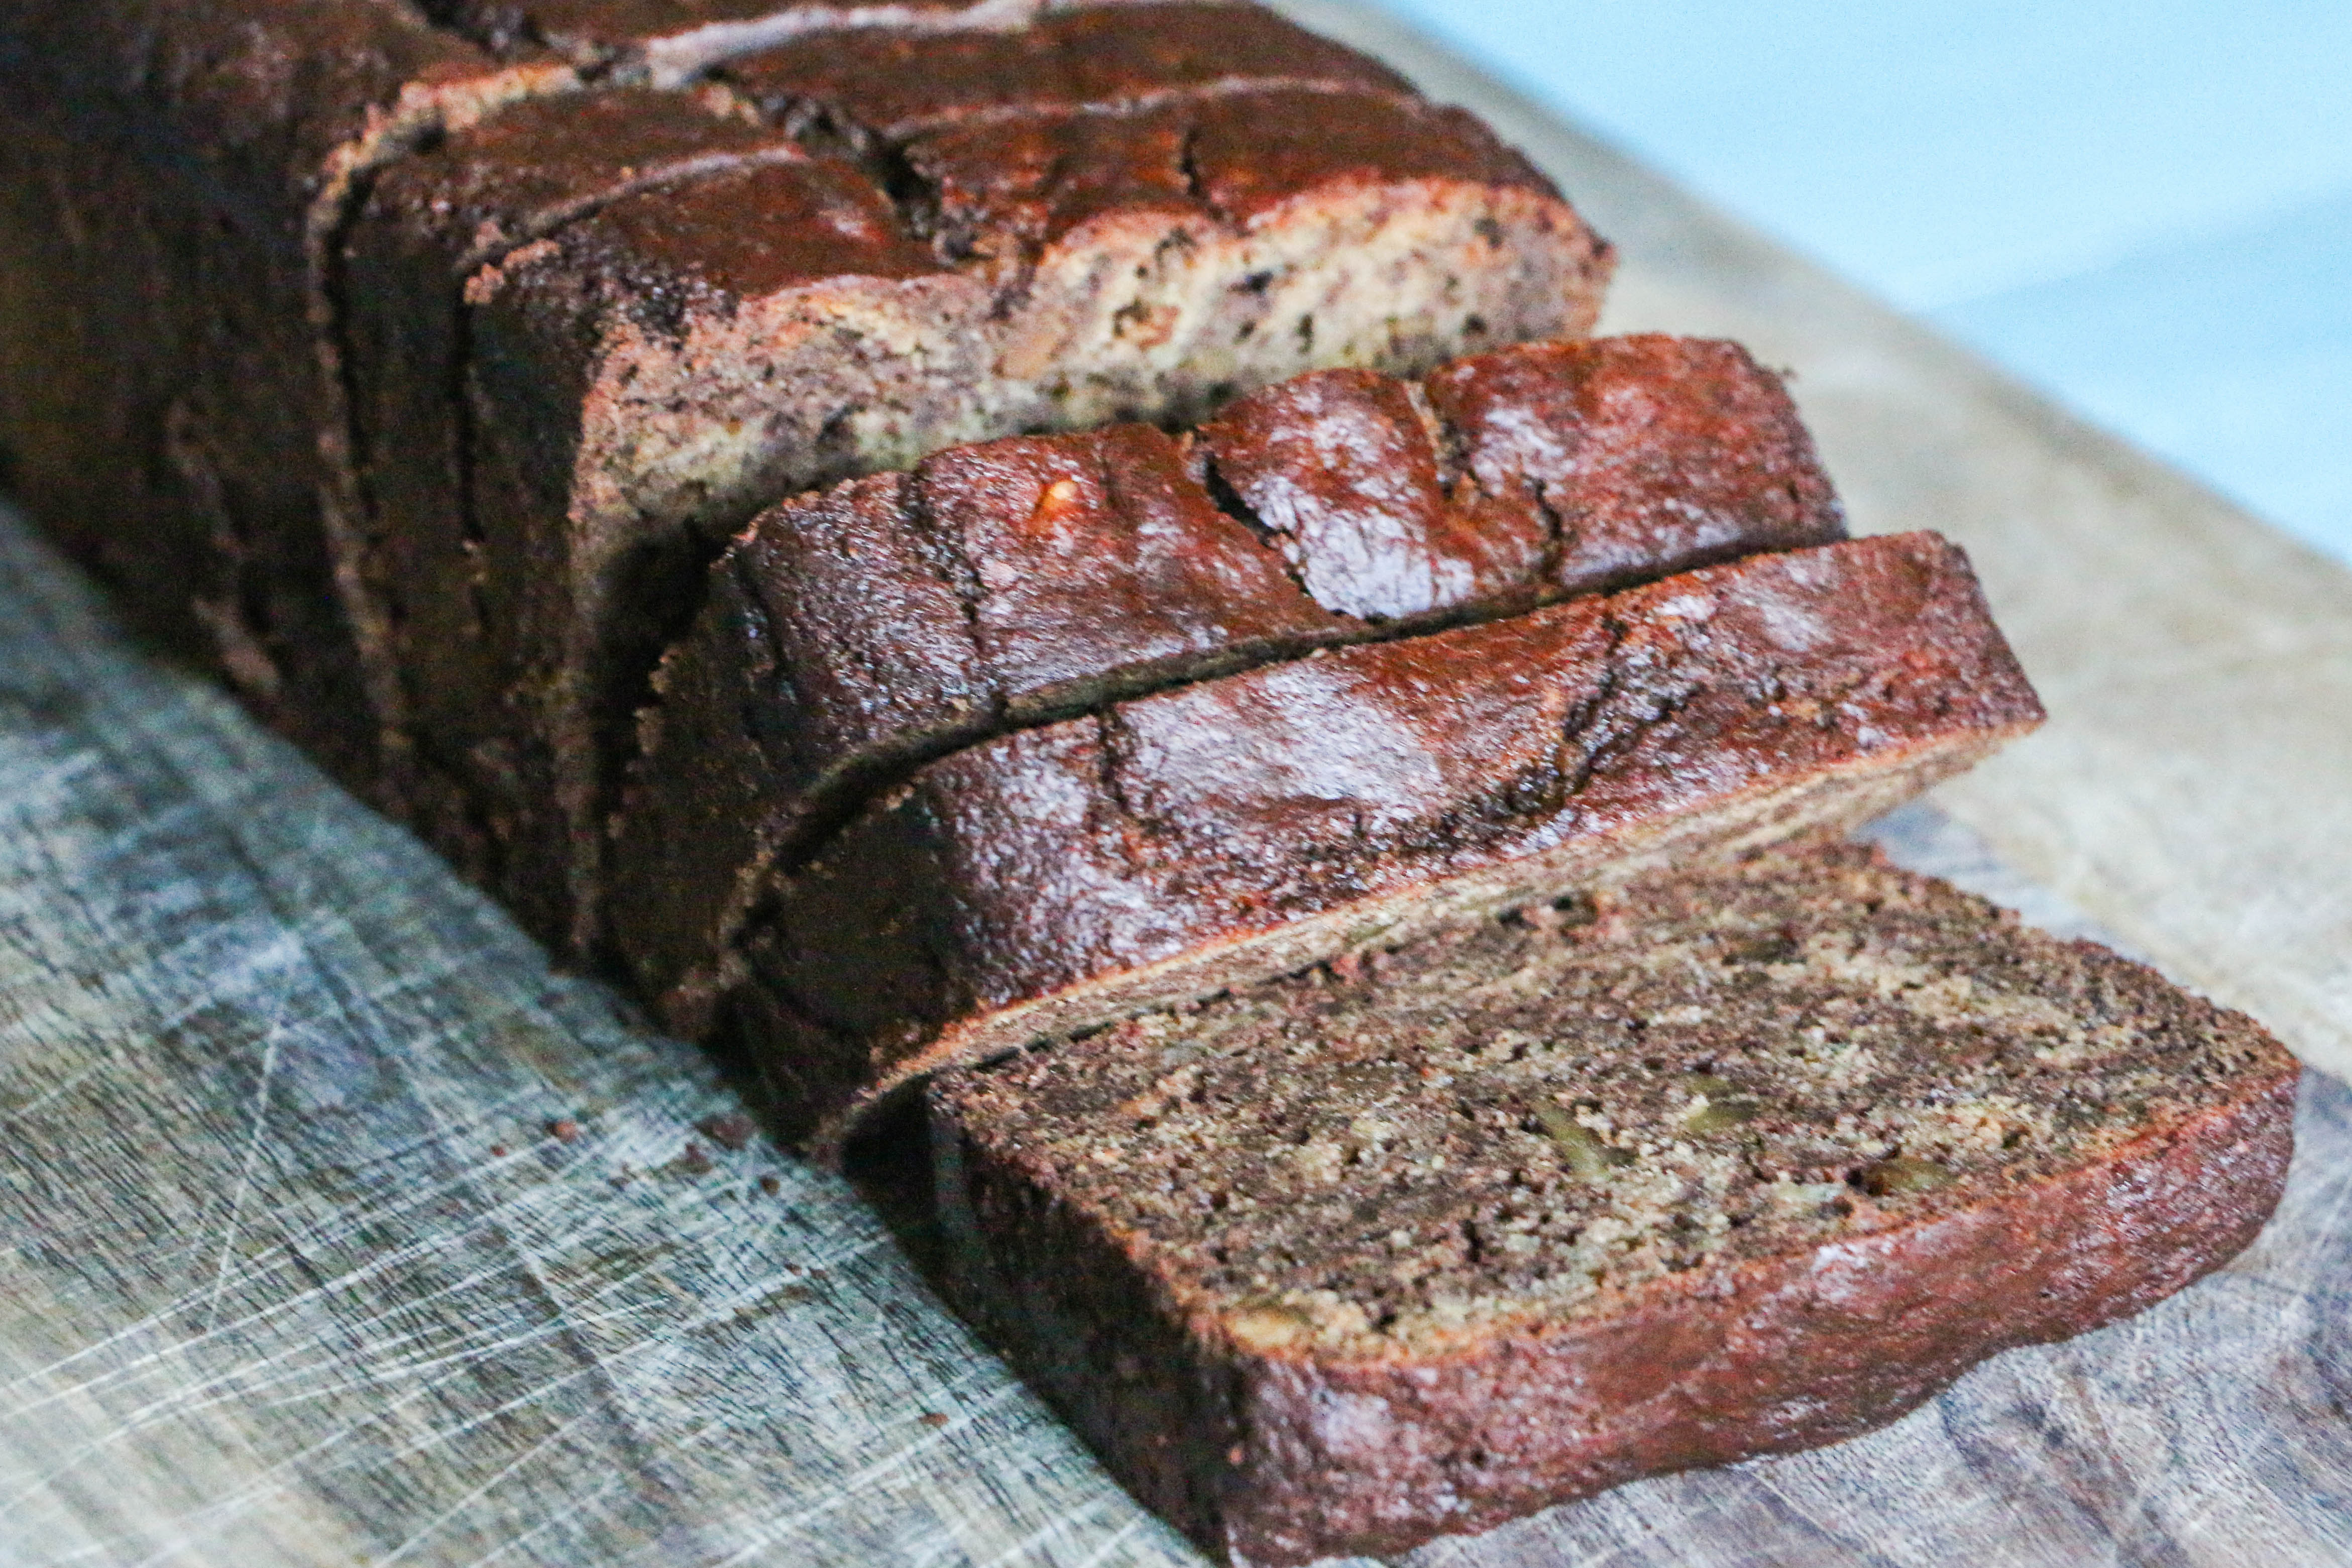
This banana bread is decadent, rich, and moist, and the combination of ingredients allows the flavors to combine to create a taste sensation sure to please a hungry crowd.
This banana bread would be great for a holiday party, or for Christmas breakfast/brunch. Enjoy!
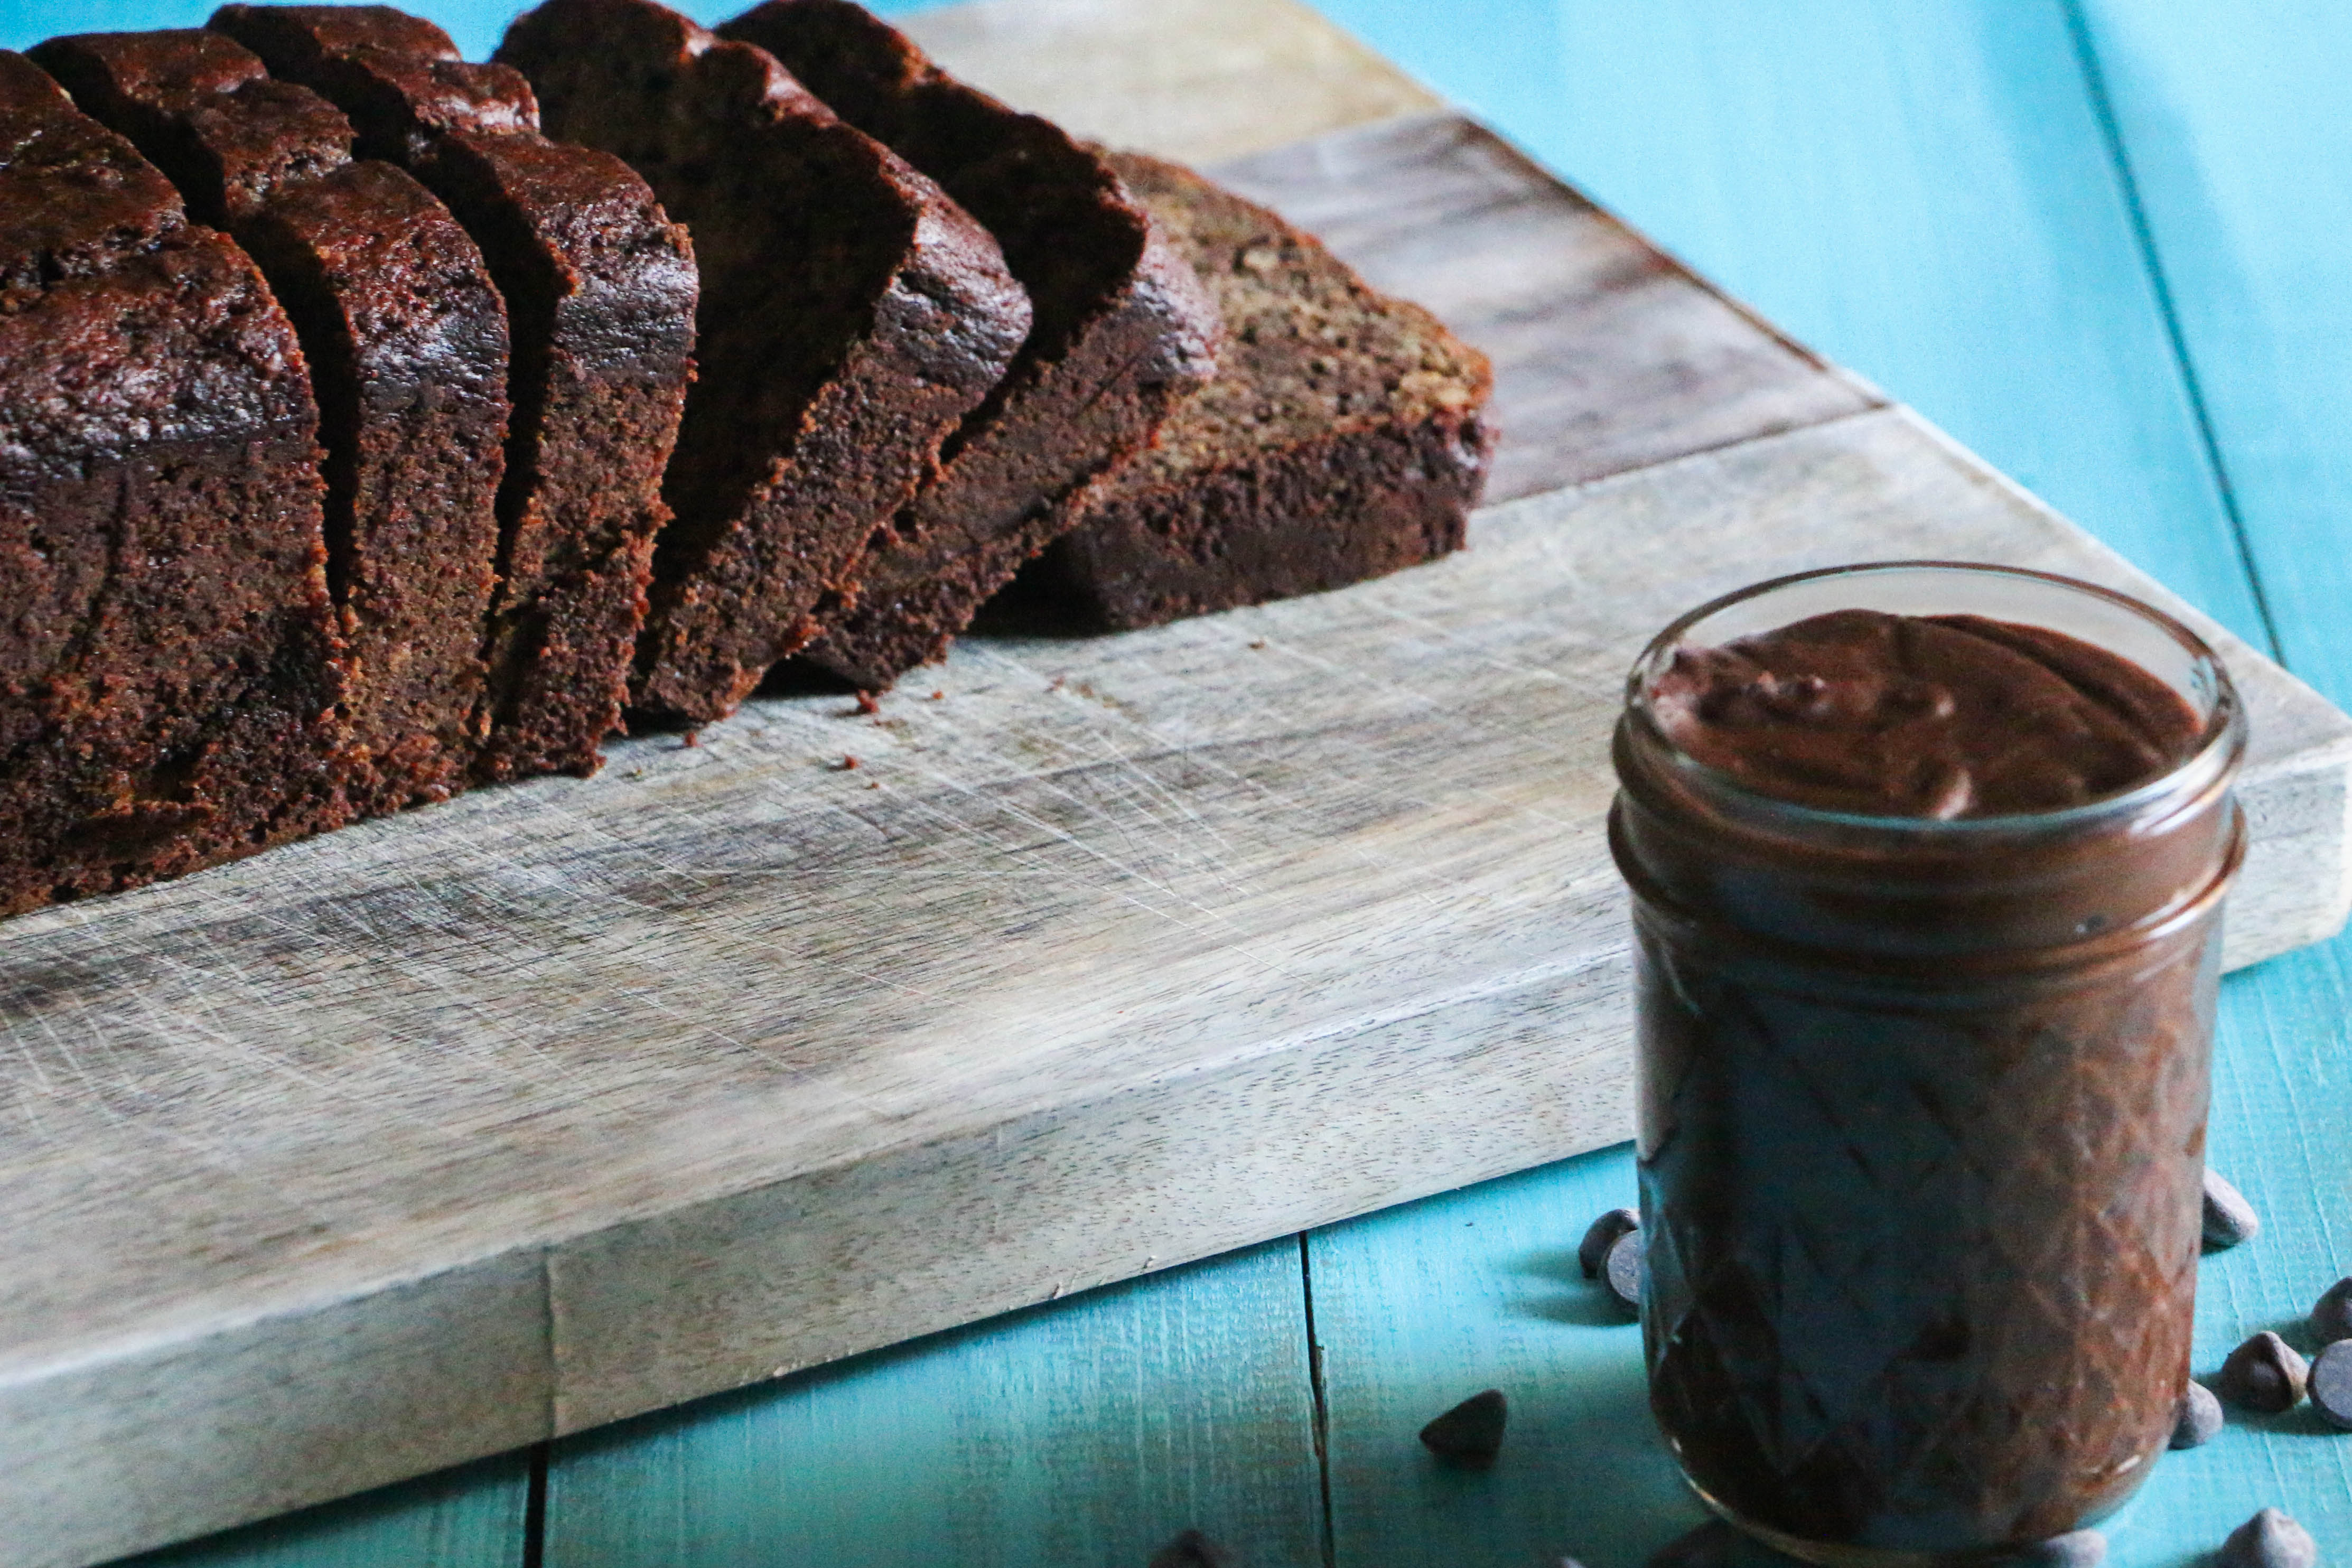
Browned Butter Banana Bread with Paleo Nutella Swirl
Servings: makes 12-15
Ingredients:
- 1 cup almond flour
- 1 cup banana, mashed (2-3 small overly ripe bananas)
- 1/2 cup tapioca flour
- 1/2 cup butter
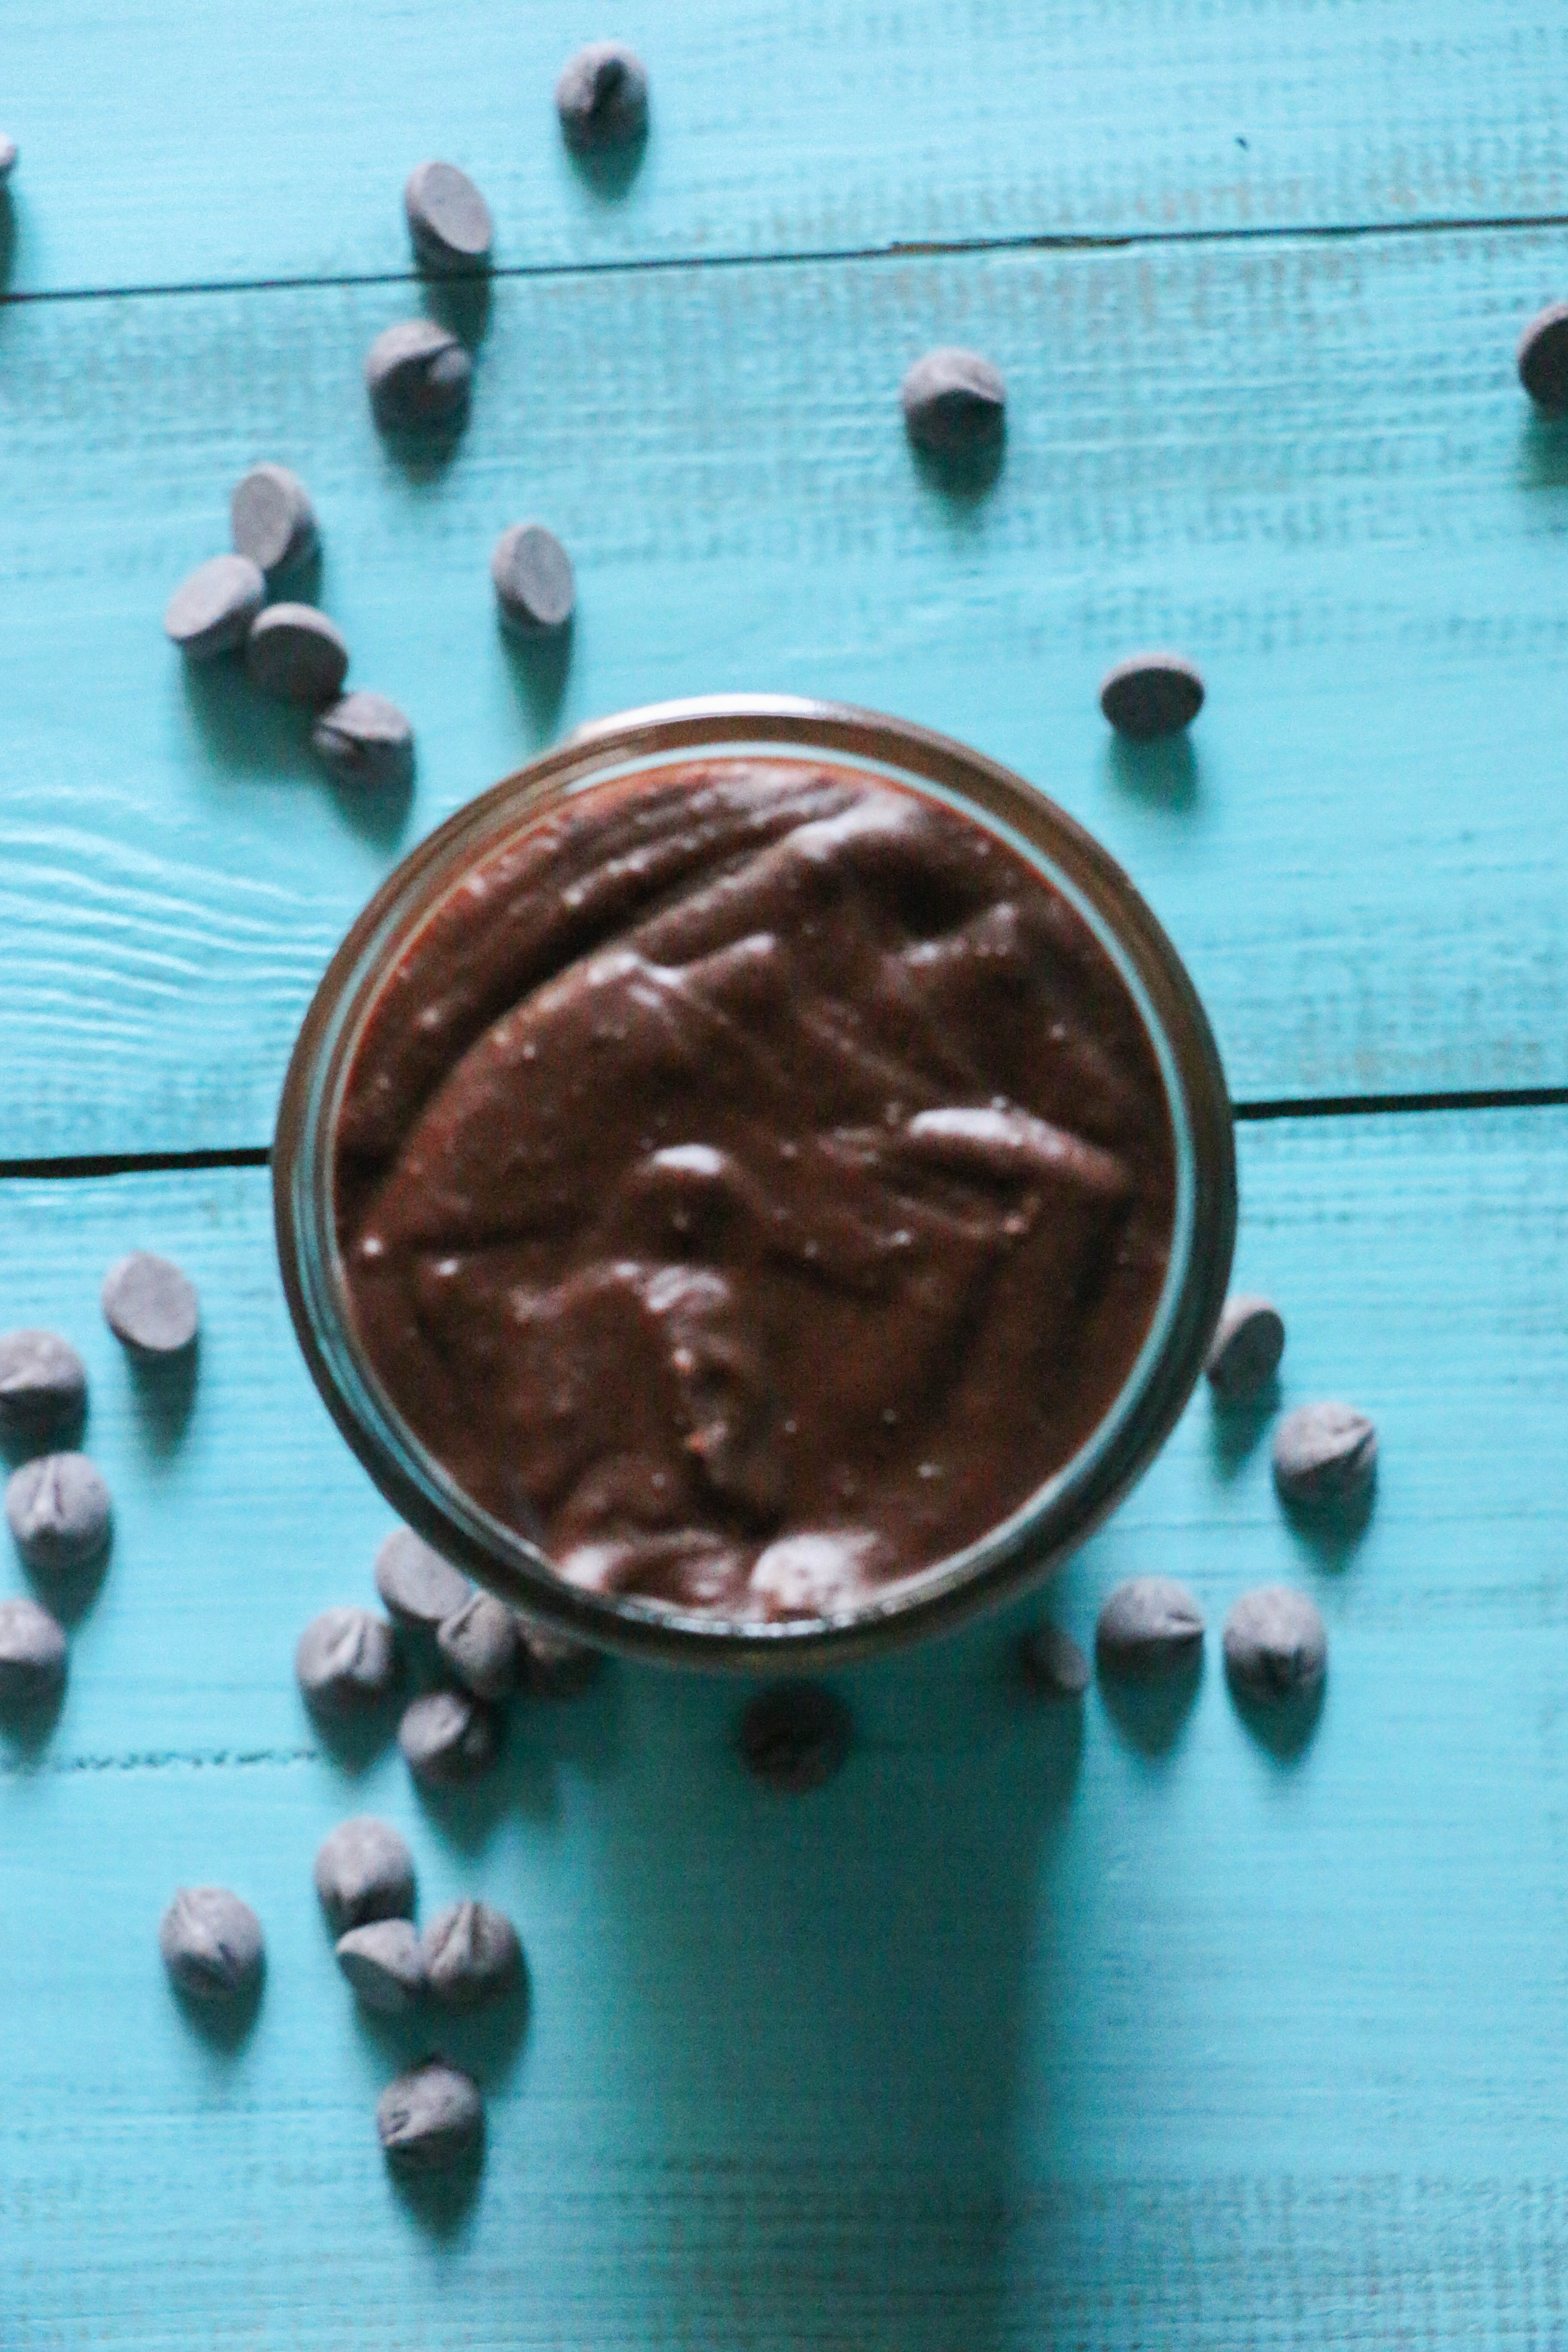
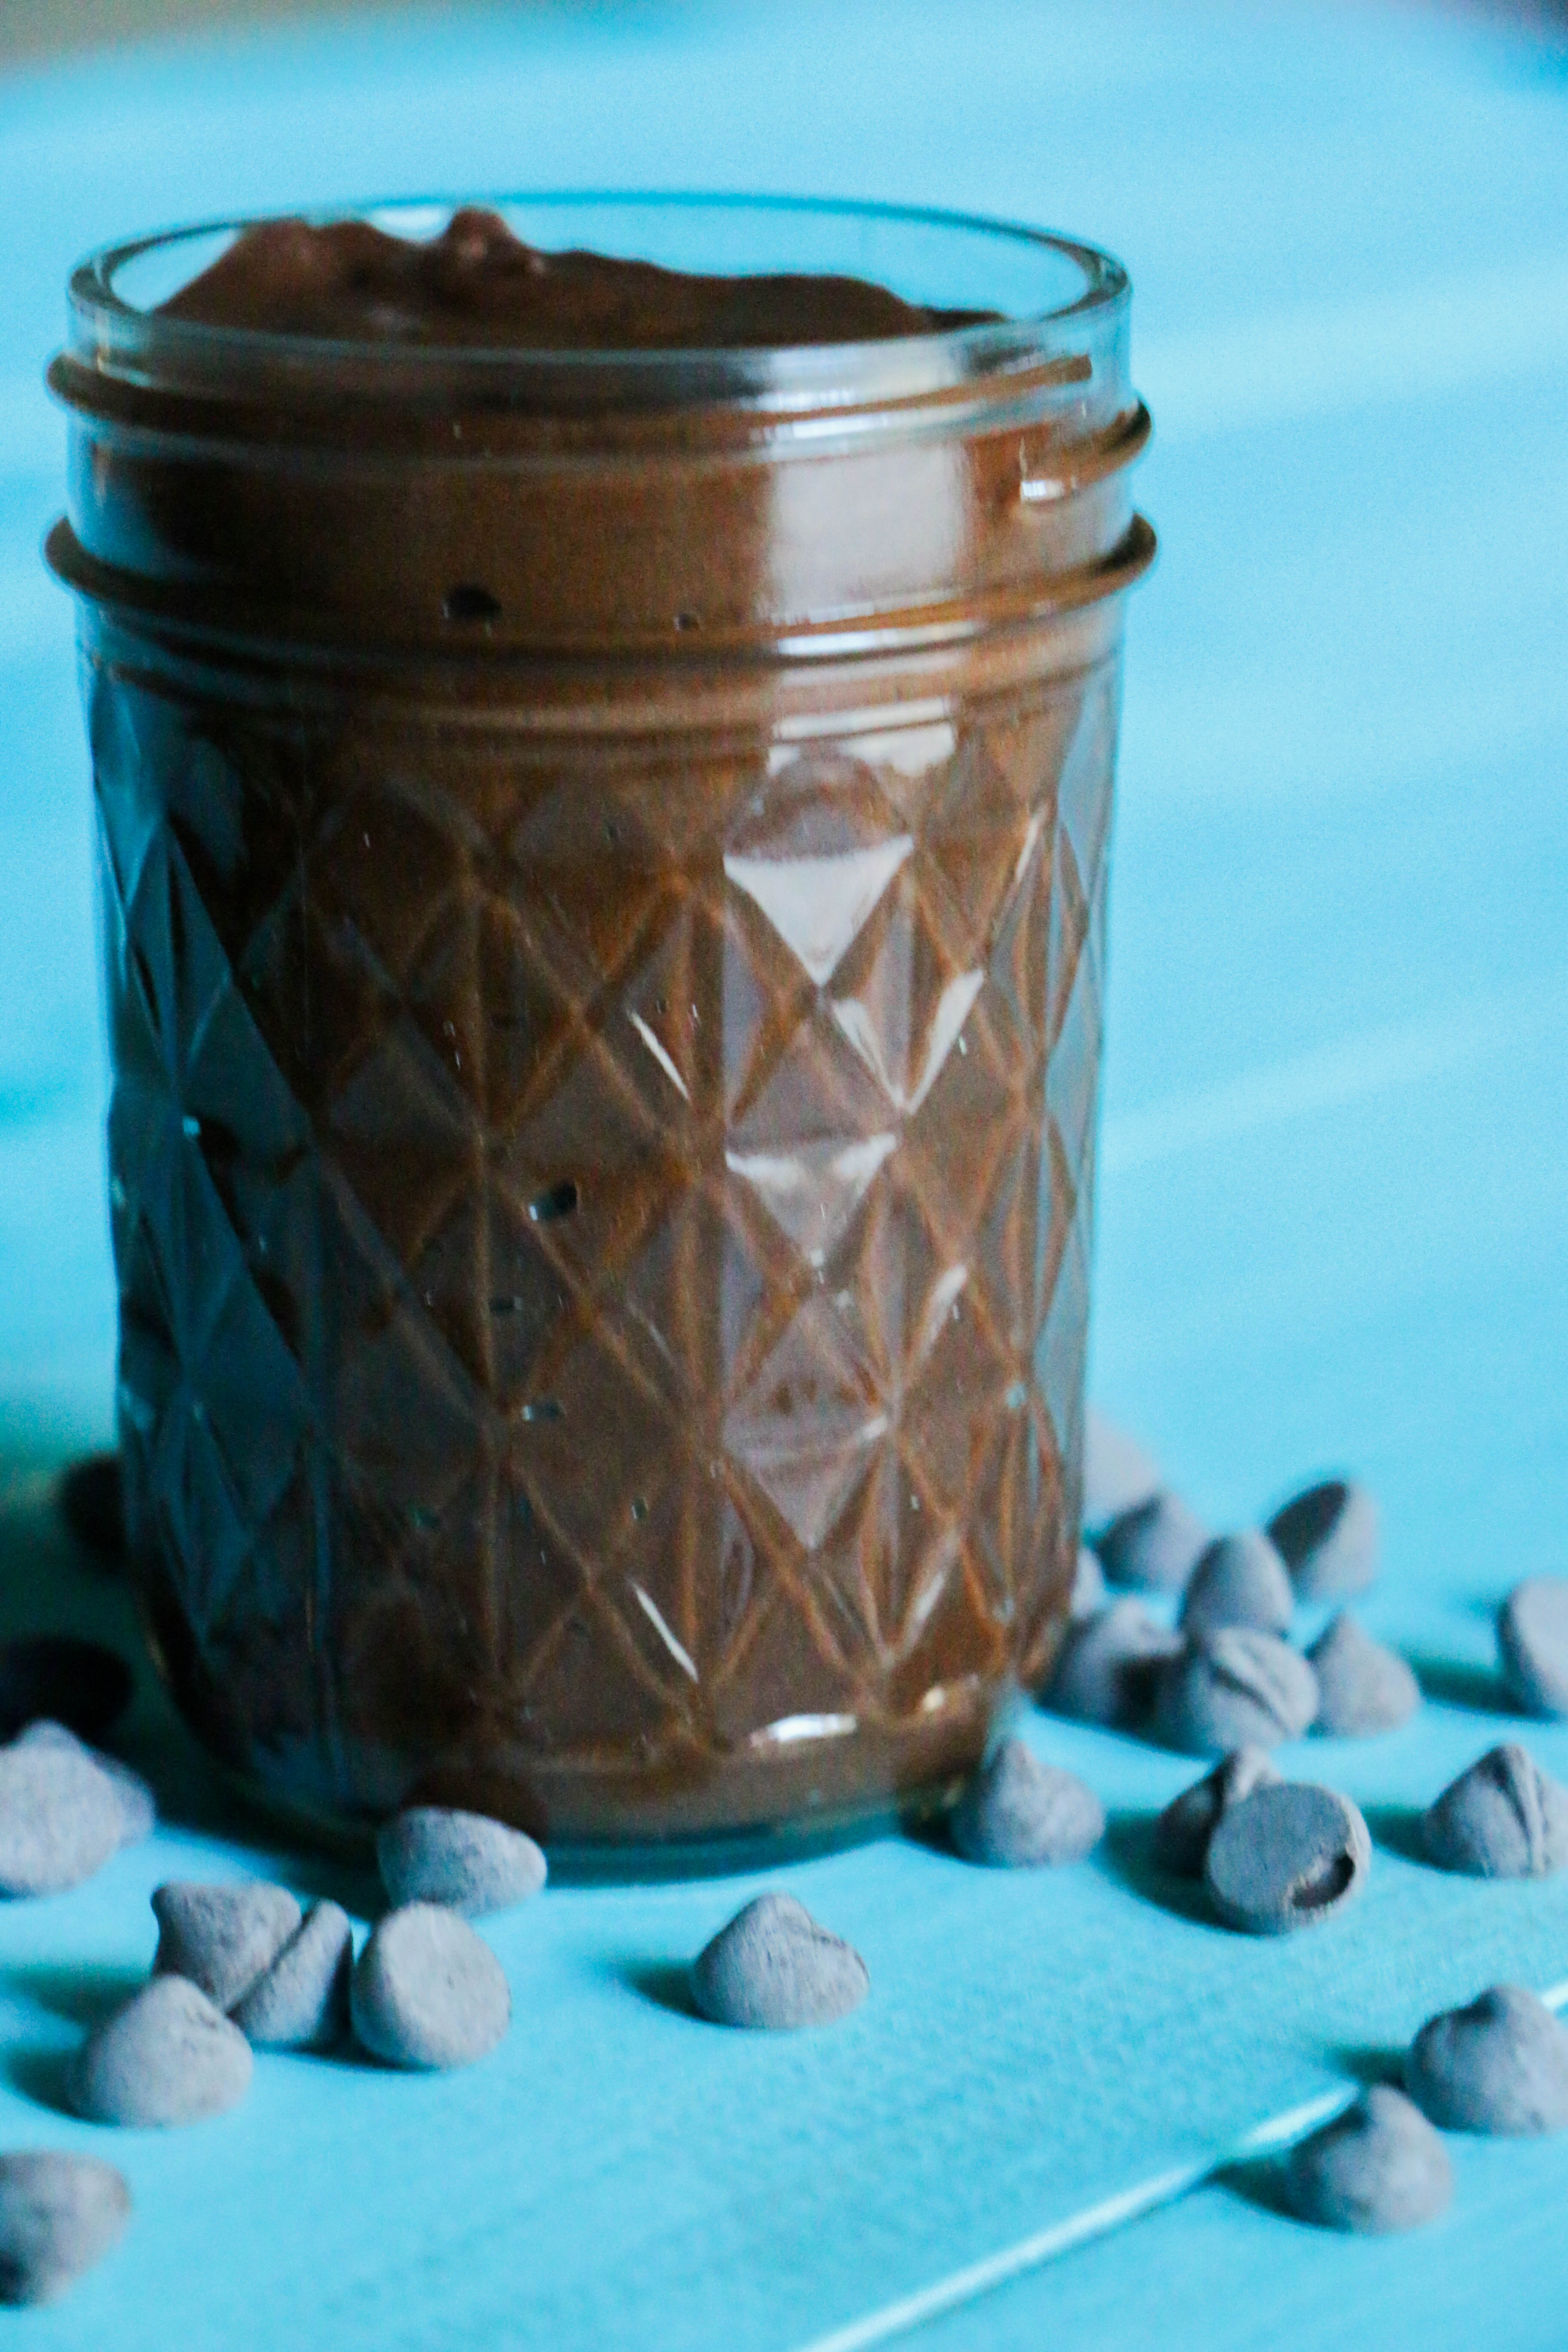
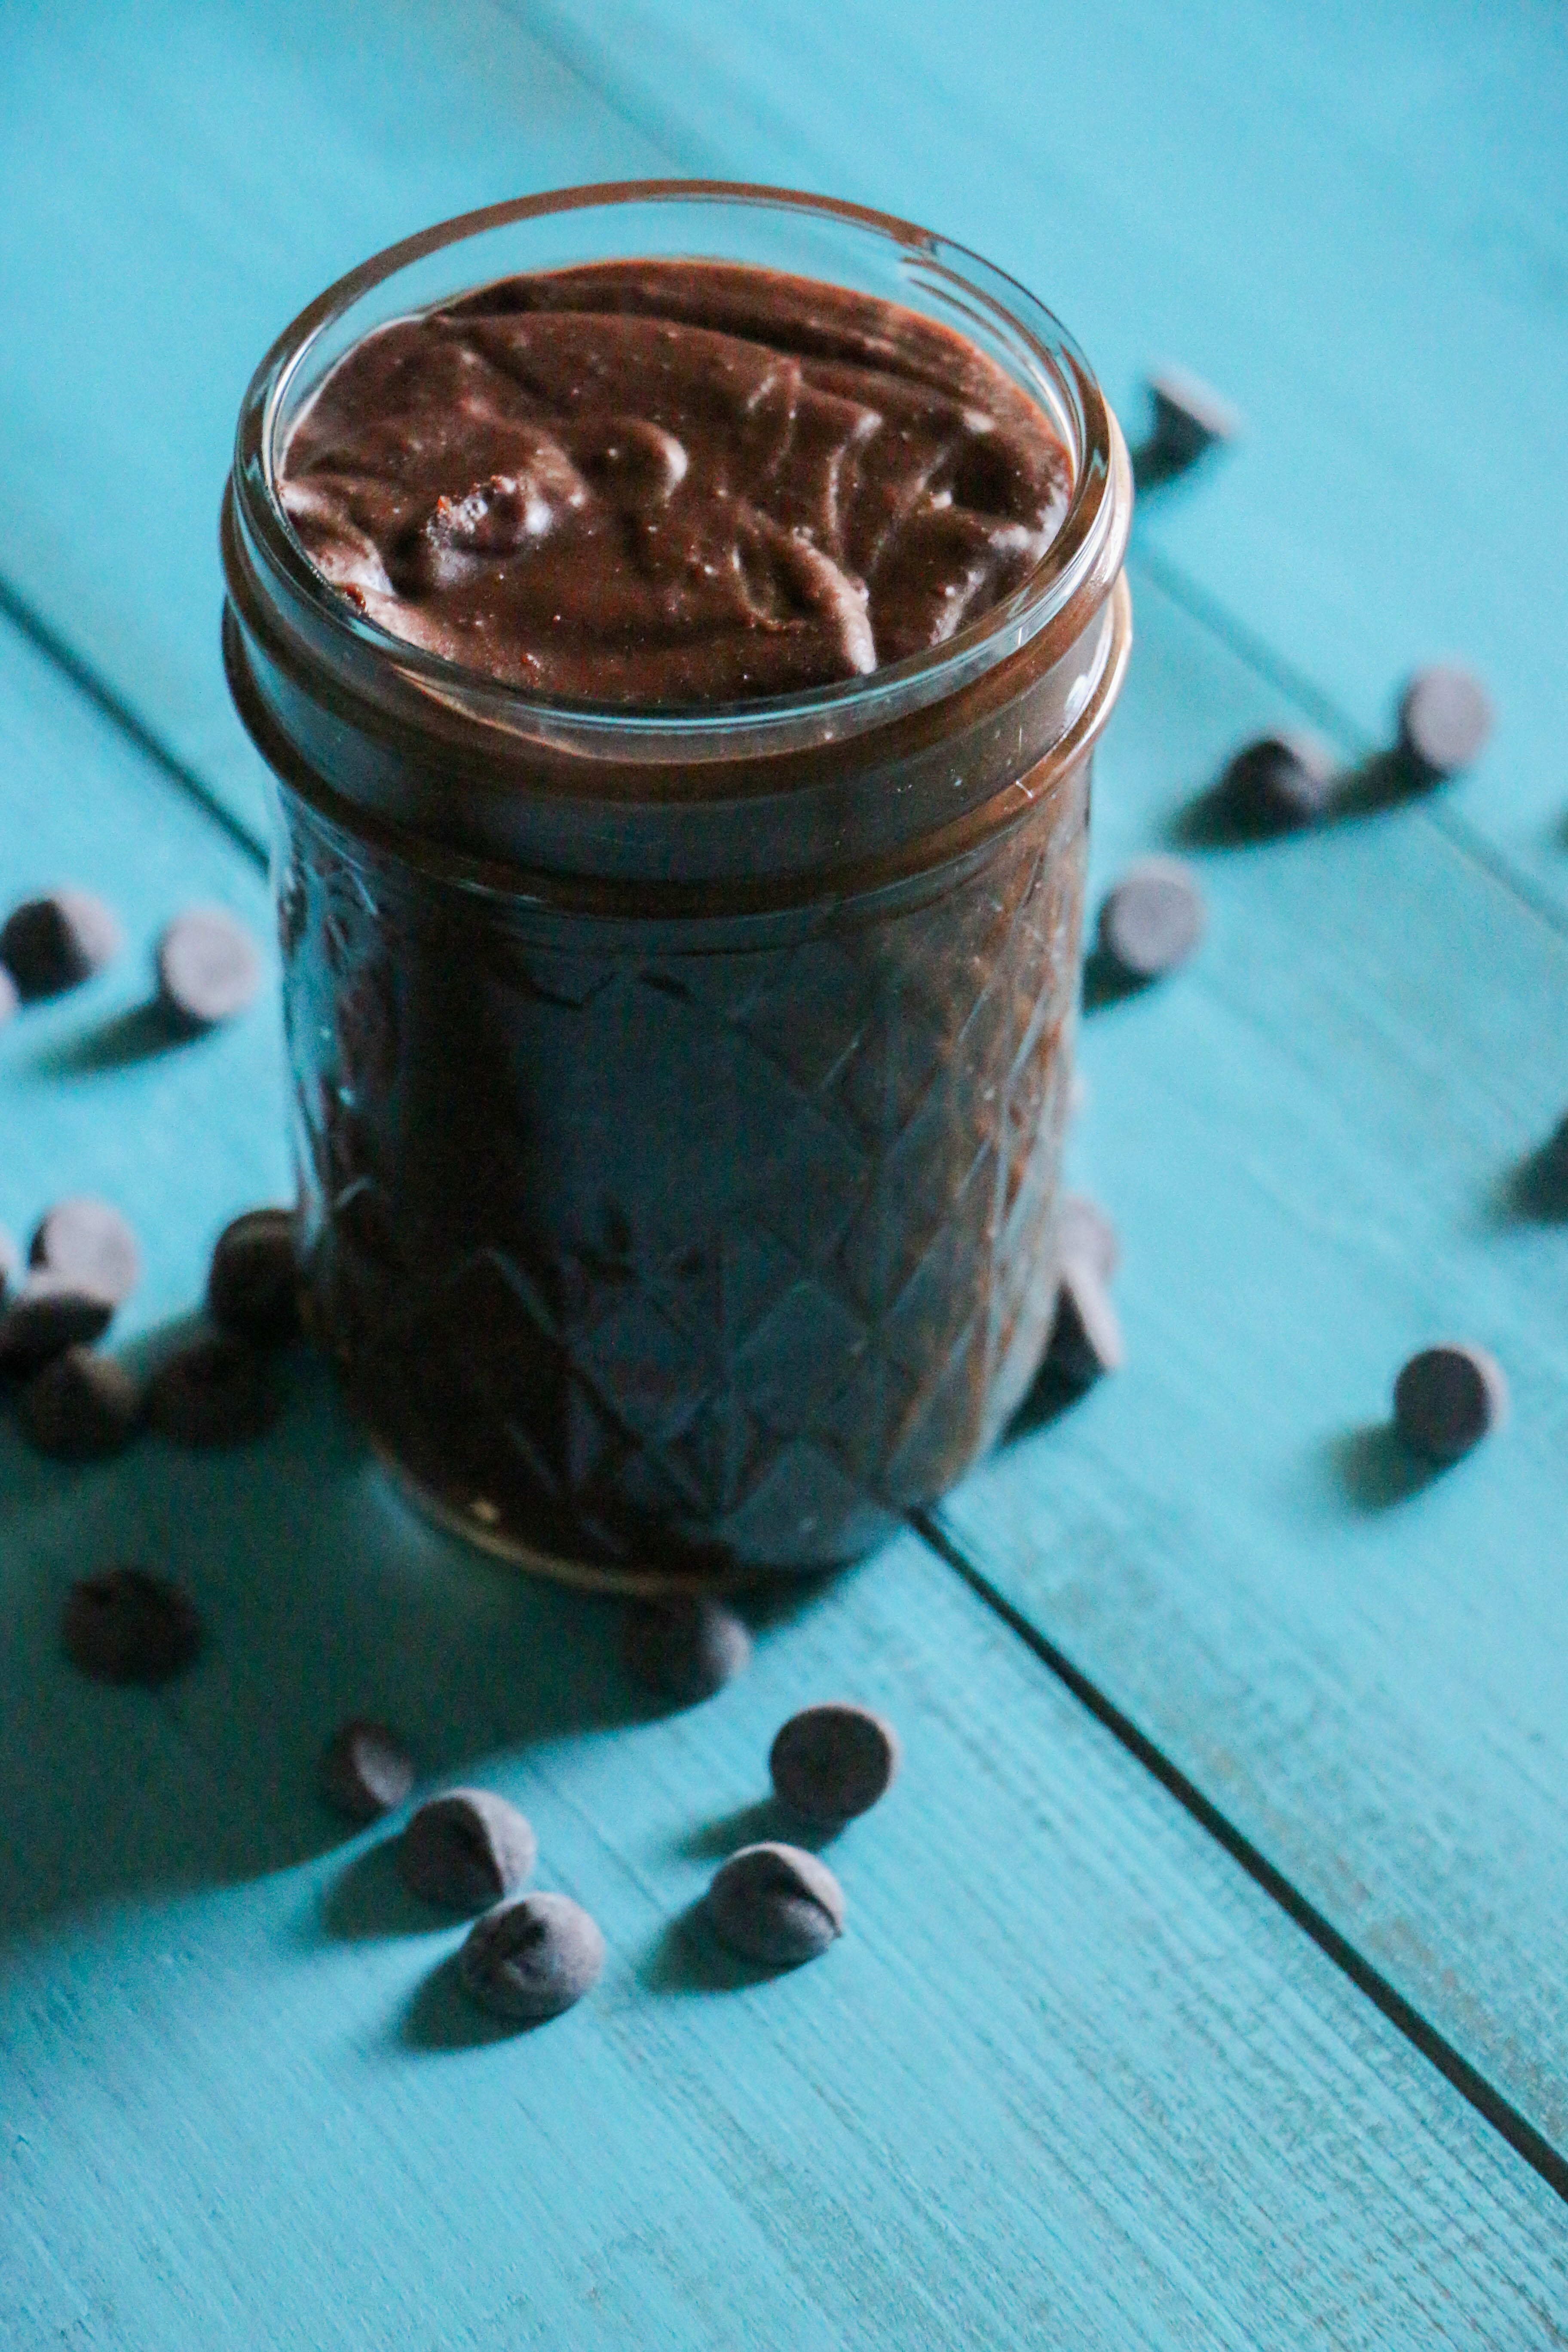
- 2/3 cup Paleo Nutella
- 1/3 cup honey
- 1/4 cup coconut flour (sifted)
- 1/4 cup chopped walnuts
- 3 eggs, beaten
- 1 tablespoon vanilla extract
- 1 ½ teaspoons cinnamon
- 1 teaspoon baking soda
- 1 teaspoon baking powder
- 1/2 tsp teaspoon salt
- 1/2 tbs coconut oil (to grease the pan)
Instructions:
- Preheat oven to 350 degrees.
- Preheat a medium sauce pan over medium-high heat. Once the pan is hot, add ½ cup of butter to the pan and allow the butter to melt.
- Stir the butter constantly in the sauce pan as it melts. After the butter has melted, it will begin to foam. As the butter foams, the milk solids from the butter will begin to darken, turning first to a tan color, and then to brown as it continues to cook. As the butter browns, it will give off a slightly nutty aroma. As soon as the solids turn from tan to brown and give off the nutty aroma, remove the sauce pan from heat immediately so that the milk solids do not burn. Set aside to cool.
- Grease a 9 x 5 x 3 inch bread pan with coconut oil (you can also use butter), and then line the bottom of the pan with parchment paper.
- In a large mixing bowl, add almond flour, tapioca flour, coconut flour, cinnamon, baking soda, baking powder and sea salt. Stir to combine. Set aside.
- In a separate bowl, add eggs, mashed banana, honey and vanilla extract. Stir to combine. Then add the browned and cooled butter, and stir to combine.
- Pour the liquid ingredients into the dry ingredients, and stir the mixture thoroughly to incorporate.
- Let the batter sit on the counter for 3-4 minutes (this lets the coconut mixture soak up the moisture).
- Add Paleo Nutella to the batter, and gently swirl the Paleo Nutella through the bread batter using a spatula (do not fully incorporate the Paleo Nutella into the batter).
- Add the bread batter to the coated bread pan.
- Place the bread pan in the preheated oven and bake the bread for 50-55 minutes, until a toothpick inserted into the bread comes out clean.
- Once the bread is finished, remove from the oven and let cool on the counter for 5 to 10 minutes before removing the loaf of bread from the bread pan to cool further.
- Serve and enjoy!